How to Run Real-time Sync with AOMEI Backupper
The Real-Time Sync function will automatically real-time monitor the source directory needing sync. If there’s any change happens to any files or folder in source directory, the program will sync them immediately and real-time backup your data.
Here are some common use cases for real-time file synchronization:
- Team collaboration: In a team setting, members can share and edit files, with changes being synchronized in real time. This allows team members to access the latest version of files at any time, facilitating collaboration and communication.
- Backup and recovery: Real-time file synchronization can be used as a solution for data backup and recovery. When files are modified on the primary device, the backup device can instantly synchronize those changes to ensure real-time backups and facilitate recovery when needed.
- File sharing and access: Through real-time file synchronization, you can share files between different devices and ensure that any changes made on one device are immediately synchronized to other devices. This enables easy access and updates to files across multiple devices.
- Mobile device synchronization: With real-time file synchronization, you can sync files from desktop computers or servers to mobile devices such as smartphones or tablets, allowing you to view, edit, and share files on the go.
- Remote work: Real-time file synchronization enables team members located in different places to stay in sync when working with shared files. They can view others' changes and synchronize their own changes to other devices in a timely manner, regardless of their location.
- Cross-platform synchronization: Real-time file synchronization can be used for syncing files between different operating systems, such as syncing files from Windows devices to Mac devices or Linux devices, ensuring file synchronization across different platforms.
- Version control: Real-time file synchronization can be used in version control systems, allowing team members to collaborate and track the version history of files. Every file change is recorded and synchronized, enabling easy rollback to previous versions.
How to Set up Real-Time Sync with AOMEI Backupper in Windows 10 Step by Step
Prerequisites for Real-Time Sync
Please download paid file sync software AOMEI Backupper Professional first and then install it on your computer.
And you need to create a file to sync.
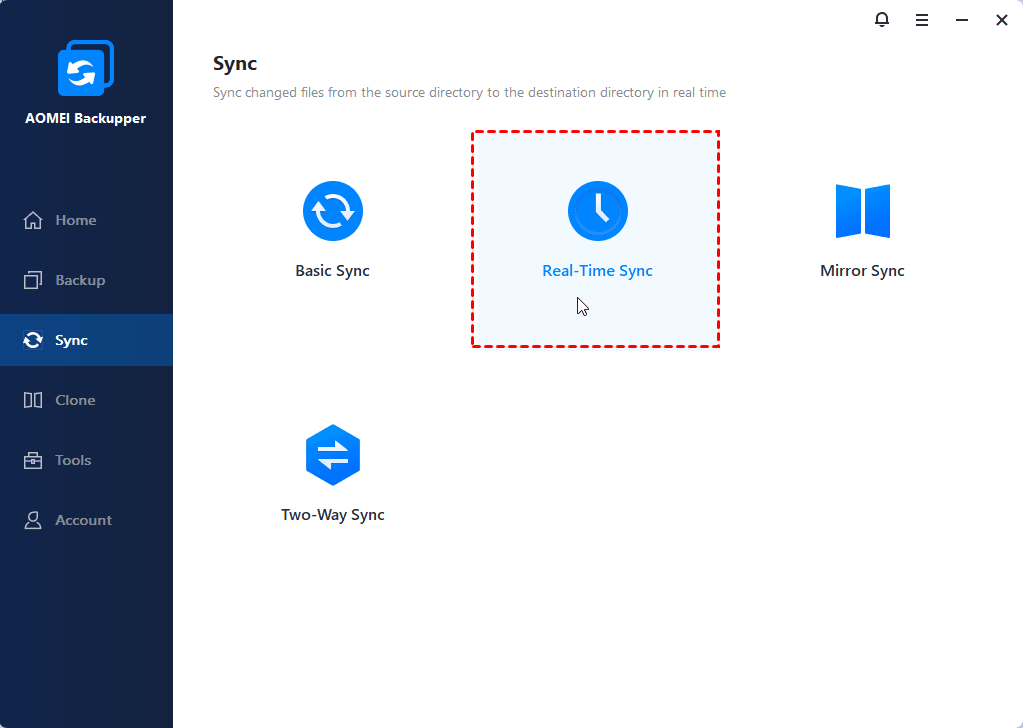
Step 1: Initiate Real-Time Sync
Click the "Sync" tab on the left sides and then select "Real-Time Sync".
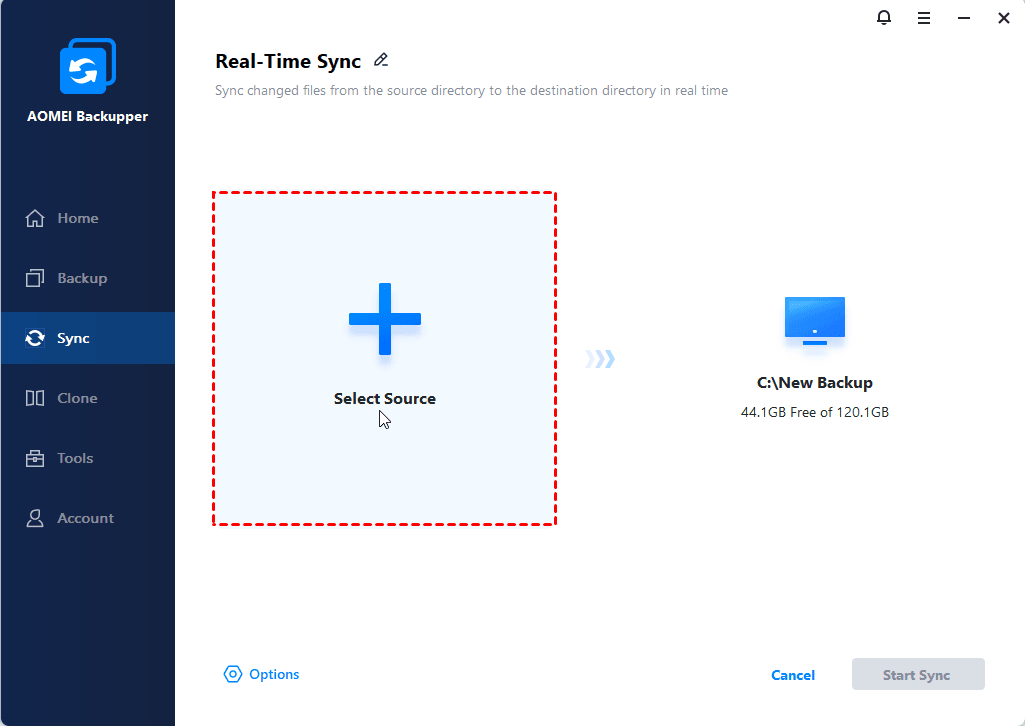
Step 2: Add Folder as Source
You can name this backup using the Real-Time Sync task field to help you distinguish it from other sync tasks. Click "Select Source" to select the folder you want to synchronize. (You can tick and add multiple folders as the source.)
Sync Settings (Optional)
When creating a new Real-Time Sync task, you will find a "Options" button in the lower-right corner of the interface.
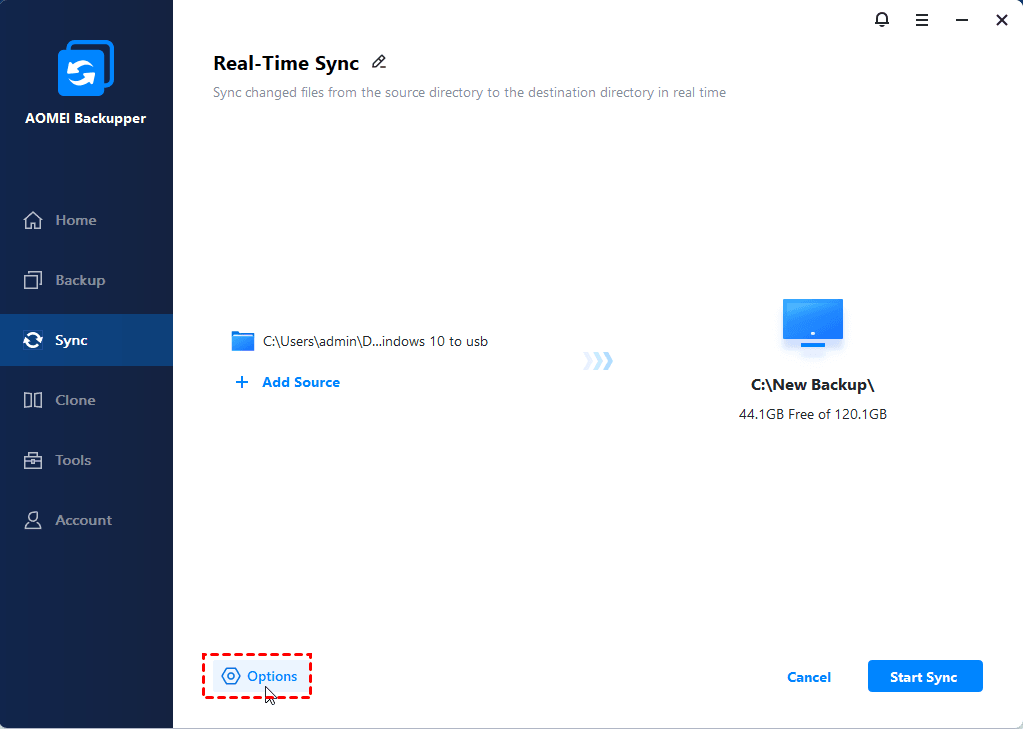
Click the button, and you will see "Sync Settings" and "Filter" options.

-
Comments: Write a note for your task to help you distinguish it from other sync tasks.
-
Sync the deletions in the source directory to the destination: When files are deleted from the source directory, the same files in the destination directory will also be deleted.
-
Verify the integrity of files in the destination directory during synchronization: If a file in the source directory does not exist in the destination directory, the missing files will be synced to the destination directory to ensure the integrity of files. (e.g., files in the destination directory are deleted manually.) Ticking this option will also increase the sync time.
-
Automatically create a folder with the same name as the task in the target location: After checking this option, when the sync task is executed, a folder with the same name as the task will be automatically created under the target location, and the synchronized files will be stored under this folder.
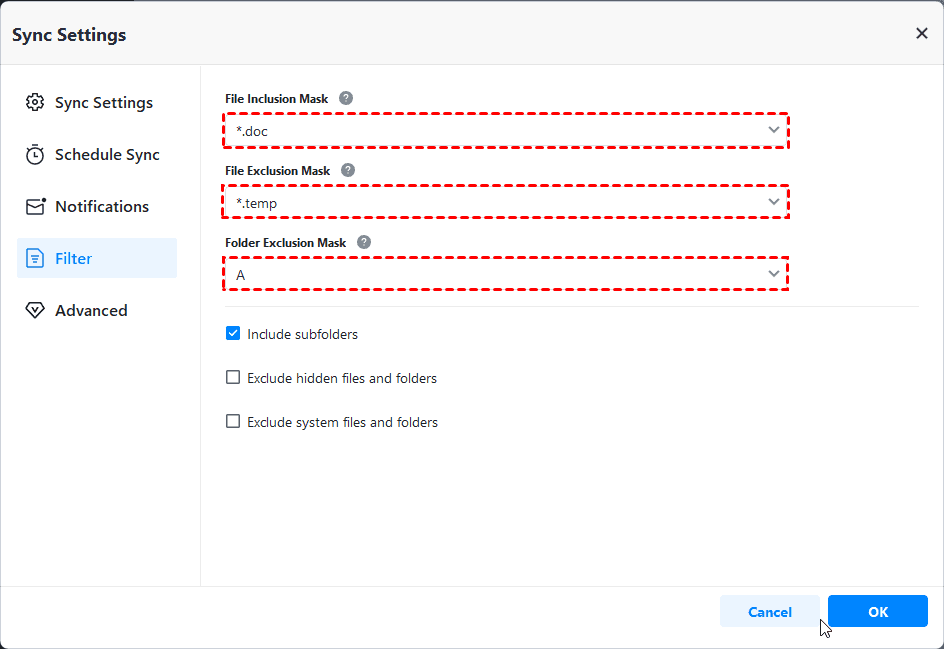
About File Filter Settings
If you need to filter files after you add the folders, you can click the "Options" button to open the "Filter" settings so that you can set up a file inclusion/exclusion mask. The feature "Filter Settings" can be set after you add source folders. (Only available for paid versions)
1) The File Inclusion Mask can specify the files that you need to sync. Wildcards are supported and separate multiple masks with a semi-colon (*.doc;*.xls;*.ppt ).
With this mask, you can configure, including sync according to file extensions, such as .doc, .xls, .ppt, and so on. So, only files with the same extensions will be synced to the target path.
For example, you would like to only sync .doc files in the selected source folders. You can just configure "*.doc" in the mask. (If you would like to include more extensions, please separate the formats with semi-colons.)
2) The File Exclusion Mask specifies the files that you need to exclude. Wildcards are supported and separate multiple masks with a semi-colon (*.temp;*.tmp;*.bak;*~*).
With this mask, you can configure to exclude according to file extensions, such as .temp, .tmp, .bak, and so on. As a result, all files with the same extensions will not be synced to the destination location.
For example, you would like to only exclude .temp files in the selected source folders. You can just configure "*.temp" in the mask. (If you would like to include more extensions, please separate the formats with semi-colons.)
3) The Folder Exclusion Mask specifies the folders that you need to exclude. Wildcards are supported and separate multiple masks with a semi-colon (*temp;temp*).
With this mask, you can configure it to exclude folders with the same name. Therefore, all folders with the same name will not be synced to the destination location.
For example, you would like to only exclude folder "A" in the selected source folders. You can just configure "A" in the mask. (If you would like to include more folder names, please separate the names with semi-colons.)
You can also tick the bottom three boxes as you need. After the "Filter settings" option is set, please click "OK".
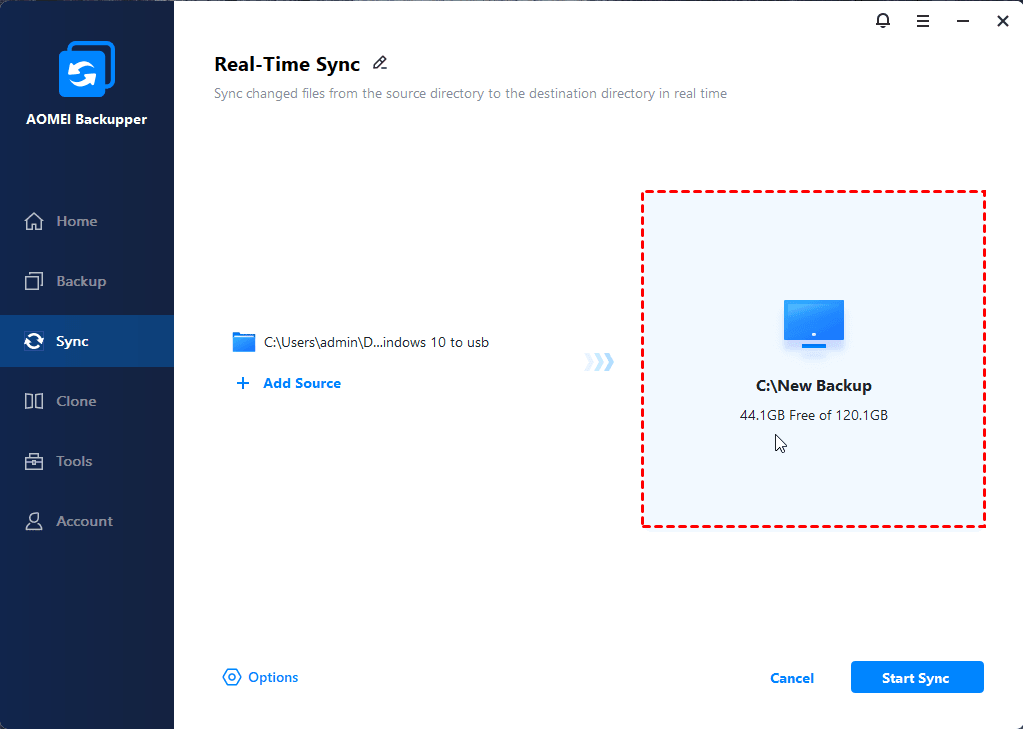
Step 3: Select Destination Location and Start Sync
Select a destination location to store the folder, then click "Start Sync" to perform the operation.
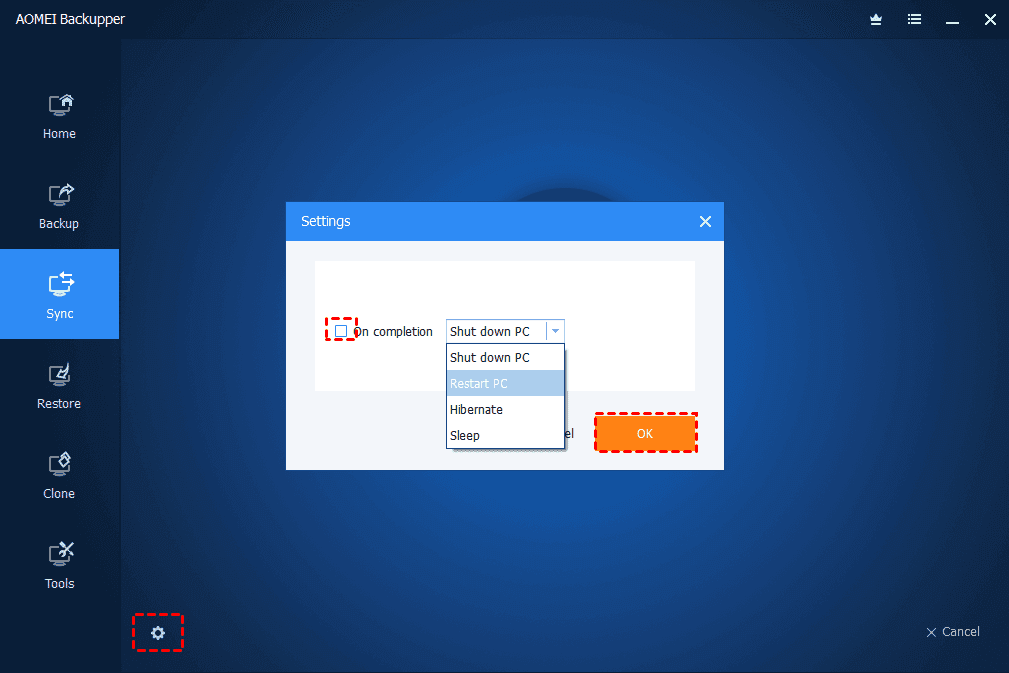
While a sync is running, you can click an icon in the lower-left corner to set to Shut down/Restart/Hibernate/Sleep PC after sync completion.
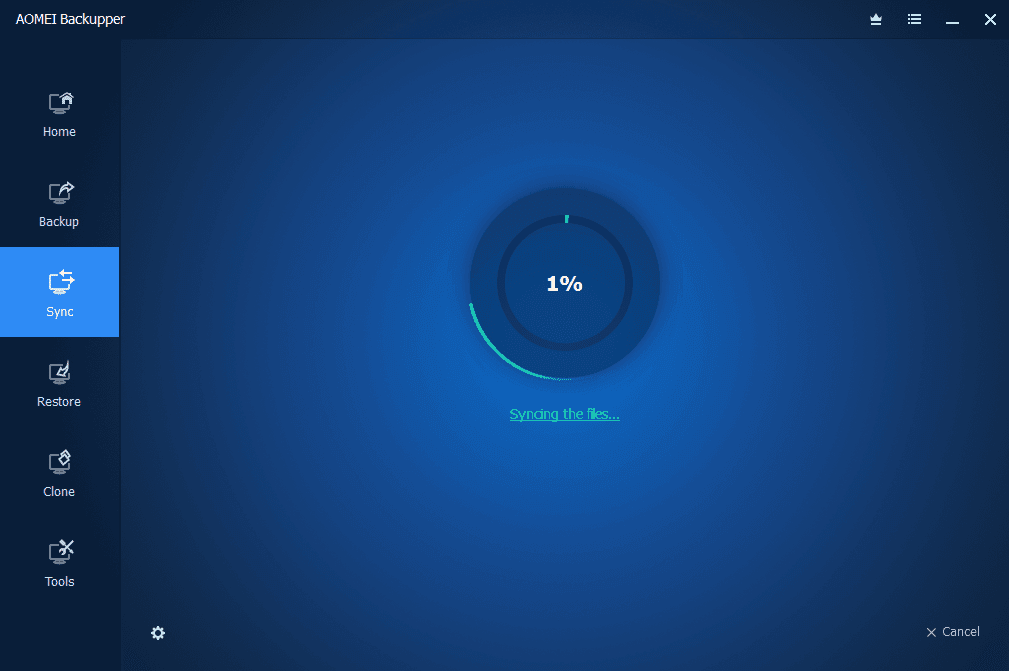
Step 4: View Sync Process
When a sync is running, you can view the sync process.
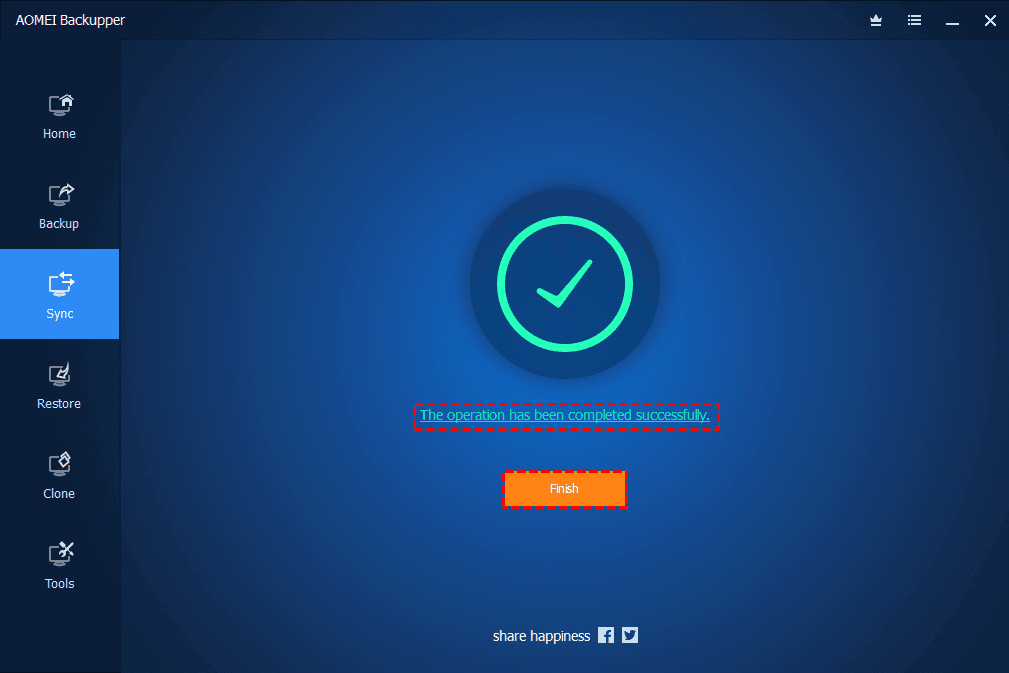
Step 5: Finish Sync
And, please kindly wait for the sync process to complete and then click the "OK" button.
Step 6: Sync Result
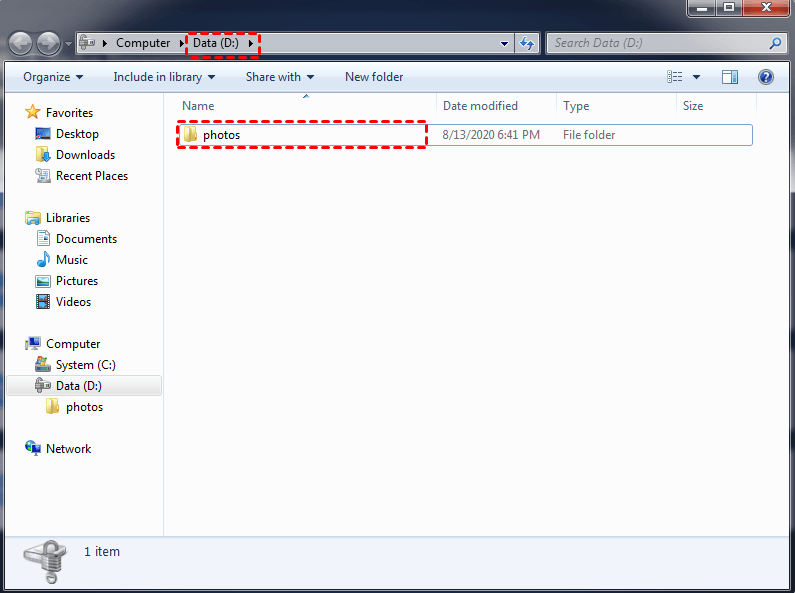
As a result, you can view the data directly on the destination location.
When you add, change, or delete files in the source directory, the program will sync these files to the destination in real-time.
Notes:
- For Real-time Sync, AOMEI Backupper does not support Email Notifications.
- For the real-time sync feature, selecting a NAS/Share as the source is not supported. But you can select a NAS/Share as the destination.
Conclusion
Real-time file synchronization is highly useful in many scenarios, whether it's team collaboration, backup, mobile device synchronization, or remote work, as it allows for instant updates and synchronization of files through the use of real-time file synchronization technology.
FAQs
Q: Why does real-time-sync not sync the changed files in time?
A: In real-time sync, you may experience a problem that the file in the source directory has been changed, but the change is not synchronized to the destination directory. In this case, please manually run the sync task and then check if the change can be synchronized to the destination directory.
a) If the change is synchronized to the destination directory after a manual execution, the possible cause is that the ABSync.exe is not running. Please check if the ABSync.exe is running under Windows Task Manager. If it is not running, you can find the ABSync.exe under the installation directory, right-click and manually run ABSync.exe as an administrator, and then check again. And, it is recommended to close the anti-virus program and add ABSync.exe to the whitelist of the anti-virus program. If the problem still remains, please contact our support team and attach the log folder and mmf folder under the installation directory so that we can further analyze the problem and help you find solutions.
b) If the change is still not synchronized to the destination directory even after a manual execution, the problem is that ABCore.exe is not running. Please manually run ABCore.exe as an administrator and retry.
Q: When selecting a network path as a source, why does it say that it is not supported?
A: Real-time Sync does not support network paths as a source.