How to Backup Hard Drive with AOMEI Backupper
Disk Backup is crucial for protecting your data and ensuring system reliability. Whether for personal computer use or enterprise-level systems, establishing a regular and reliable backup strategy is an essential part of data management. Here are some key reasons why disk backup is essential:
Data Loss Protection: Disks can suffer from physical damage, file system corruption, malware attacks, or human errors, leading to data loss. Backups help you recover lost data, ensuring you don't suffer significant losses due to disk issues.
Disaster Recovery: Natural disasters, fires, floods, and other unforeseen events can result in disk damage or device destruction. Backups allow you to restore data on new devices in such scenarios, enabling continuity for your business or personal information.
Virus and Ransomware Defense: Malicious software like viruses and ransomware can encrypt or damage your data. Having backups ensures you can recover unaffected data in case of such attacks.
System Crash Recovery: Operating systems may encounter issues that prevent normal booting. By backing up system partitions, you can easily restore the system to a bootable state, avoiding the hassle of reinstalling and configuring the OS.
AOMEI Backupper is a comprehensive disk backup software that supports backing up various types of disks, including MBR disks and GPT disks. It can also back up system disk, data disk, external hard drives, USB flash drives, and other storage devices, providing versatility in protecting your data from multiple sources.
Regarding system disks, AOMEI Backupper offers two backup options: System Backup and Disk Backup. Disk Backup is used to back up all partitions, including the system partition, boot partition, and data partitions, on the running system disk. This means that if you back up a system disk via Disk Backup, after restoring it, the system can boot normally. On the other hand, System Backup backs up system partition and system-related partitions only (boot partition, system reserved partition, etc.). If you have already created a disk backup for the running system disk, there is no need to run a system backup separately.
Create Disk Image Backup in Windows 10 step-by-step
Prerequisites for disk backup:
- The bootable computer that you want to back up from.
- A target drive (with enough free space) that you can save backup image to. A local path and Share/NAS devices are supported.
- Download and install AOMEI Backupper on the computer. The basic system backup is a free feature, you can download and use the freeware on the computer.
Step 1: Initiate Disk Backup
In the left tab page, select Backup and then select Disk Backup.

Step 2: Add Source Disks
1. Click "Select Source" to select the disk you want to back up. Also, you can choose to rename this backup using the "Task Name" field to help you distinguish it from other backups.

2. In the popup window, select the source disk that you want to back up, and you can add several disks to be backed up via Disk Backup in a single backup operation.
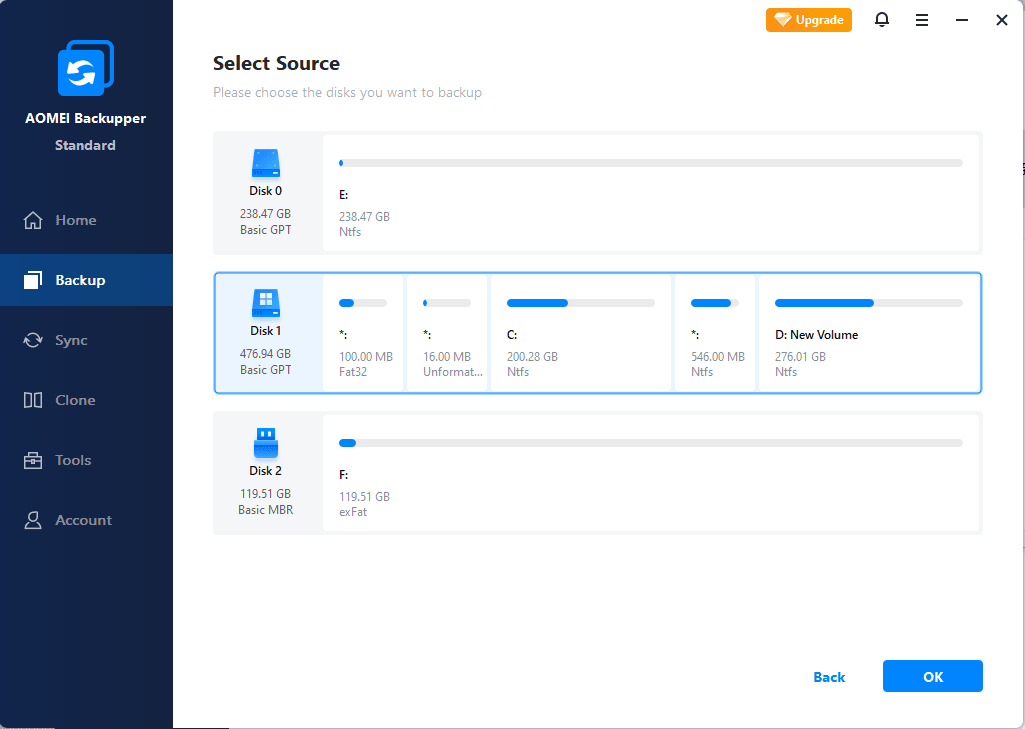
Tip: If you add several disks as sources to back up, when you restore, you need to restore disks one by one.
Step 3: Select Destination
By default, the largest drive on the PC will be selected as the destination.
Please click the destination box to select a destination path.
Supported destinations include: local drives (internal/external), network-attached storage (NAS), and network share.
Tips: You can click the "Task Name" field to rename the backup.

Step 4: Additional Backup Settings
Schedule: Since systems and data are constantly changing, you can set up scheduled backups to automatically back up the system at specified intervals. You have the flexibility to choose from daily, weekly, or monthly backups. In the paid version, you can also utilize event triggers, including USB plug-in.
Backup Scheme: With backup schemes, you have the option to choose between incremental and differential backup methods. Incremental backup captures only the changes made since the last backup, while differential backup captures the changes since the last full backup. This flexibility allows you to efficiently manage backup storage. Additionally, the paid edition can automatically delete older backup images to free up disk space, ensuring optimal utilization.
Options: There are various settings to enhance functionality and customization. These options mainly include:
- Automatically create a folder with the same name as the task in the target location: Ticked by default. So, it will create a folder with the task name under the target path to save backup image files. For example, if you create a backup task named Disk Backup, it will first create a "Disk Backup" folder under the target drive you selected and then save backup images.
- Encryption: Secure your backup by enabling encryption, which protects the backup from unauthorized access.
- Notification: Receive email notifications to stay informed about the status and completion of backup tasks, ensuring peace of mind and proactive monitoring.
- Command: Enable Pre-command or Post-command to run the specified program or script before or after backup.
- Compression: Choose the desired compression level to optimize storage space usage while maintaining backup integrity.
- Splitting Image: Split large backup files into smaller segments for easier storage and compatibility with Different Storage Devices.
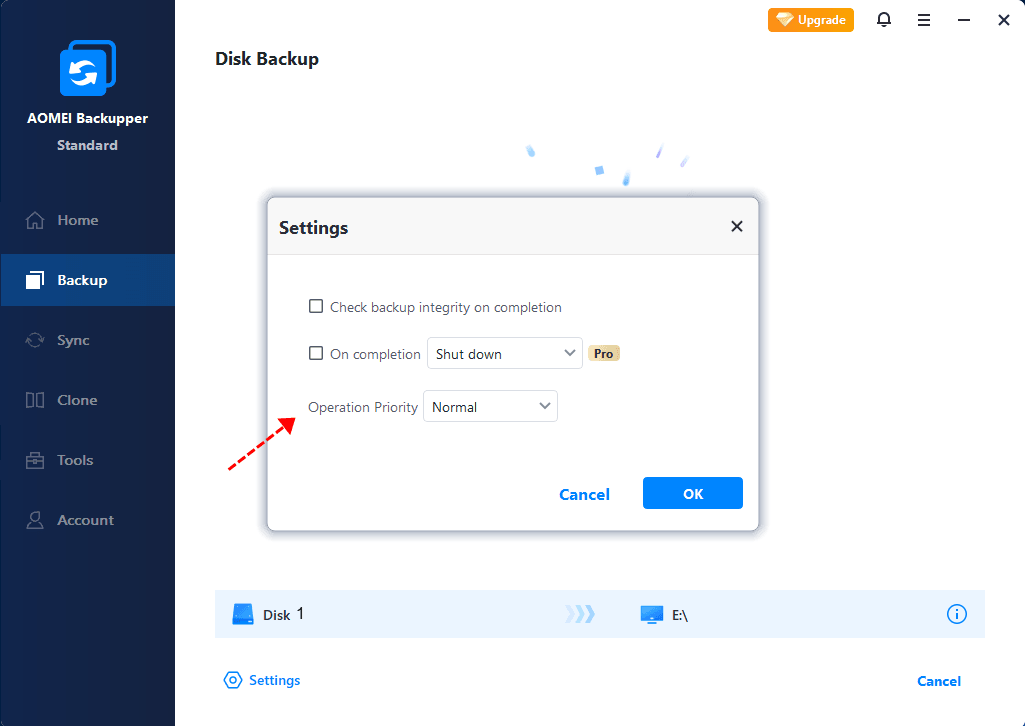
- Operation Priority: Set an operation priority for the backup. The higher the priority issue, the faster the backup will be executed.
- Backup Method: Intelligent Sector Backup will only back up used file system sectors. Make an Exact Backup (Sector-by-Sector Backup) will back up all disks or partition sectors, whether used or not.
- Backup Service: Use Microsoft VSS or AOMEI Backup Service.VSS (Volume Shadow Copy Service) is a backup technique of Microsoft, which allows the computer to continue to be used while a backup is in progress.
Step 5: Start Backup
Click the Start Backup button to create a disk backup.

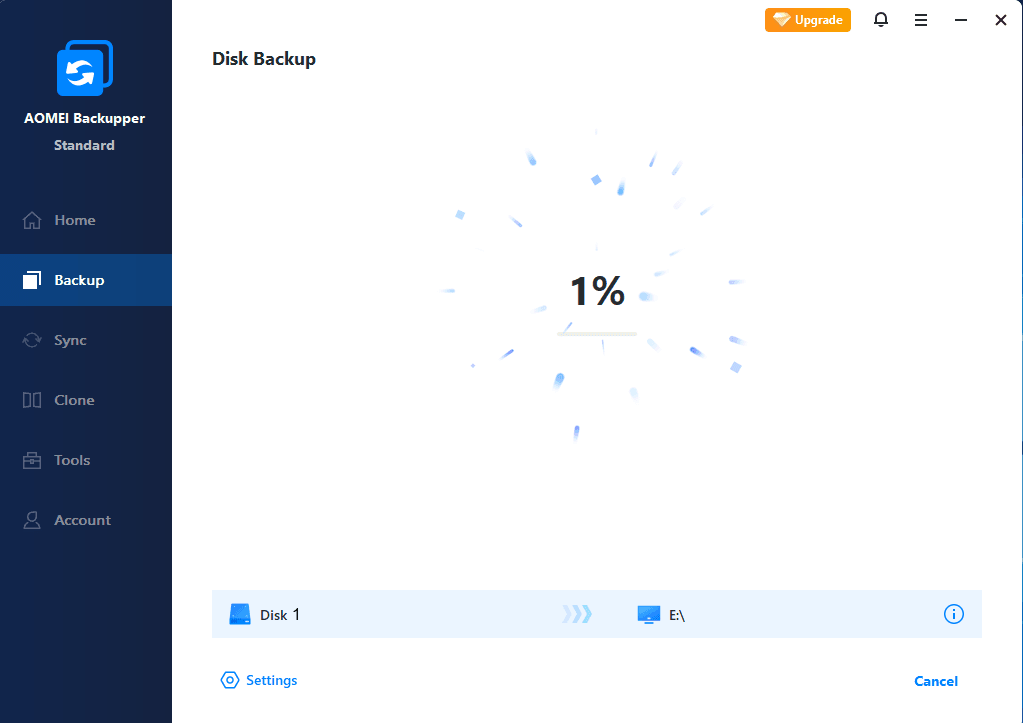
Step 6: Monitor/Complete Backup
1. When the backup is running, you can view the backup process.
2. While a backup is running, you can also click an icon in the lower-left corner to set to Shut down/Restart/Hibernate/Sleep PC after backup completion. Please tick the box and then click "OK".
3. After it is finished, you can click the underlined sentence to check the backup process details. And then click the "OK" button.
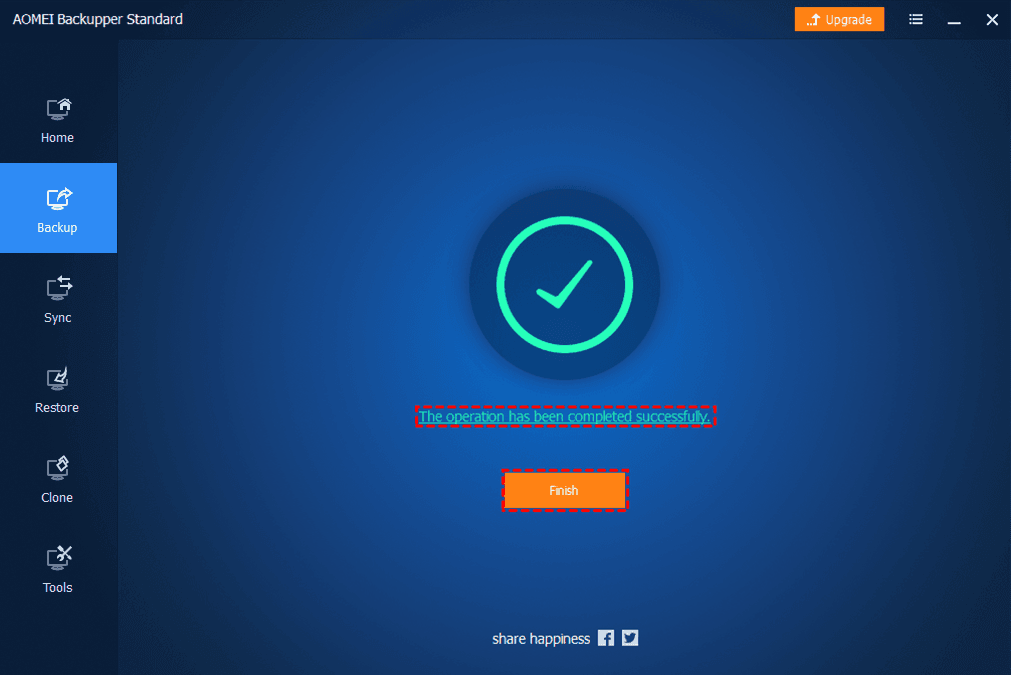
4. Once the backup is finished, the backup task will be listed on the "Home Screen" for future management or running.
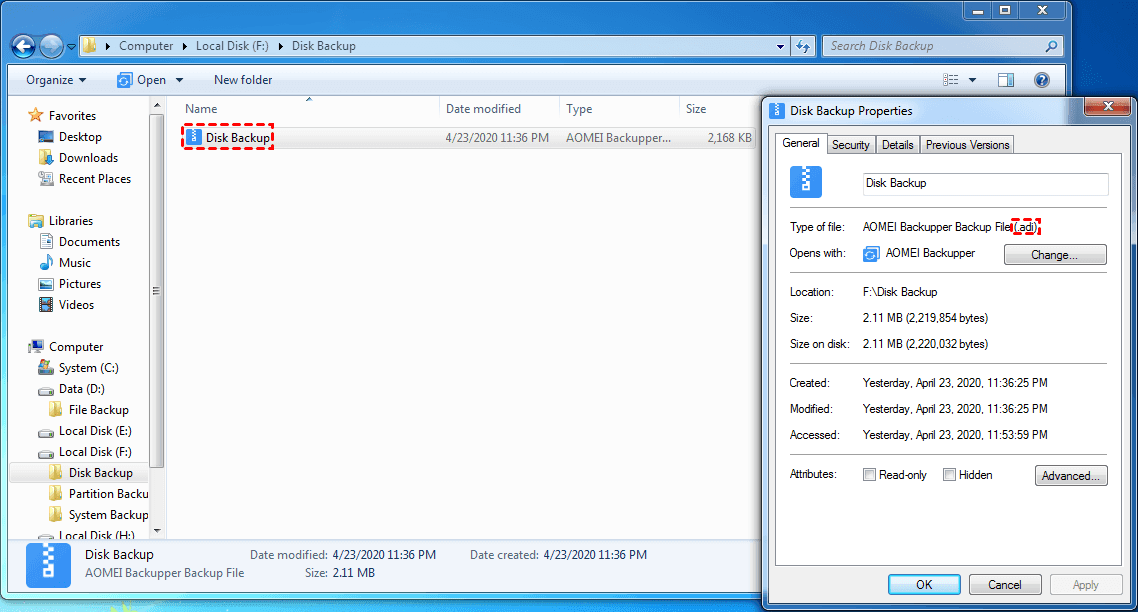
5. As a result, you can go to the destination location and check if there is a backup image (.adi). After that, you can easily restore your system and data in the event of a system crash or disk corruption. For more details about restore steps, please access Disk Restore.
Notes
-
Dynamic Disk Backup: Disk Backup doesn't support backup for dynamic disks. To back up dynamic disk, you can use both System Backup and Partition Backup.
-
Image Accessibility: Allows double-clicking the *.adi image files to directly view and copy backed-up files from Windows Explorer without restoring the whole backup image, or using the "Explore Image" feature to mount the image as virtual partitions.
-
Backup methods differences: AOMEI Backup supports multiple backup methods, how should I choose which one? Please refer to here.
Conclusion
After reading this guide, you now have a comprehensive understanding of disk backup and have mastered the essential steps to perform disk backup. Always remember the importance of disk backup and tailor your backup schedule and strategy based on your specific needs and environment. Regular disk backups are essential for preventing data loss, and in the unfortunate event of data loss, you can rely on disk restoration to recover lost data. Additionally, creating disk backups of the system disk allows for easy restoration of the entire system in case of system damage, greatly simplifying your life.
If you encounter any questions or issues during the disk backup process, please refer to the Frequently Asked Questions section or seek relevant technical support. We are here to assist you in successfully completing your disk backup and safeguarding your valuable data. Best of luck in your data management endeavors!
FAQs
Q: AOMEI Backupper failed to list disks when you do the disk backup or disk clone.
A: Please check the following items:
1. Please make sure the disk is listed correctly under Windows Disk Management.
2. Please check the type of this drive. Backupper doesn’t support an eMMC storage device. Usually, most tablet PCs use the EMMC storage device.
3. Please check whether or not the disk is a dynamic disk. Backupper doesn’t support backing up/cloning a dynamic disk using Disk Backup/Disk Clone. Please use the System or Partition Backup/Clone way to back up/clone dynamic volumes.
4. If you are using the WinPE environment of AOMEI Backupper, it might be that the WinPE lack of the drives of the disk. So, WinPE can't read the disk. You might need to recreate the WinPE and manually add the drivers.
Q: AOMEI Backupper shows the error when starting a backup or sync: Failed to enable backup service. Please retry or reinstall the software…
A: Please uninstall and reinstall AOMEI Backupper, and then try to back up again. If it still shows the error, please check the following items:
1) Please check if you install AOMEI Backupper to a path containing a semicolon (;). The installation path that contains a semicolon will lead to AOMEI Backupper Service startup failure. In this situation, please reinstall AOMEI Backupper into a path without a semicolon.
2) Please check if ABservice.exe is not running under Windows Task Manager. Please manually start it in Windows Services: press Win+R, then run "services.msc" to open the Windows Services Manager. If the status of AOMEI Backupper Schedule Service is not running, please double-click it, then manually click “Start” and make sure the startup type is Automatic.
3) Please check if ABCore.exe is not running under Windows Task Manager. Please find the ABCore.exe file under the installation directory of AOMEI Backupper, then right-click and run it as an administrator.
4) Please add ABCore.exe or the whole "AOMEI Backupper" directory to the whitelist of the anti-virus applications. Or, please temporarily close anti-virus applications during backup.
5) If you enable Ransomware Protection in Windows Defender, please add "AOMEI Backupper" as an allowed app or close Ransomware Protection.
Q: Why is the backup process stuck at 0%?
A: Please temporarily close the anti-virus applications and then try to do the backup again. If it can work, please try to add AOMEI Backupper to the white list of your anti-virus applications, then continue to back up. If the problem persists, please contact our AOMEI Support Team and attach the log folder under the installation directory of the software so that we can further analyze the problem and help you find solutions.
For more FAQs, please refer to here.