How to Backup Files to Cloud with AOMEI Backupper
What is AOMEI Cloud?
AOMEI Cloud is a cloud drive developed by AOMEI Tech. With AOMEI Backupper, you can easily back up your personal files, work file,s and other important data to AOMEI Cloud after you log into your AOMEI account in the program. Backing up to a cloud disk is more secure and less likely to leak. Currently, only files or folders can be backed up to AOMEI Cloud.
How to Back up Files and Folders to AOMEI Cloud
Before creating a cloud backup task, it is highly recommended to first click the "Account" tab on the program to log in your AOMEI Account. Once logged in, there is no need to log in again when you create a cloud backup task.
Step 1: Initiate Cloud Backup
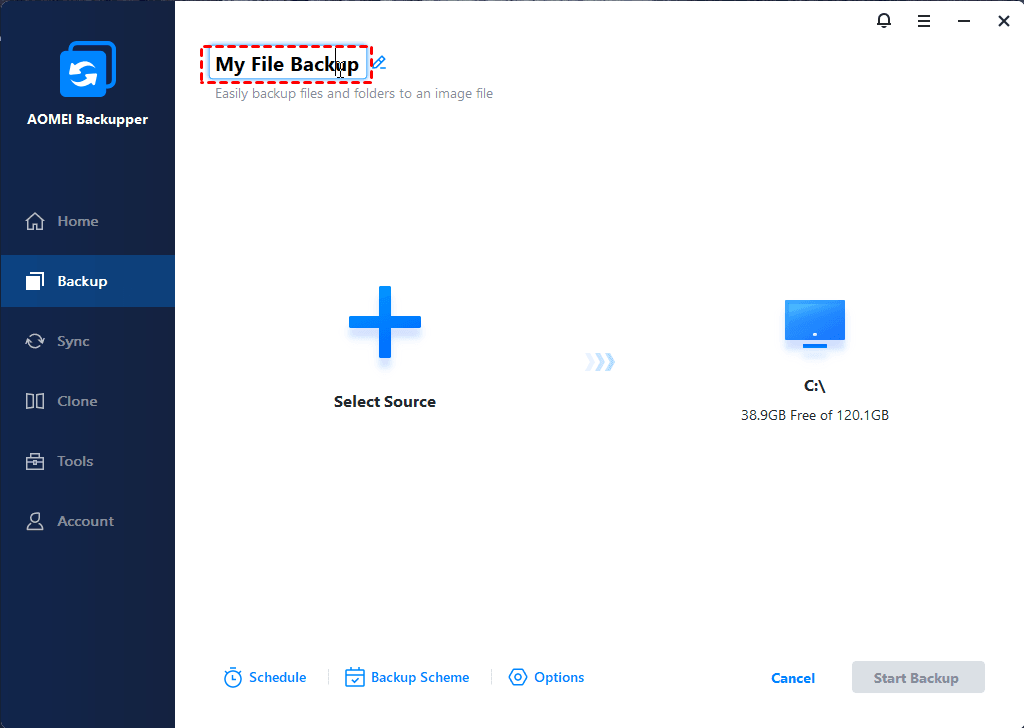
In the left tab page, select "Home" followed by "File Backup".
You can name it for the "Task Name" box to help you distinguish it from other backups.
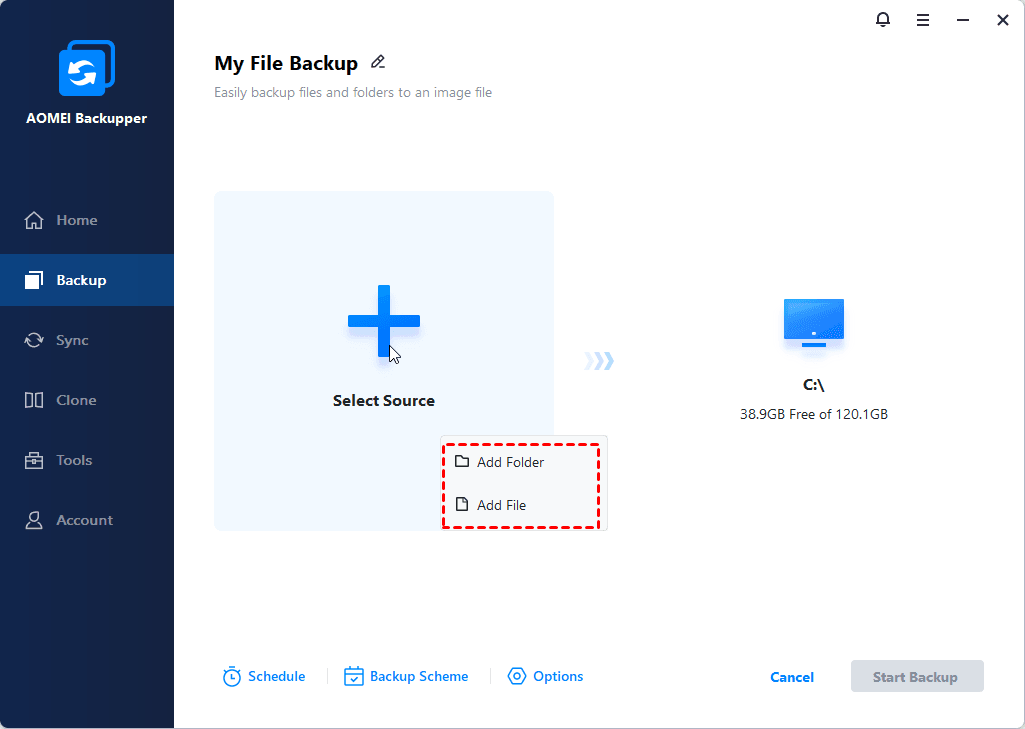
Step 2: Add File/Folder as Source
Click "Select Source" and select either "Add Folder" or "Add File", and then select the files/folders to be backed up.
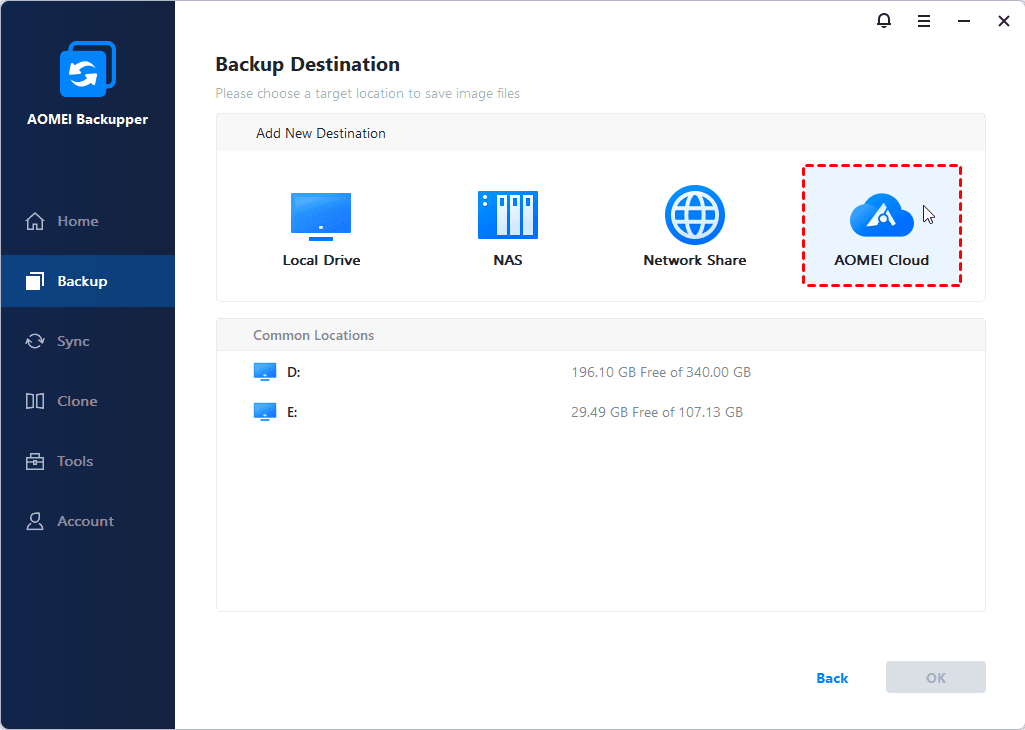
Please click the destination box and select AOMEI Cloud as the destination.
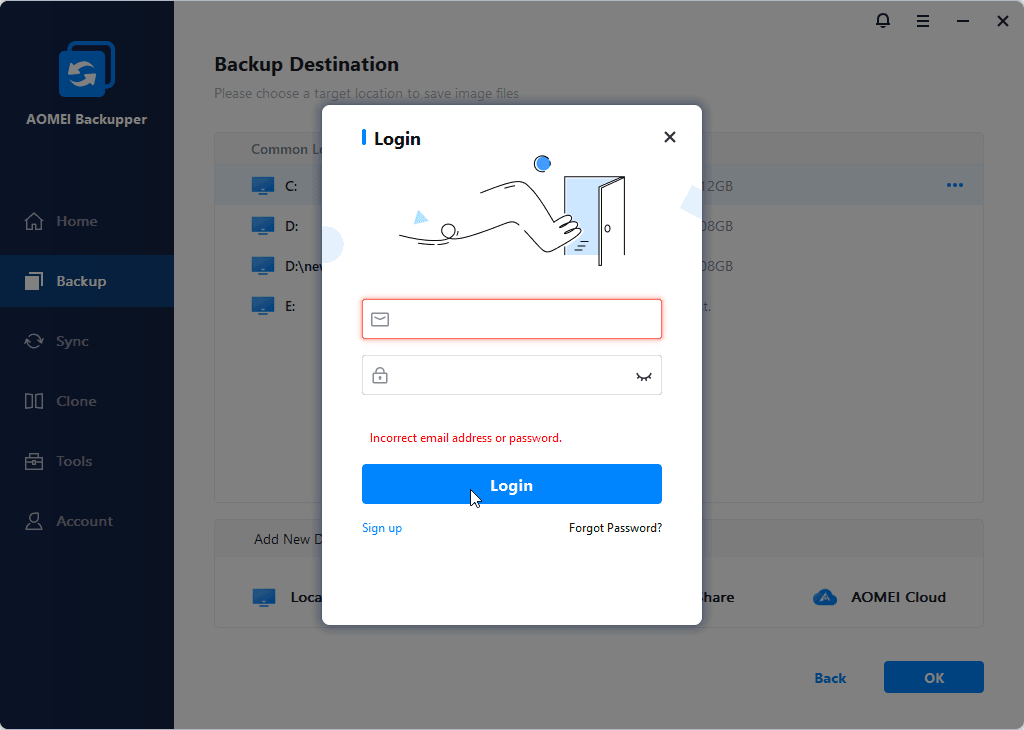
Step 3: AOMEI Cloud Login
Case 1: If you do not have an AOMEI account, you can first click the "Sign up" button and sign up an AOMEI account. Once it is signed up, you can click the "Login" button to log in your AOMEI account. After a successful login, the used space and total space will be displayed.
Case 2: If you already have an AOMEI account but still not logged in, you can directly click the "Login" button to log in your account. After a successful login, the used space and total space will be displayed.
For a Cloud Backup task, you can also click the Schedule Backup button to enable a scheduled backup to automatically run backups. Currently, five schedule modes are available for cloud backup: Daily (By Interval), Daily, Weekly, Monthly, Monthly (By Date), and One-Time. And, incremental backup is the default backup method.
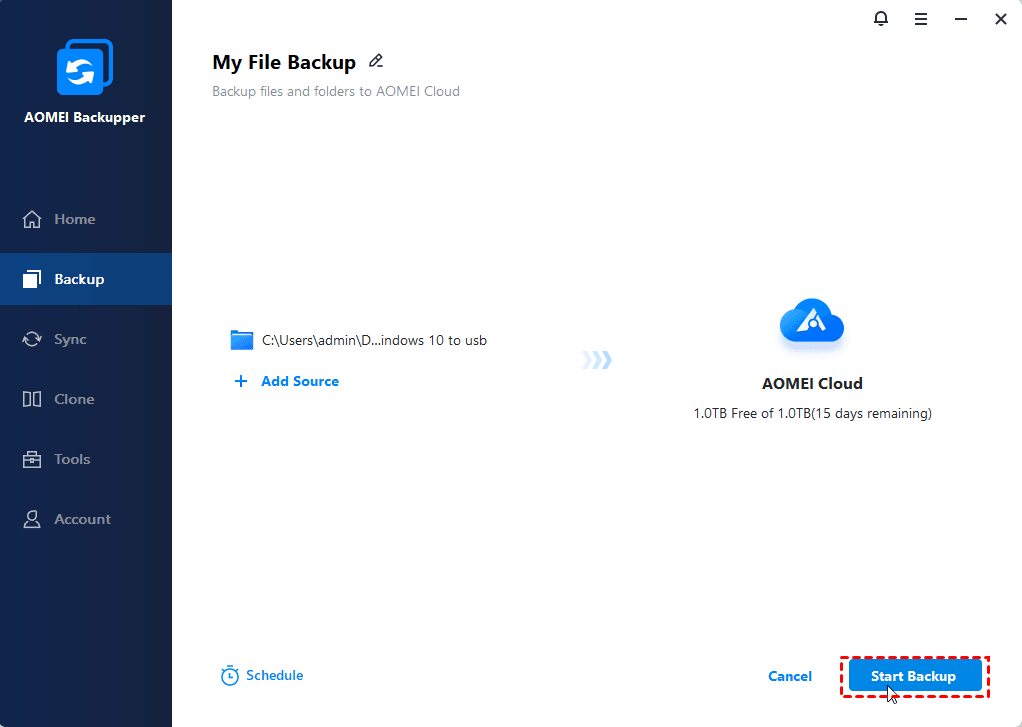
Step 4: Start Backup
Click the "Start Backup" button to begin the backup process. And, click "OK" once the process has completed.
Notes:
- If you would like to restore a file backup from AOMEI Cloud, please use the feature "Restore from Cloud".
- Tasks created on different machines do not support backup operations, but only support restore and view details operations.
- In order to avoid backing up temporary files, garbage files, and other useless data, we suggest you perform a data cleanup first and back up later.
- Files and folders in the Recycle Bin cannot be backed up.
- For AOMEI Cloud Backup, Backupper can effectively back up NTFS files, but these files will no longer have NTFS properties after the restore.
- We suggest you first put the files you plan to back up into the same folder, and then back up this folder. To save all those files, you would then only need to add one backup source to the Backup List, rather than several (Note: every item in the Backup list is called a backup source). This would make backup management more convenient. We suggest you do not add too many backup sources to the Backup list (e.g., the backup source count has reached 2000 or more).
- Some files may be in use by other programs exclusively, program will prompt to skip them.
- Some files don’t have system permission (you can check permissions under properties of files/folders), the program will prompt to skip them.
- When AOMEI Cloud has expired, you will no longer be able to perform the task of backing up files to AOMEI Cloud, and the data in AOMEI Cloud will be deleted after a few days of countdown. An email notification will be sent in advance, and the software will also pop up a window. Prompt details are shown in Data Retention Policy.