How to Backup Microsoft SQL Server with AOMEI Cyber Backup
Database is one of the most important assets in an enterprise, containing a large amount of important data, as well as business logic and key performance parameters. Therefore, database backup is one of the critical steps in maintaining enterprise productivity and business continuity. Backup refers to copying the original database data to another place, with the aim of quickly restoring the data when the original database system encounters failure or other problems.
How to Create Backups of Microsoft SQL Server
Prerequisites for Microsoft SQL Server backup:
- Computer with AOMEI Cyber Backup installed
- Computer with Microsoft SQL Server installed
- Local disk or network share to store backup files
Below we will explain in detail how to create a backup of Microsoft SQL Server through AOMEI Cyber Backup. For the usage environment supported by AOMEI Cyber Backup, please refer to here.
Step 1: Add Microsoft SQL
1. Run AOMEI Cyber Backup on the server machine, click "Source Device" on the left menu bar, then select device type "Microsoft SQL".
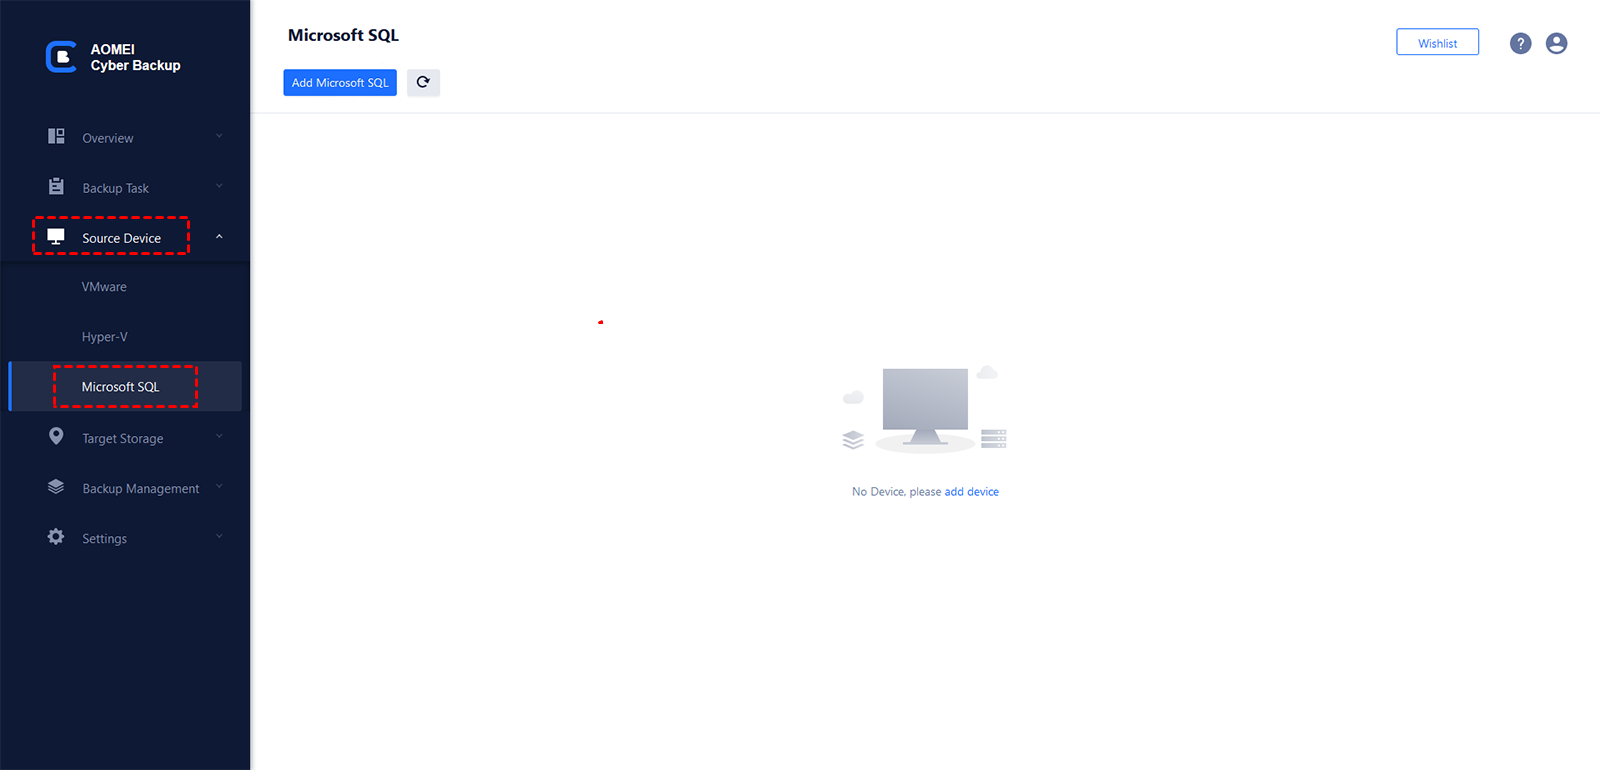
2. Click "Add Microsoft SQL", and choose Download proxy program or Copy link to download and install the AOMEI Cyber Backup Agent on to the computer with SQL databases installed.
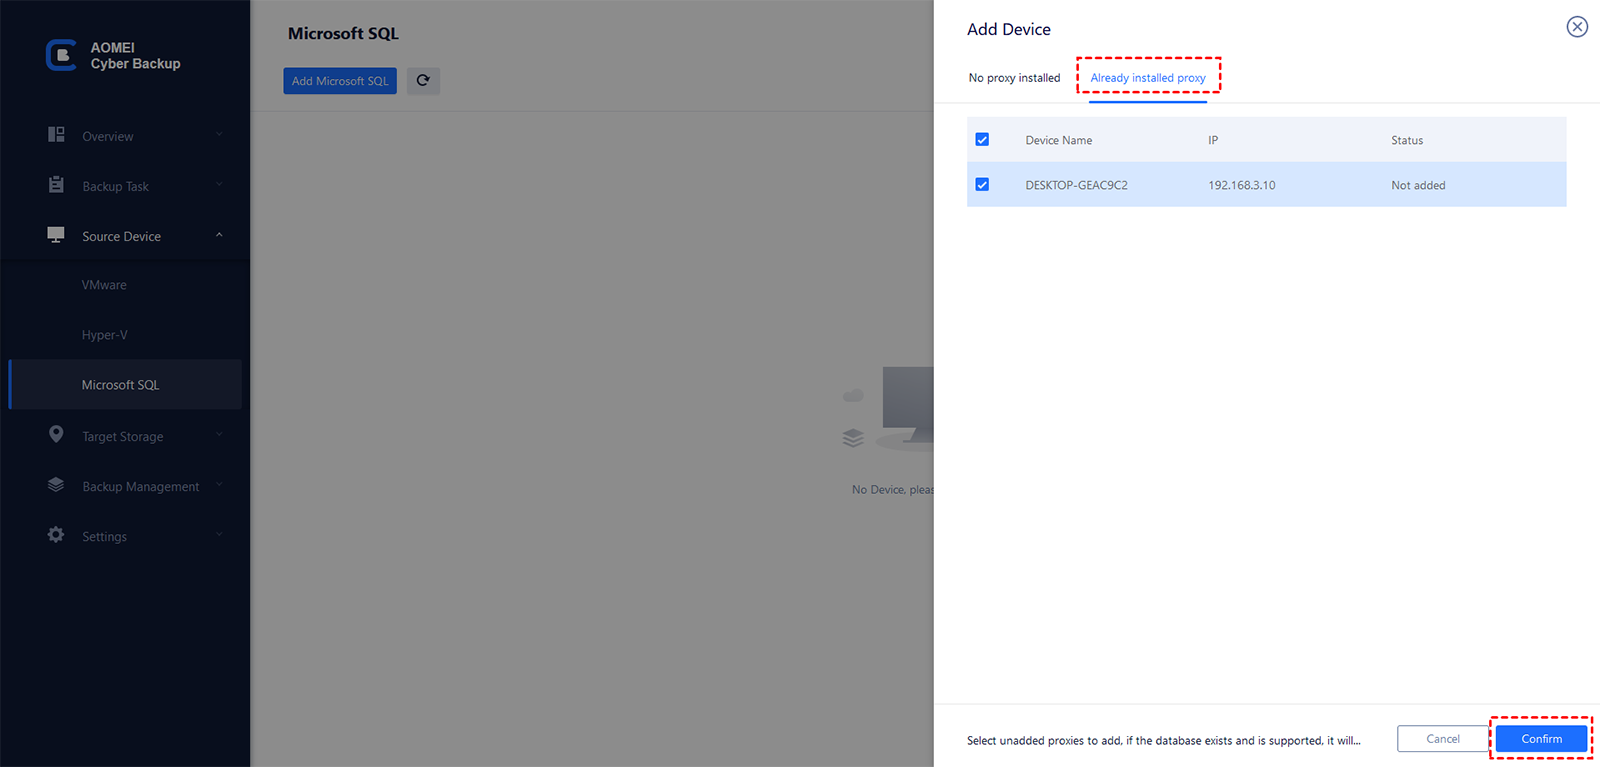
Then, switch to "Already installed proxy", select the device you want to back up, and Confirm it.
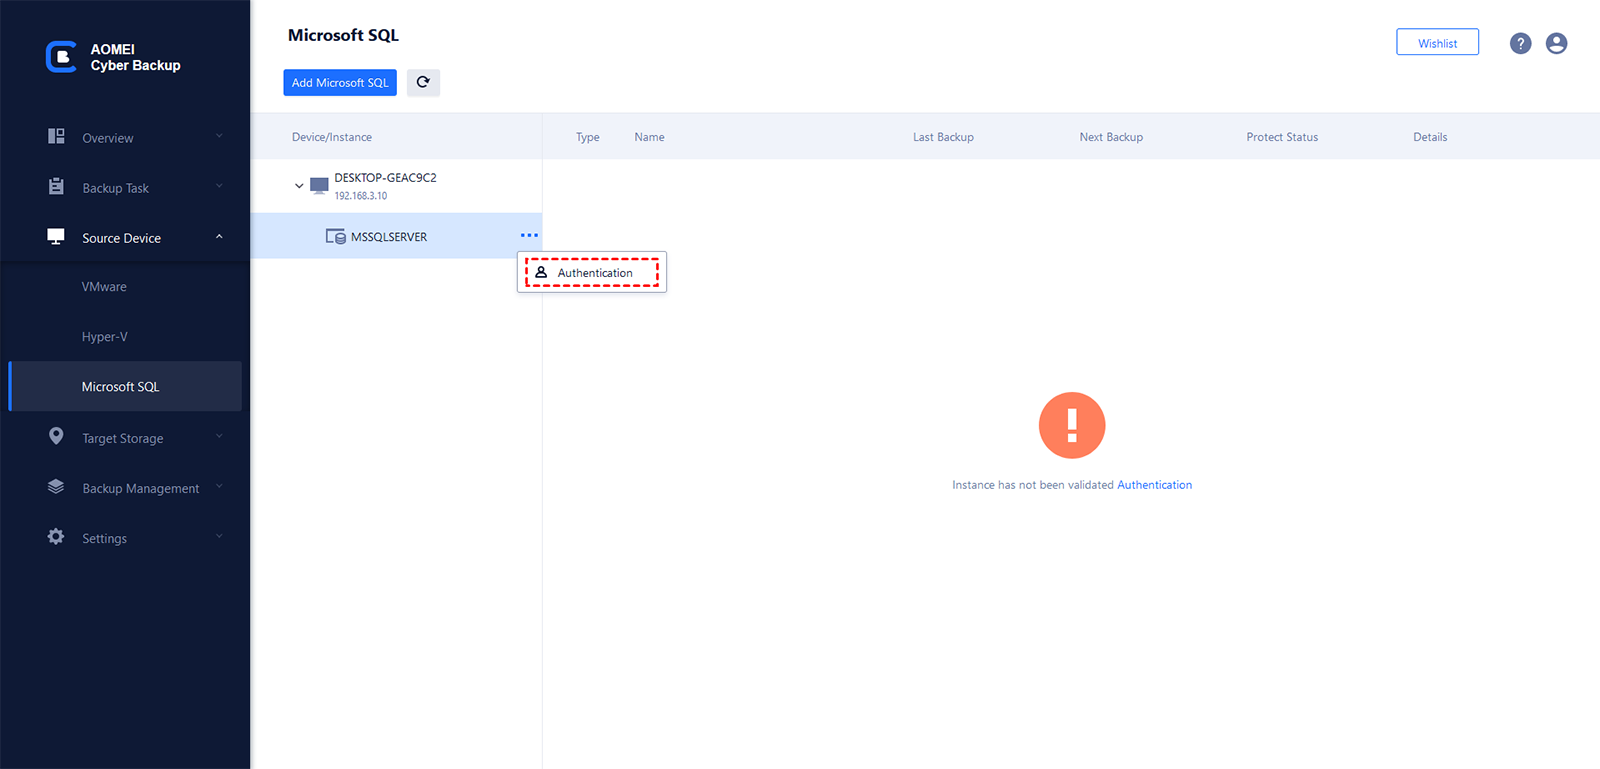
3. Click "![]() "-->"Authentication" to validate the database instance.
"-->"Authentication" to validate the database instance.
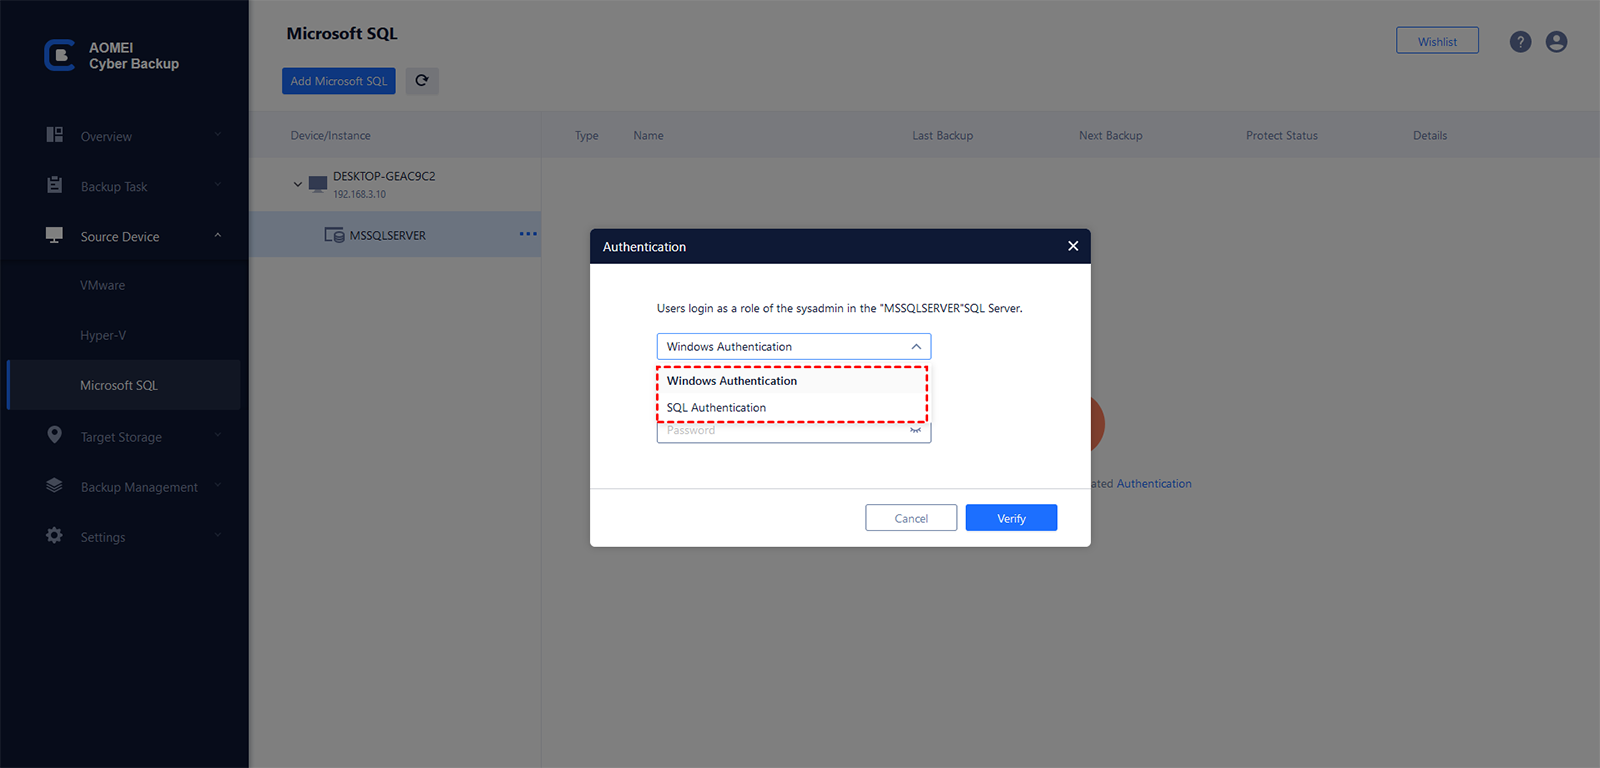
4. You can choose "Windows Authentication" or "SQL Authentication". Enter the credentials and click "Verify".
Step 2: Initiate Backup
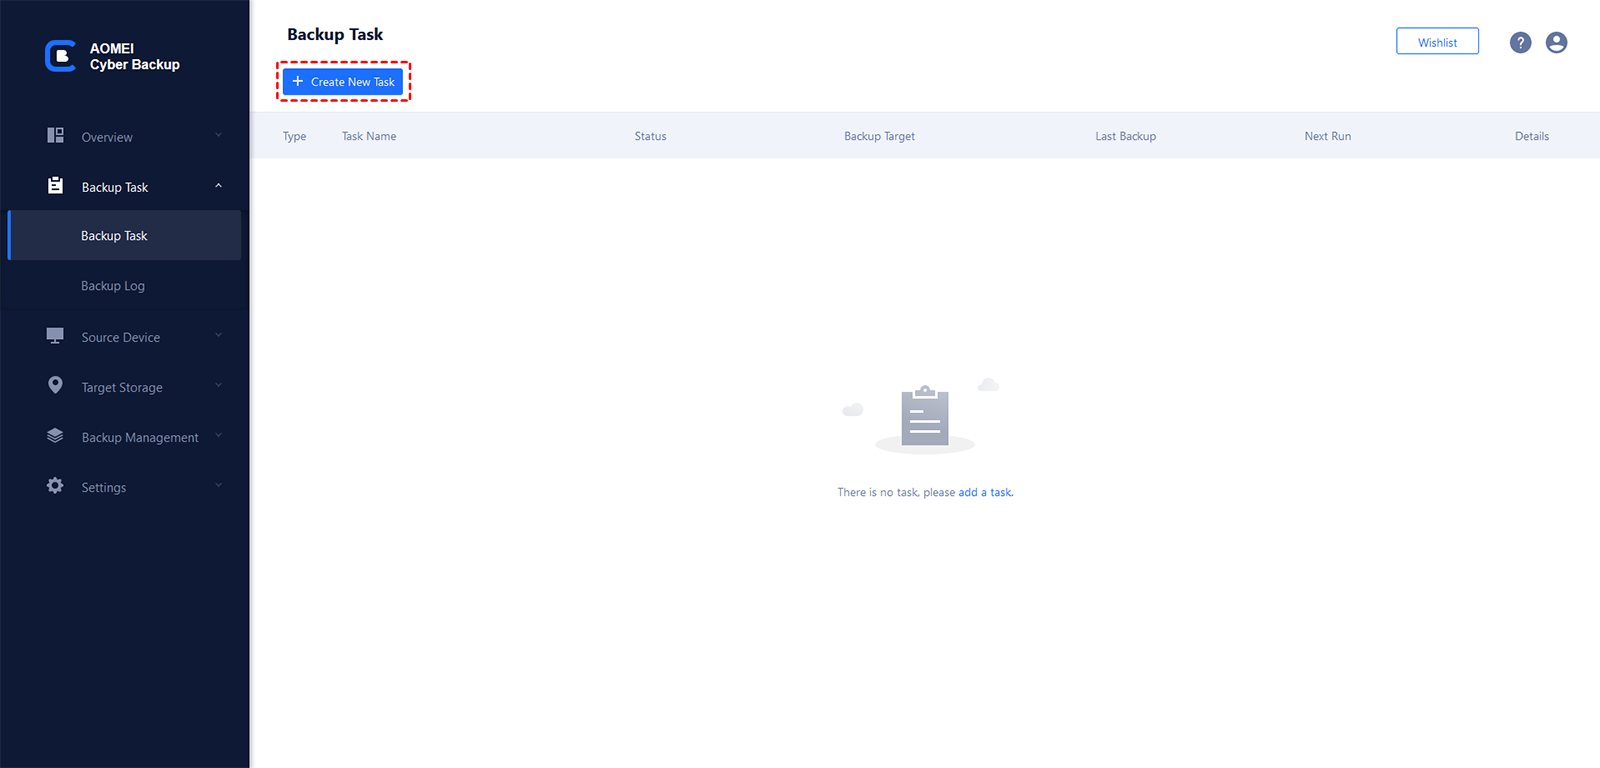
Click "Backup Task" on the left menu bar, select "Backup Task". Click "Create New Task" to open the task creating page.
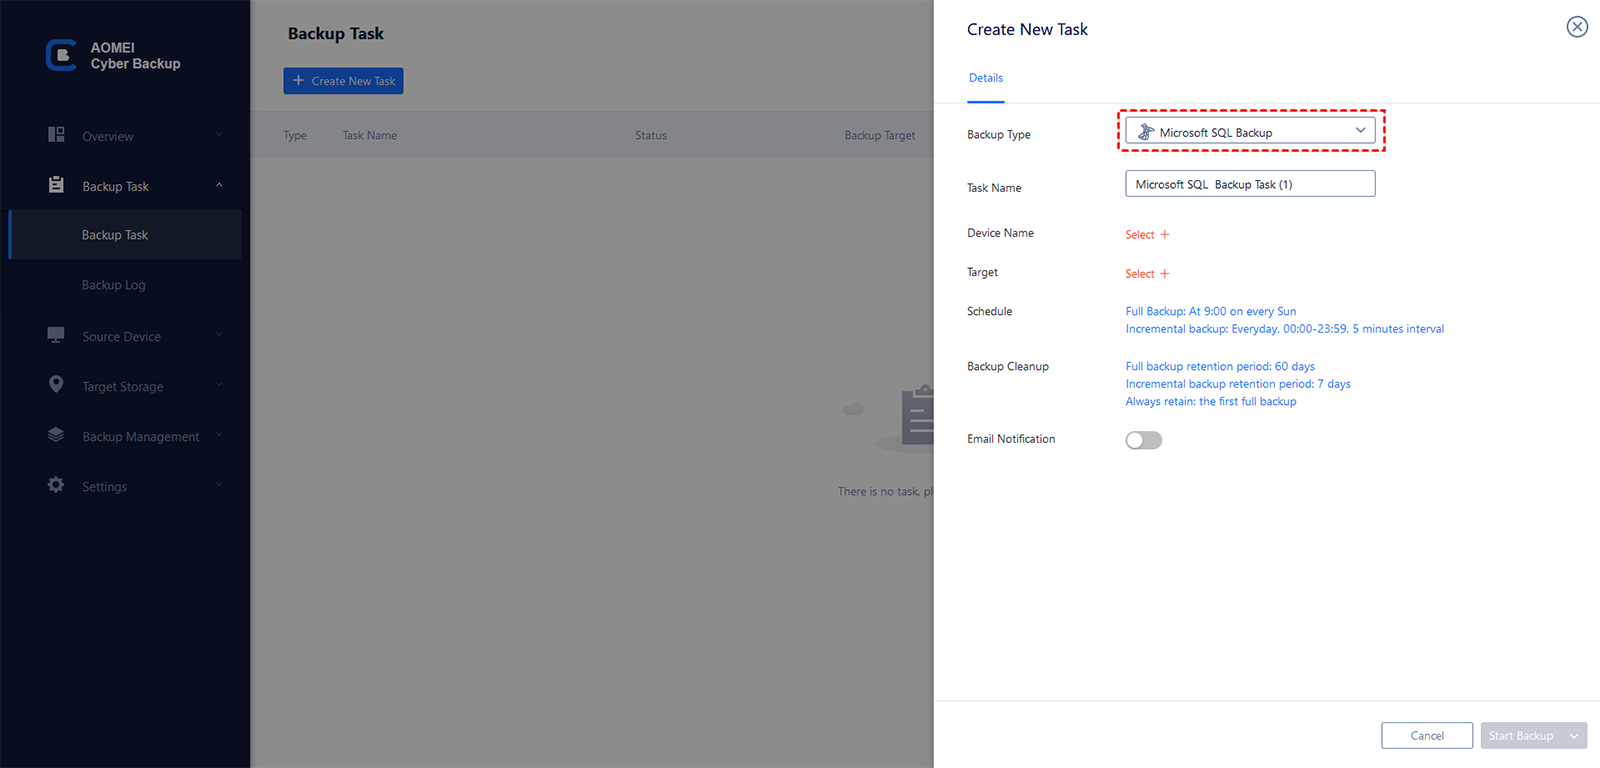
Step 3: Select Backup Type
Choose backup type as "Microsoft SQL Backup".
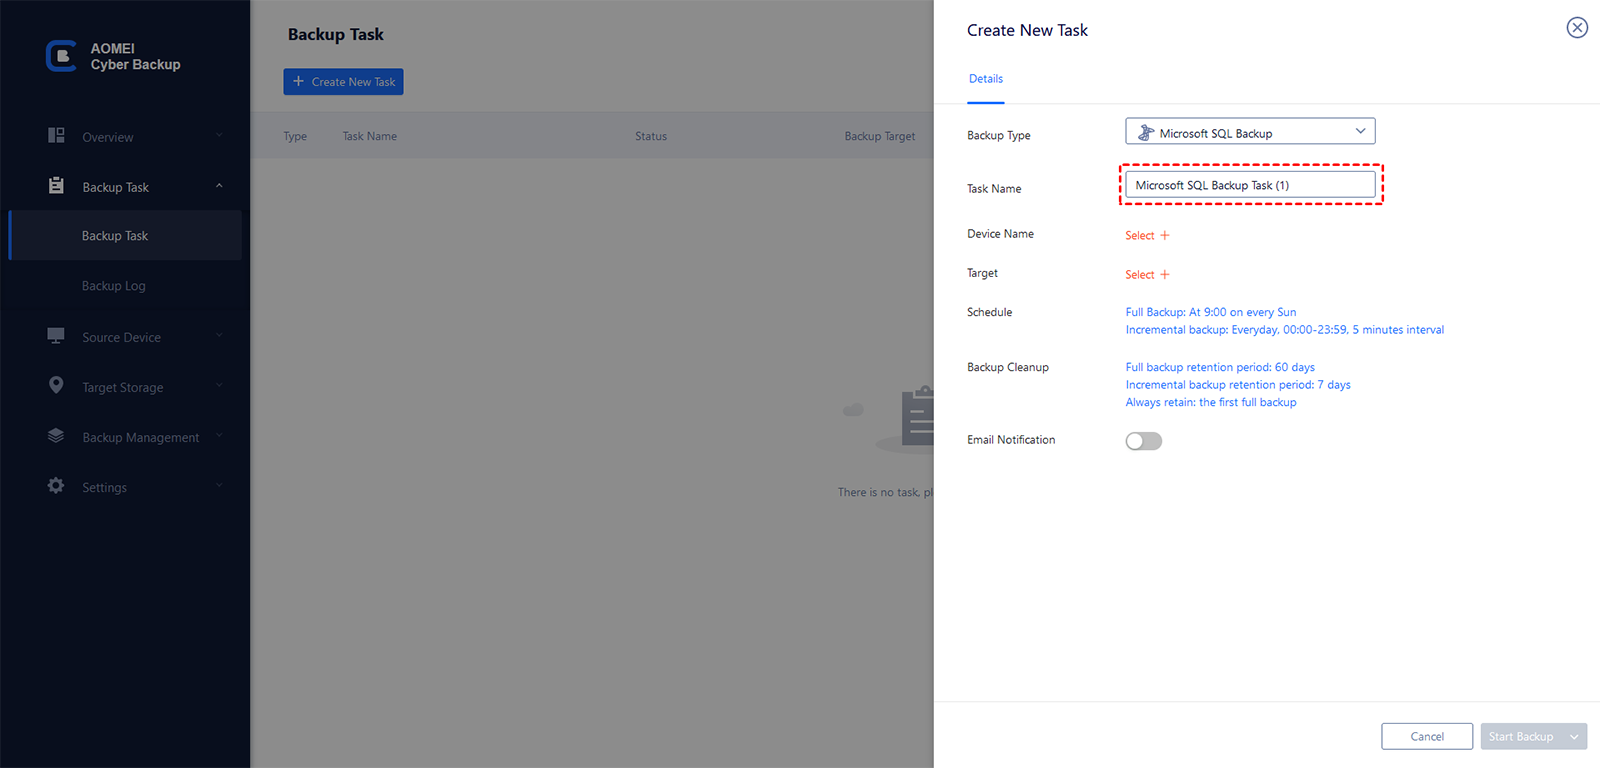
Tips: Set a "Task Name". It will have a default name. You can edit the name of the task.
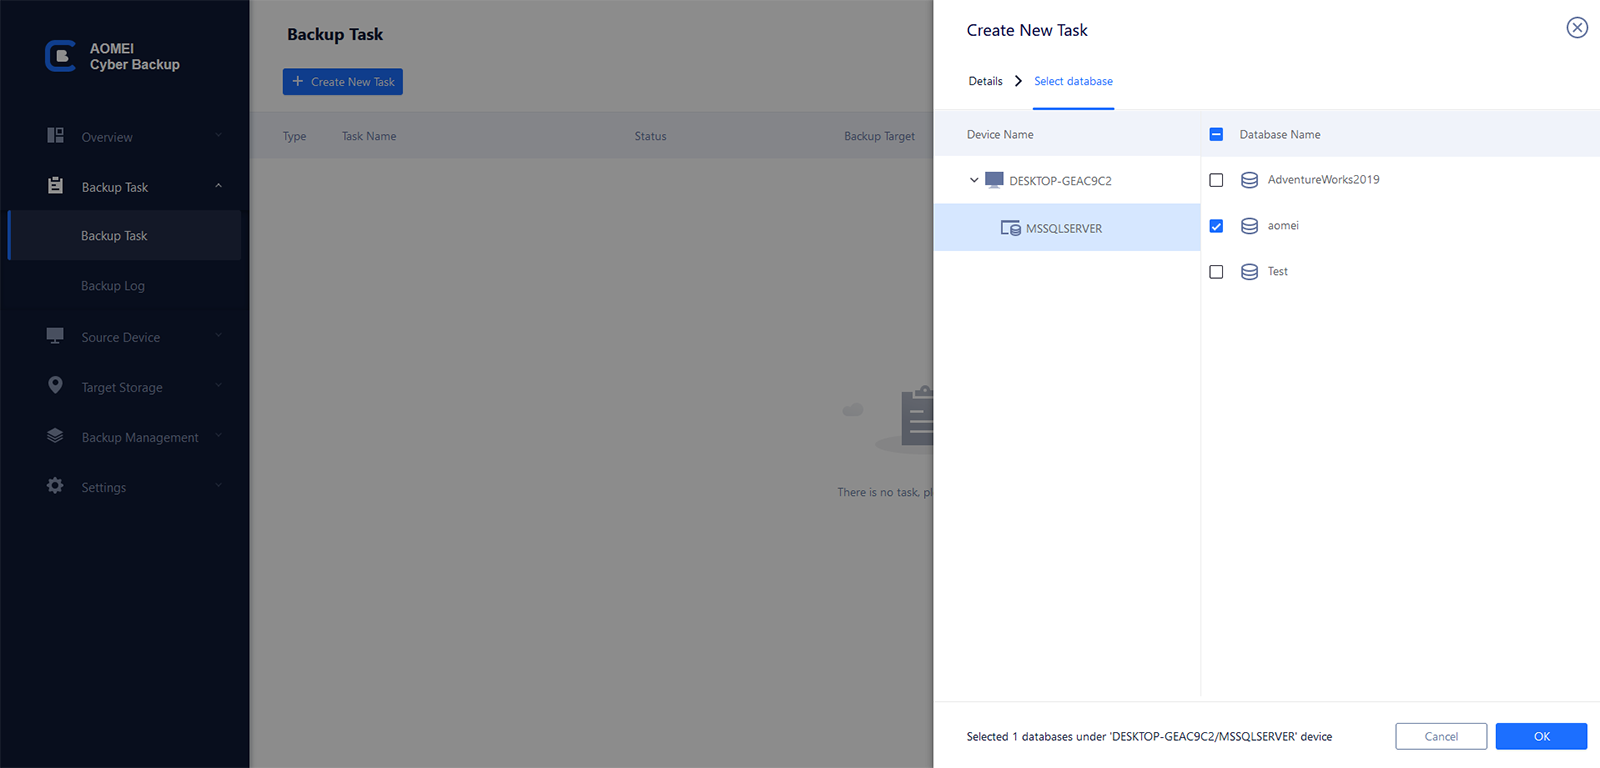
Step 4: Select Database Device
1. Select "Device Name". The database instances you have added will be listed.
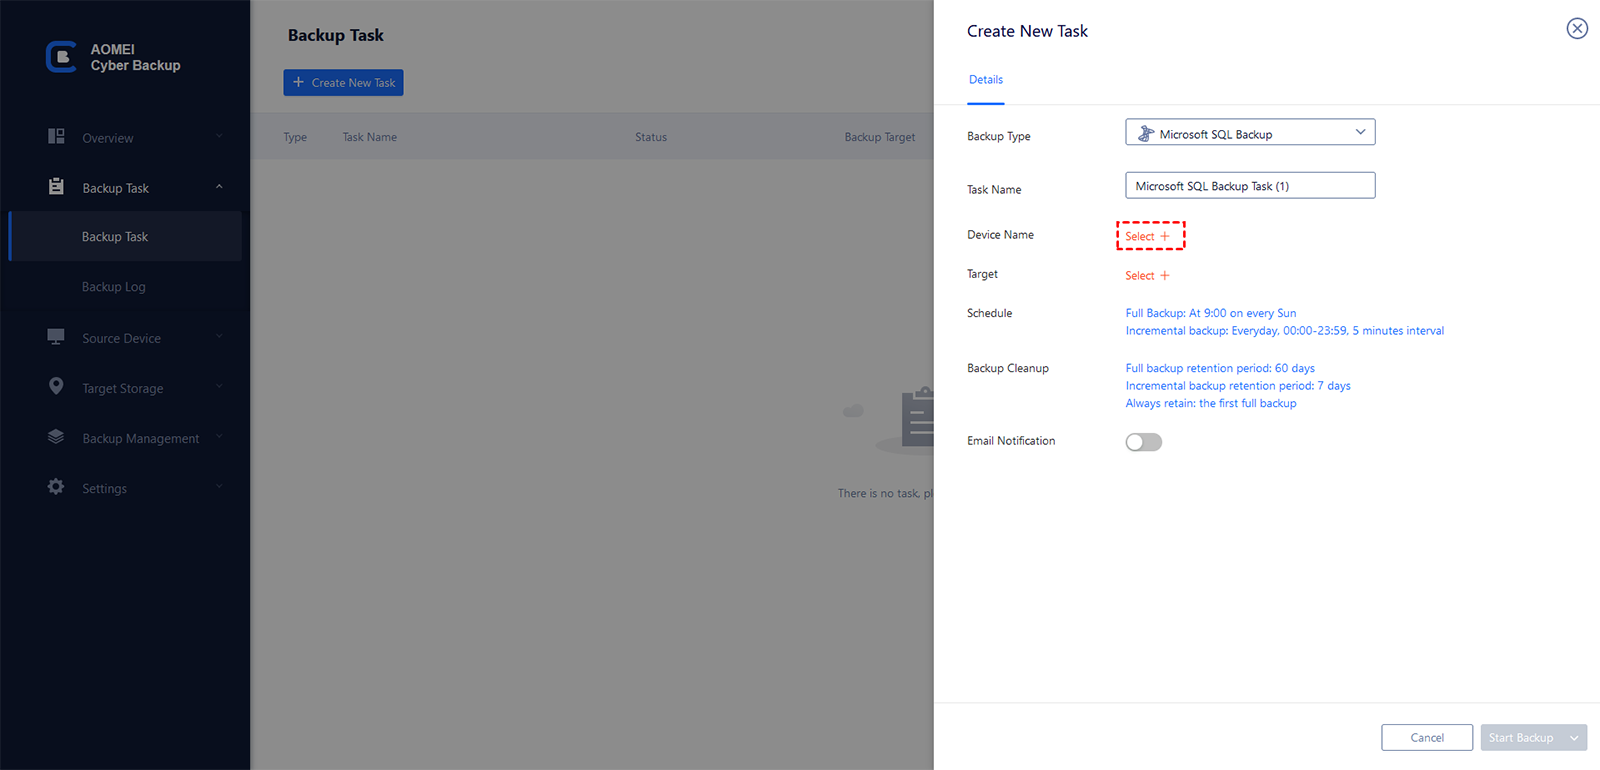
2. Then you can select one or multiple database instances for backup.
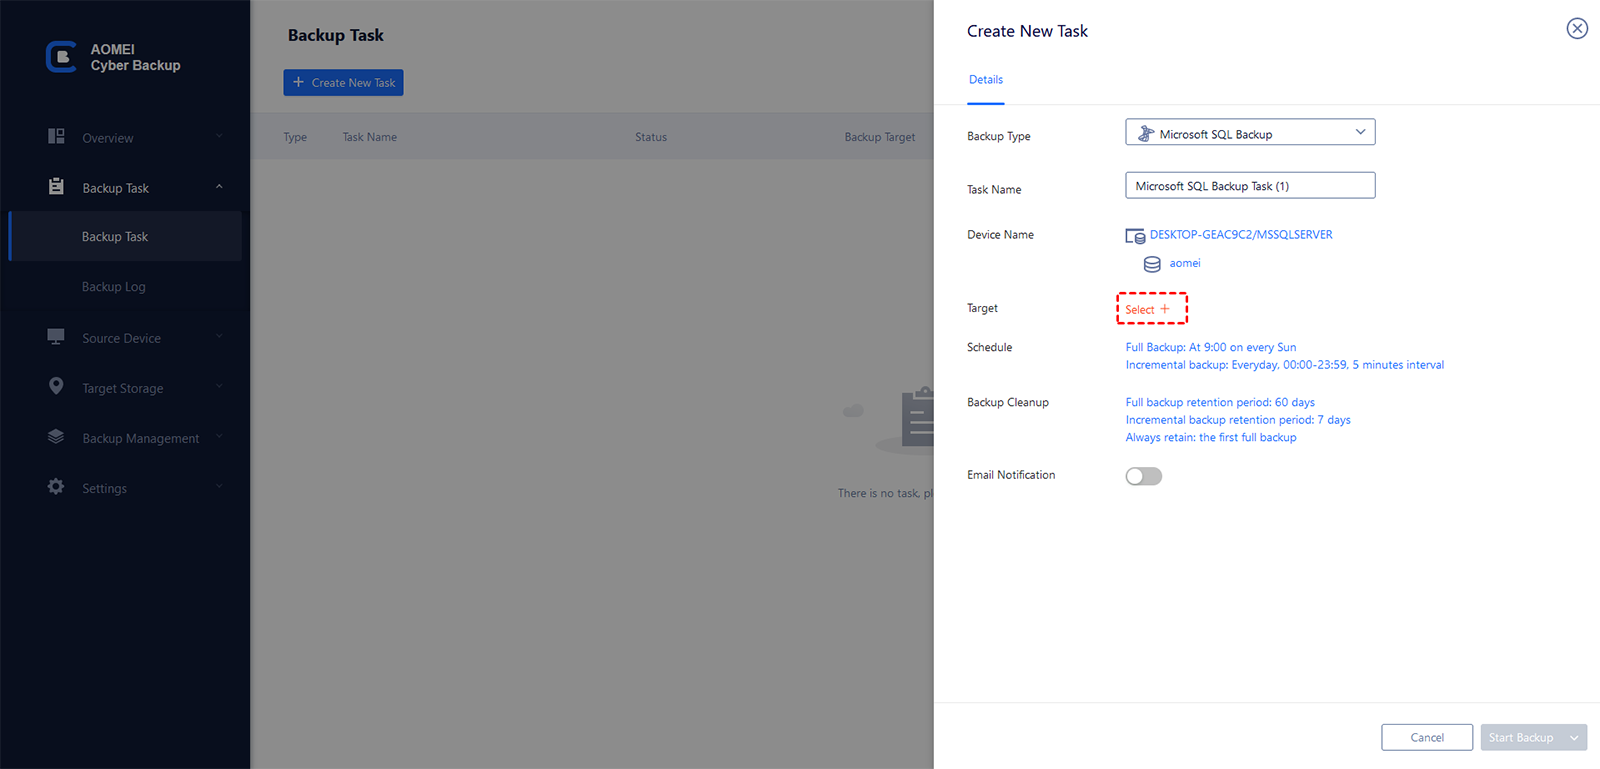
Step 5: Select Destination
1. Select "Target" to save backups.
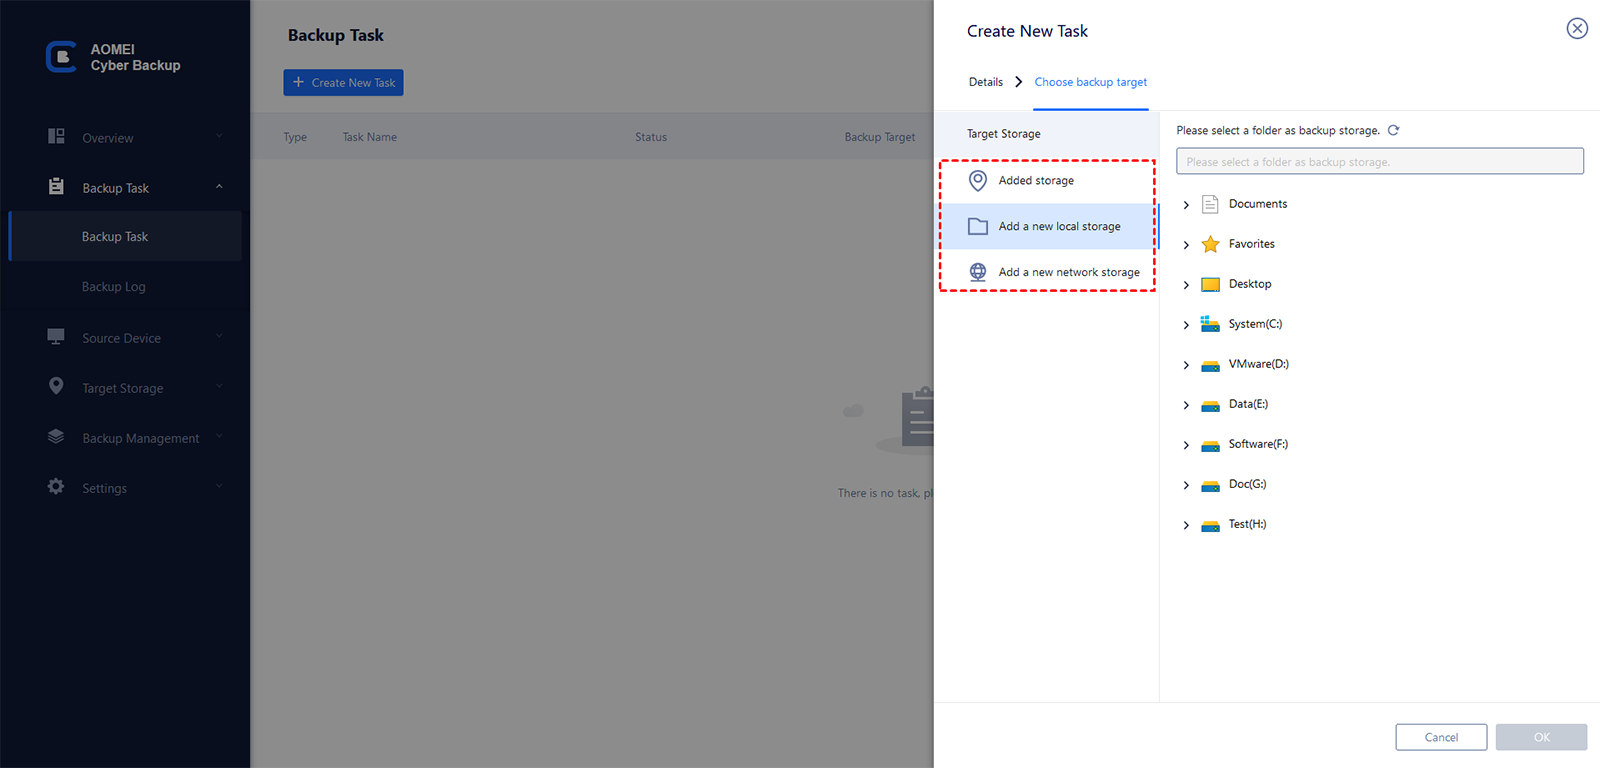
2. You can select a local or network path.
Added storage: It will list all added backup target. You can select the backup target without adding it again.
Add a new local storage: It will list the local directory of this computer with AOMEI Cyber Backup installed , then you can select a location as backup target.
Add a new network storage: You can type into a network path (such as: 192.168.1.1\data), then fill in username and password of the network path to add. After that, you can continue to select a folder of the network path as backup target.
Tips: You can also add and manage target locations in Target Storage.
You can enable Backup Archive to backup to Amazon S3, for more detailed information, please see here.
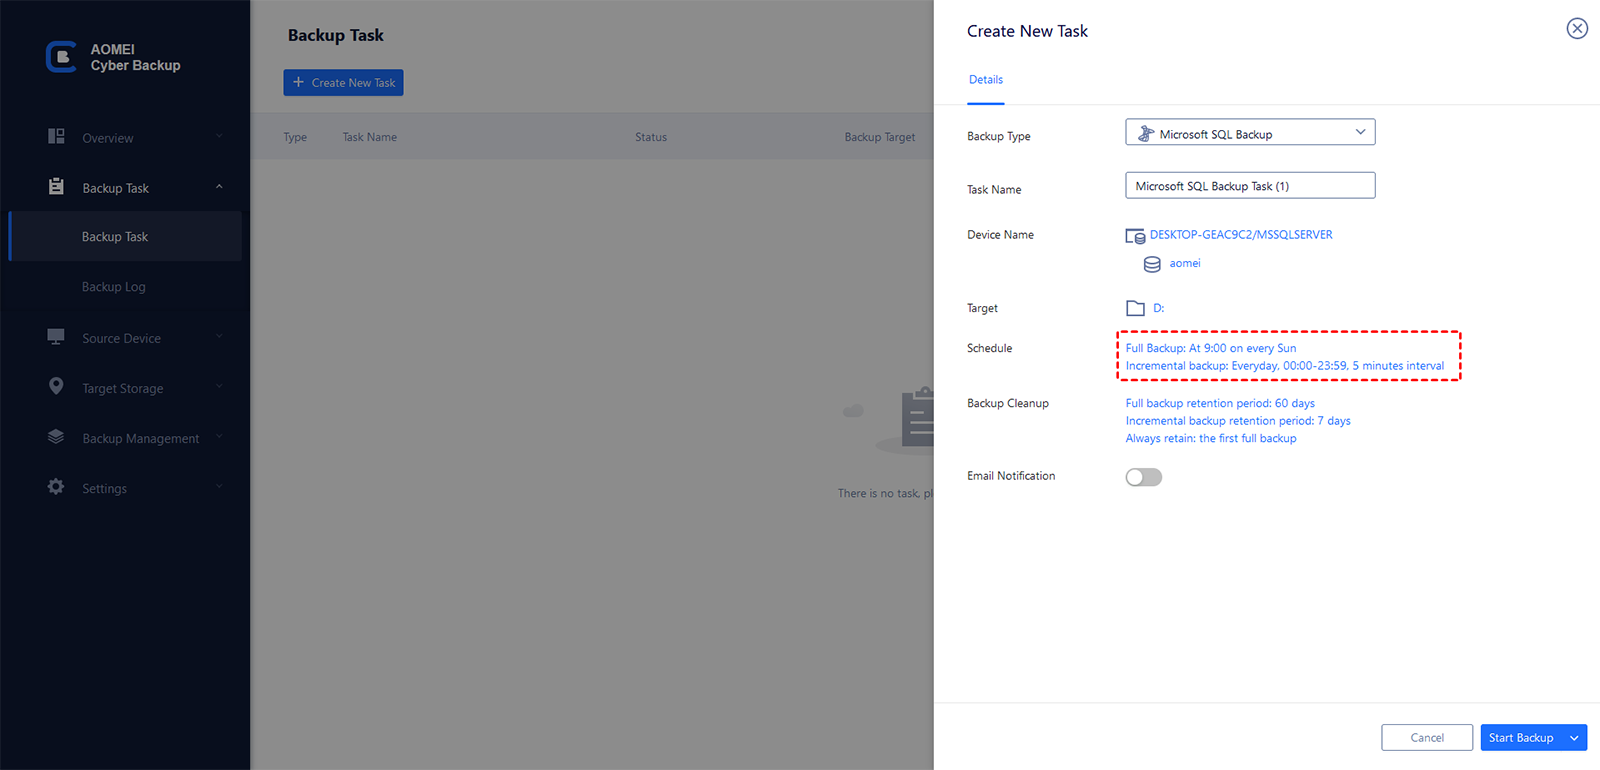
Step 6: Set Schedule Backup
Schedule Backup helps you backup your database automatically and regularly. After activating this option, you can let AOMEI Cyber Backup automatically run backups without worrying about a certain day's backup not being performed.
Generally, the schedule setting is enabled by default. You can change the schedule on your needs, or disable it. For more details about this function, please check Schedule Backup.
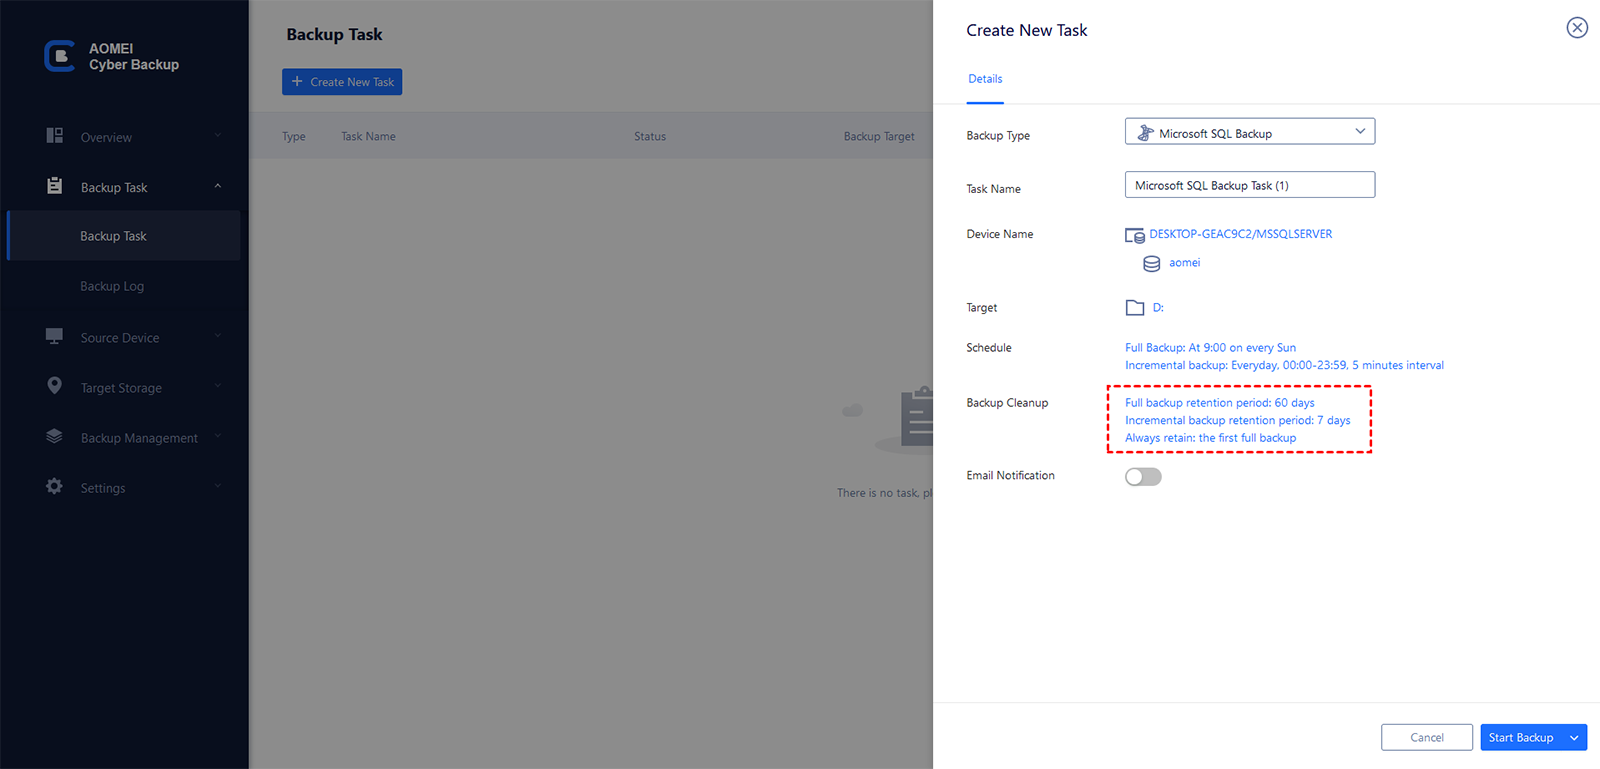
Step 7: Set Backup Cleanup
Backup Cleanup helps you automatically remove history backup versions based on rule to save storage space. After activating this option, you can let AOMEI Cyber Backup clean up automatically without worrying about backup failure due to disk space being full.
Generally, the backup cleanup is enabled by default. You can change the backup cleanup based on your needs, or disable it. For more details about this function, please check Backup Cleanup.
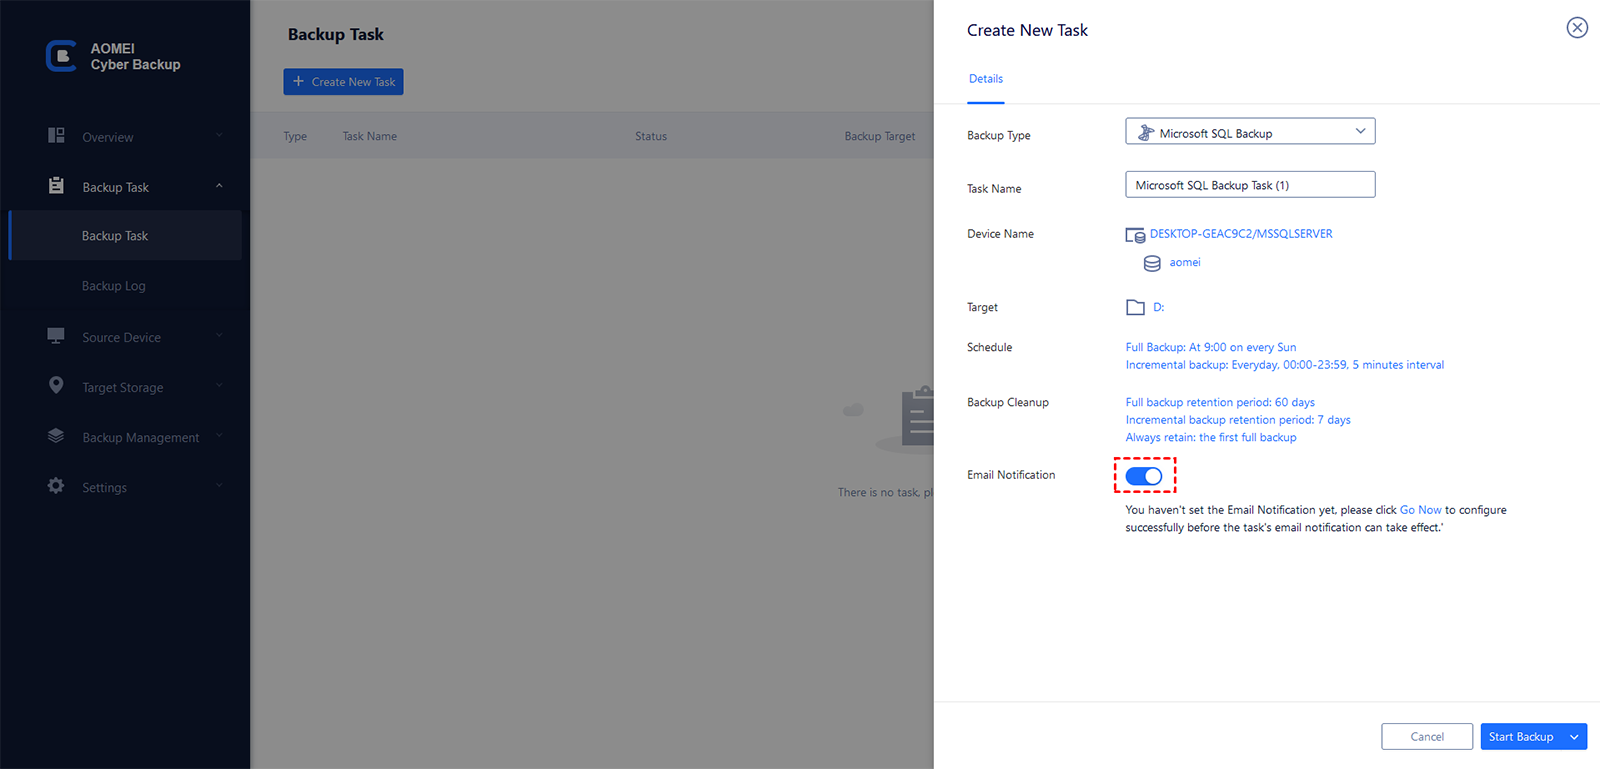
Step 8: Email Notification
You can enable "Email Notification" to receive email notifications when the task is abnormal or successful. Click "Go Now" to set or modify the notification settings. Currently Gmail Server, Hotmail Server and Custom SMTP Server are supported. Please note SMTP server authentication is required and cannot be empty. For more details about this function, please check Email Notification.
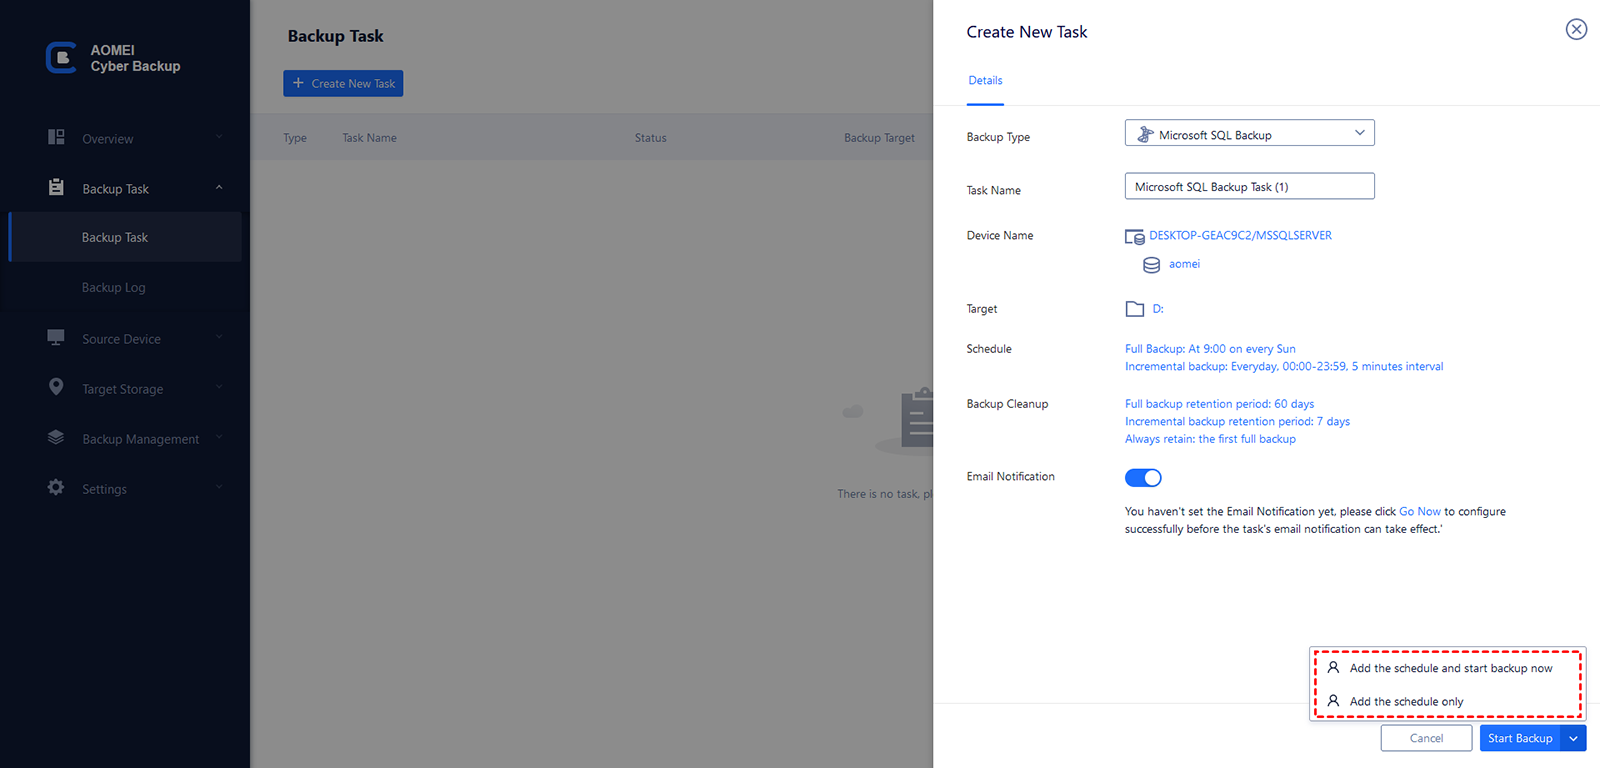
Step 9: Start Backup
1. Click "Start Backup" to create the backup task and perform backup.
2. Once you enable schedule, you can also select "Add the backup and start backup now" or "Add the schedule only".
If you select "Add the backup and start backup now", the backup will be added and the backup task will start immediately.
If you select "Add the schedule only", the backup task will be created with schedule and wait to start at the scheduled timepoint.
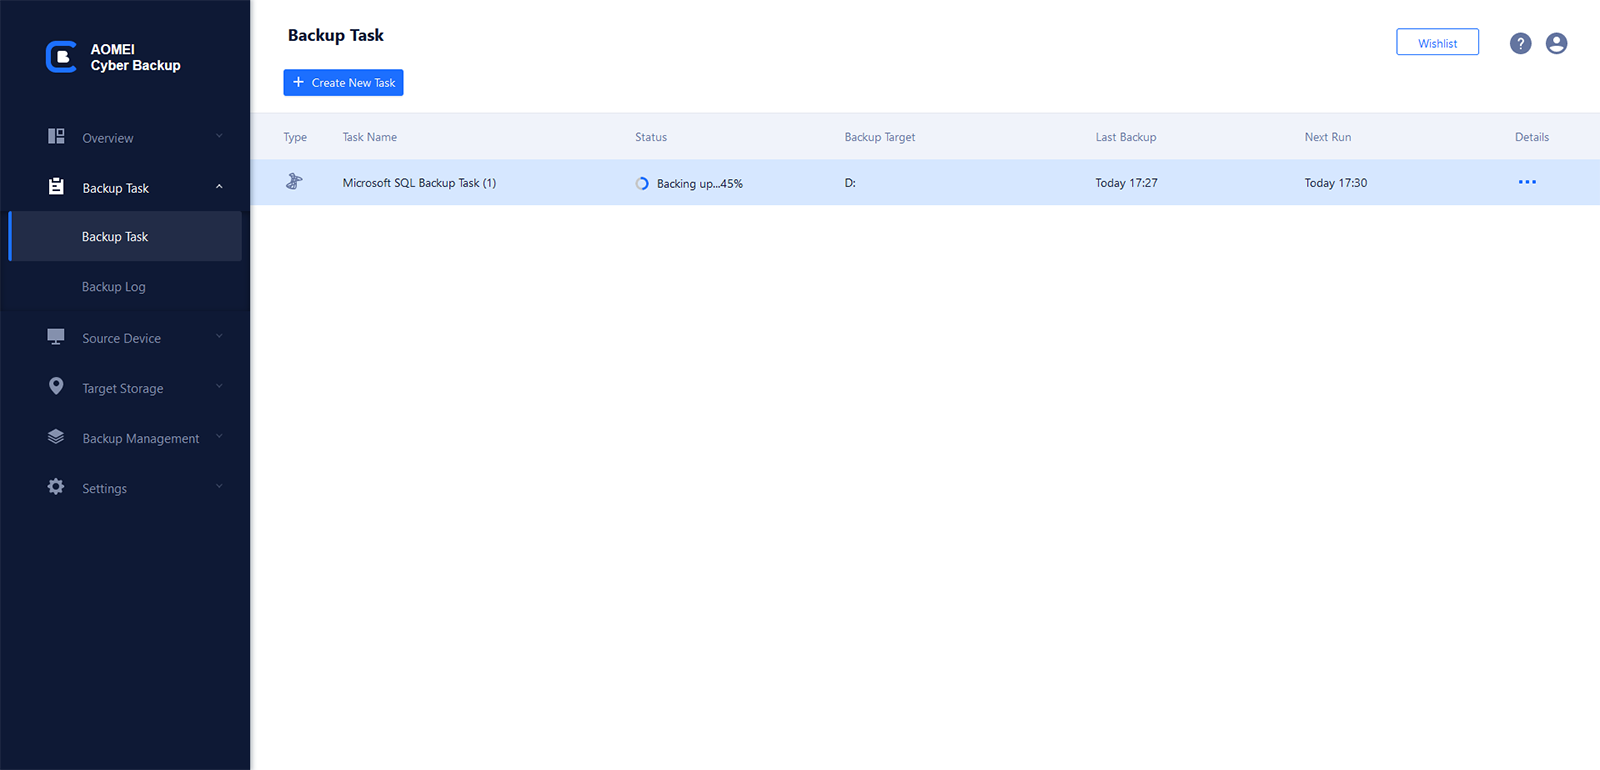
Step 10: Monitor/Complete Backup
1. The backup is running, please wait patiently for the backup to complete. You can click on the ellipsis button to see backup details and backup progress.
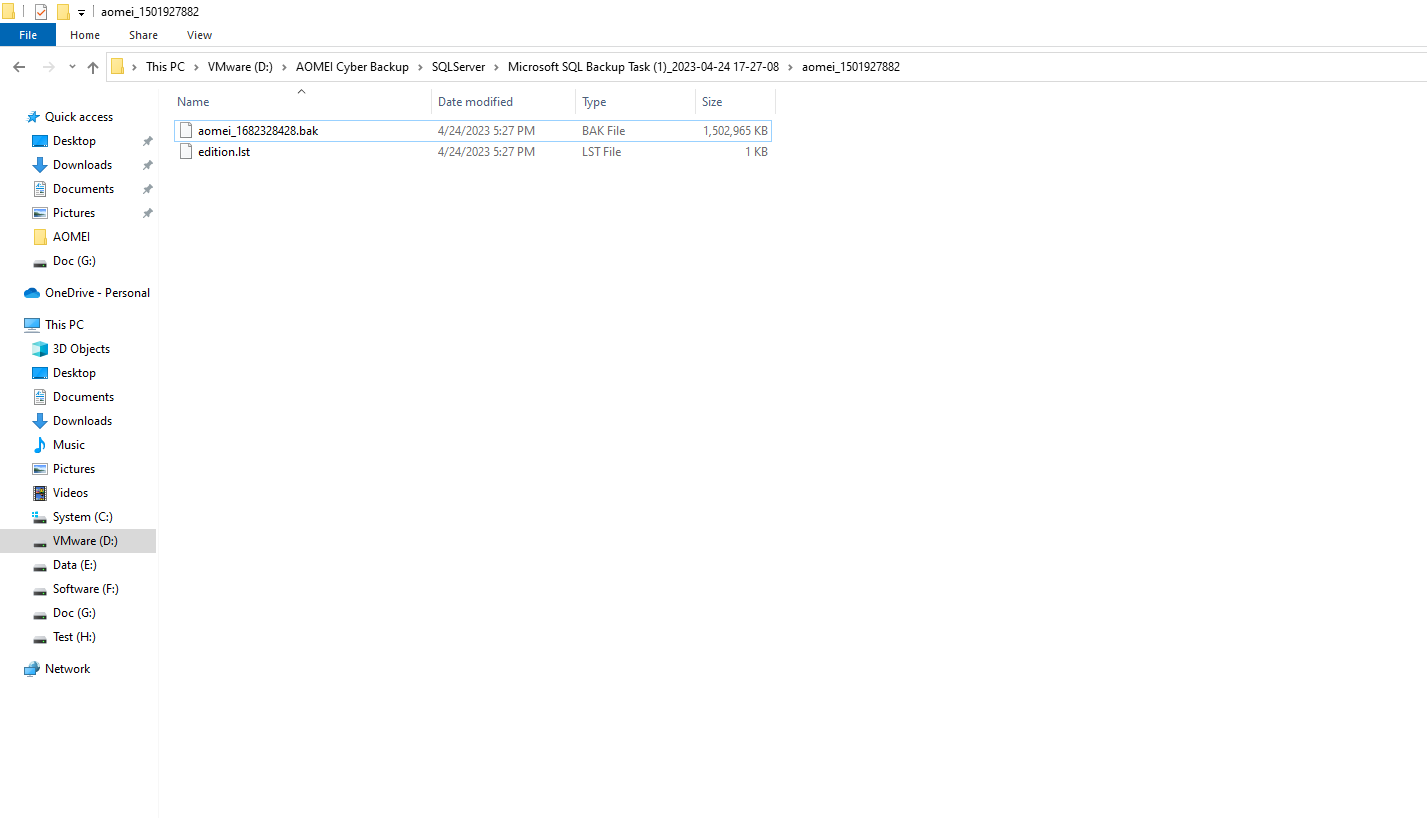
2. After the backup is complete, two backup files, *.bak and edition.lst will be created in the destination location. The folders are named as follows: \AOMEI Cyber Backup\SQLServer\task name\database name
Summary
You can see the backup details in Backup Tasks, and you can continue to do full backup or incremental backup. You can also manage backup tasks here, like edit or delete the tasks.
If there is an abnormality in the database instance, you can restore it to the previous state.
Notes:
- AOMEI Cyber Backup Agent only supports installation on Windows 7 and above systems.
- Supported SQL Server versions: Microsoft SQL Server 2005\2008\2008 R2\2012\2014\2016\2017\2019\2022