How to Reimage a Computer in Windows 11/10 [Secure Guide]
How to reimage a PC without data loss when computer is running into serious software issues? Get all the information in the following.
By Delia Updated on August 28, 2025
What is reimaging a computer, should I do it?
To reimage a PC (aka. reset Windows) means to restore system to factory settings. It typically replaces all upgrades, installations, and documents with the original configuration, deleting all the personal files on the computer while keeping your pre-installed software.
It's usually suggested to reimage a PC when the Windows 11/10/8/7 operating system gets corrupted (unable to load) or infested with viruses, kind of like a last resort to fix the computer. So you should probably try some more moderate solutions first if there are any.
💡Reimage vs Reformat a computer
You've probably heard of reformatting a hard drive. Compared to reimaging, reformatting refers to erasing everything on your computer including pre-installed apps. You will need to fresh install the system from Windows installation disk afterward.
Therefore, unless you decide to discard everything on your old computer, it's always an easier and safer choice to reimage your computer.

How do I reimage my computer (4 common ways)
To reimage a computer in Windows 11/10/8/7, here are 4 commonly used ways for your reference.
-
Way 1 - Reinstall Windows via installation disc or USB drive.
By default, when you buy a computer, an installation disc will come with it. It’s used to repair serious computer issues or install Windows from scratch.
-
Way 2 - Reimage a computer via system image recovery.
Using system image recovery to reimage a computer refers to using a backup image created by “Backup and Restore” to restore the computer to an earlier date. And it can minimize the losses. The problem is that you need to have a system backup image in advance.
-
Way 3 - Restore the computer to factory settings using the factory recovery partition.
For branded computers, such as Lenovo, Dell, HP, etc, there is a hidden recovery partition that can help you factory reset your computer in trouble. But if you have freshly installed Windows or the partition is damaged or deleted, it will be unavailable. For example, you can use the built-in tool to perform Acer Aspire factory recovery.
-
Way 4 - Reimage a PC using “Reset this PC”.
This feature is built into Windows 10/11, allowing you reinstall OS but "Keep my files" or just "Remove everything". If you choose to reset this PC with “Keep my files”, it will keep your files in user folders and the programs installed by the manufacturer. But the changes you made to settings, the apps, and the drivers you installed won't be retained.
How to reimage a Windows computer without data loss
No matter which way you use it, you may be at risk of data loss even if it says you can keep your personal data. Thus, it's suggested to backup files before reimaging a computer. Then, you can feel free to reimage a computer in Windows 10/11 without worrying about data loss.
1. Backup files before reimaging a PC
To backup files, you could consider using “Backup and Restore” or “File History”. However, the built-in tool may not work as usual sometimes. Given this, it’s recommended to backup files using the freeware AOMEI Backupper Standard. You can enjoy rich features and make it simple and automatic.

- Auto-backup mode: You can continuously protect your data with its schedule backup, such as daily, weekly, monthly, etc.
- Flexible backup methods: You can do an incremental backup for only changed data.
- Complete protection measure: You can also make use of the system backup and restore feature in case of future reimaging PC needs.
- More wonderful settings: You can enjoy other imaging options, like"Email Notification", "Compression", "Split", "Operation Priority", etc.
All the operations are based on a clear interface and user-friendly design, so users can understand the operation easily and quickly. Please download this free backup software, see the steps below:
*AOMEI Backupper Standard supports Windows 11/10/8/7. For server users, try Server edition.
Step 1. In the main page, click “Backup” and “File Backup” subsequently.
💬After you reimage the PC successfully, you can also use "System Backup" to capture the system image regularly, so that you can restore the computer to a normally working state anytime you want.

✍Tips: Besides File Backup, this tool comes with a cloud drive - AOMEI Cloud to backup files or folders, which offers 1TB of free storage, and you have 15 days of free access after registration.
Step 2. In this screen, click Select Source and click “Add File” or “Add Folder” to include items in the backup.

Step 3. Click on the destination box to select the backup path and click “Start Backup” to backup files or folders. Since you will reimage the PC later, it's suggested to backup files to external hard drive, NAS network share, or cloud.

When the backup is complete, you can also create a bootable rescue media using a CD/DVD or USB drive in order to restore your computer when it is unbootable.
If you want to protect unlimited computers within your company, you can pick AOMEI Backupper Technician. With the built-in AOMEI Image Deploy tool, you can create a portable version of this software for removable devices and take it everywhere. It is able to deploy/restore system image to multiple computers over a network.
2. Reimage computer to repair software and system issues
After creating a backup, you can reimage your computer using the Reset PC feature. This method is suitable for most people (who use Windows 8 and above versions). It doesn't require you to have a system image backup or an intact factory recovery partition.
Here’s a simple guide to reimage a PC in Windows 10.
Step 1. Access the Reset PC features.
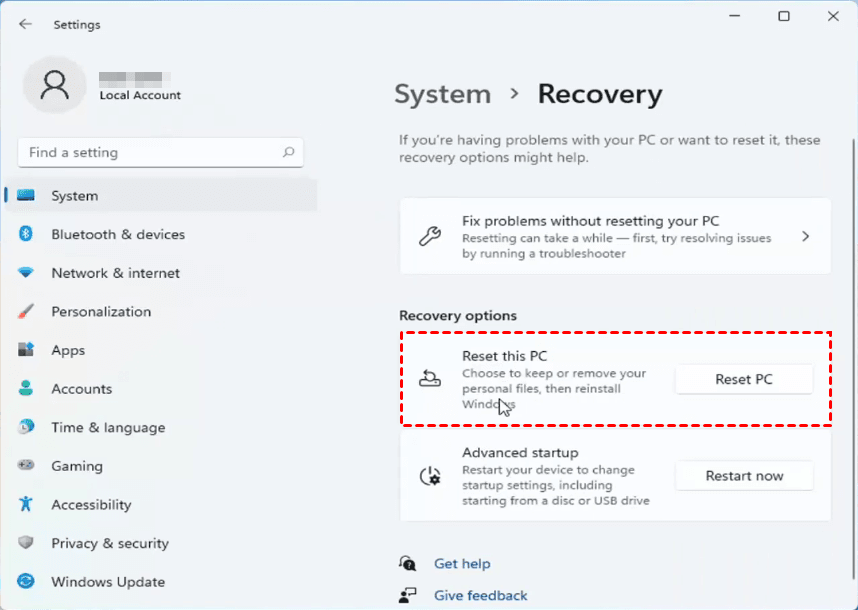
- If you can log on to Windows normally: “Start” > “Settings” > “Update & Security” > “Recovery” > “Reset this PC” > “Get started”.

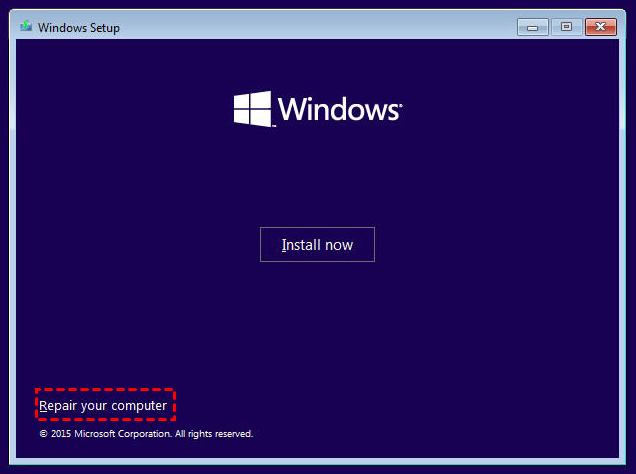
- If you want to wipe a hard drive without logging in: Use installation CD or creat a recovery drive to boot the PC > select language and region in Windows Setup and click “Next” > “Repair your computer” > “Troubleshot” > “Reset this PC”.
You will boot into Windows 10 recovery environment when the PC fails to start 3 times. So you can hold the power button to turn off the PC and then turn it on. Repeat this process 3 times, then you should be able to enter WinRE and continue to Reset this PC.
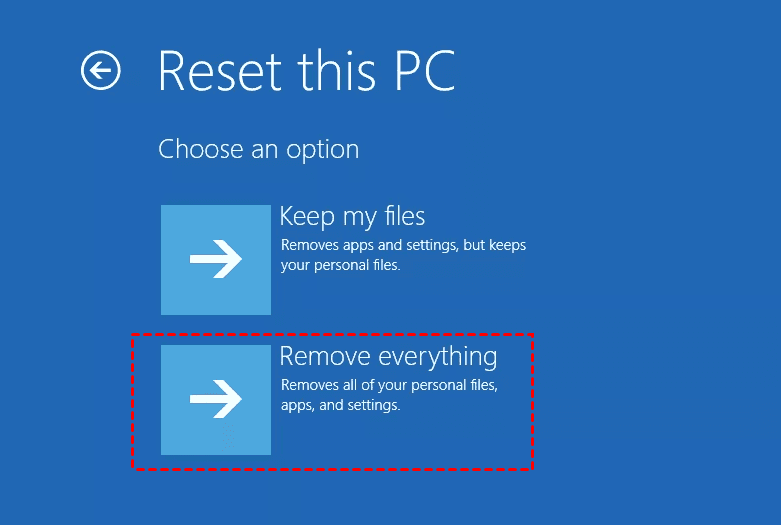
Step 2. Choose how to deal with your data.
After starting Reset this PC, you can select Remove everything on the next page to perform a clean reimaging. It typically erases all your personal files, apps, and settings on the hard drive.
If you want to retain your personal files, as well as pre-installed apps and drivers, you can choose Keep my files instead.
It will inform you what apps will be removed, and then explain what Reset this PC will do.
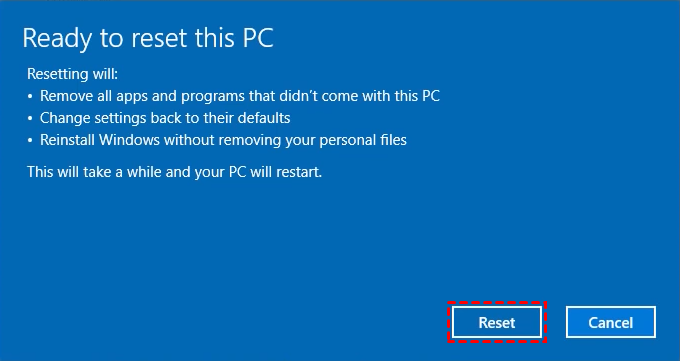
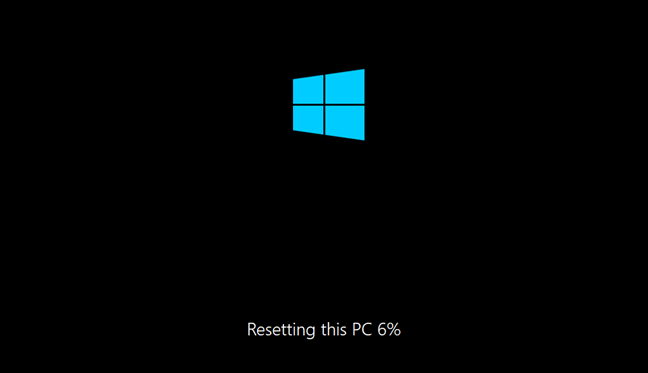
Step 3. Start reimaging the PC.
Click Reset to start the process. Wait for a while, your computer will begin to install Windows.
When it finishes, you can log onto Windows and reinstall those erased programs.
When you use Windows 10 to reset PC and keep files, there’s a chance that you run into trouble and fail to complete the operation properly. In this case, you can refer to: Windows 10 Reset Failed
Step 4. Restore your data from the backup as you need.
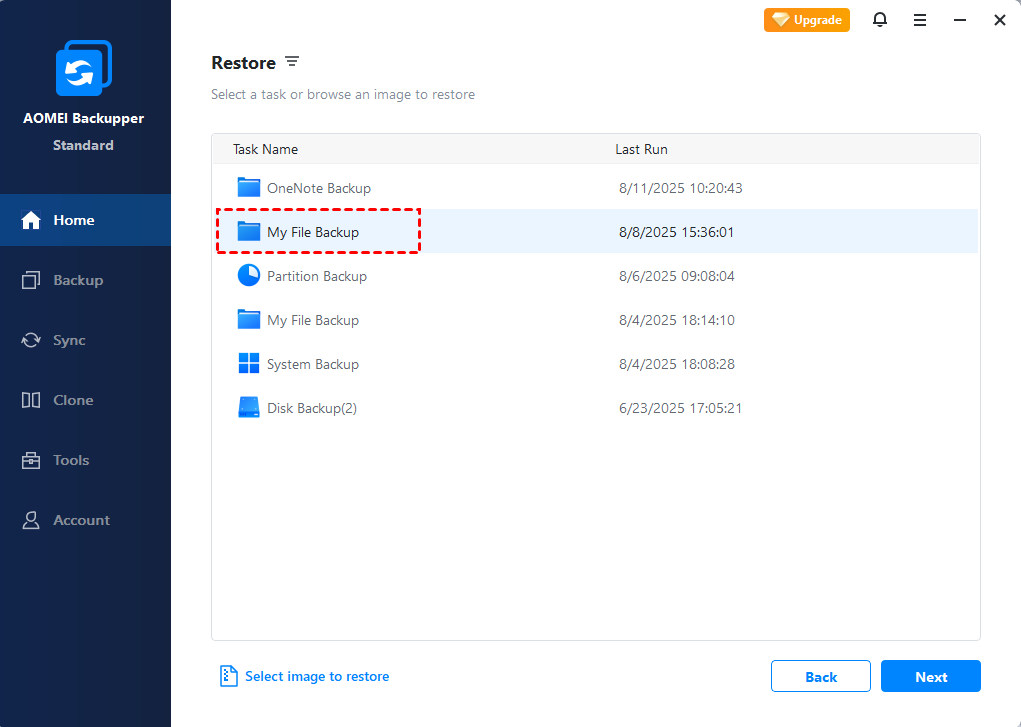
If unfortunately, your precious data didn't get through the reimaging of the computer, you can simply re-load AOMEI Backupper, and go to Home > Restore and choose to restore from the backup image.
Further reading: How to reformat a computer using installation media
If you want to effectively erase all data on the drive and prepare it for a fresh installation of the operating system, you can try the reformatting way using an installation media.
To obtain a bootable installation media for your operating system, refer to this: Windows 10 Media Creation Tool. The media can be a USB flash drive or a DVD, depending on your computer's hardware.
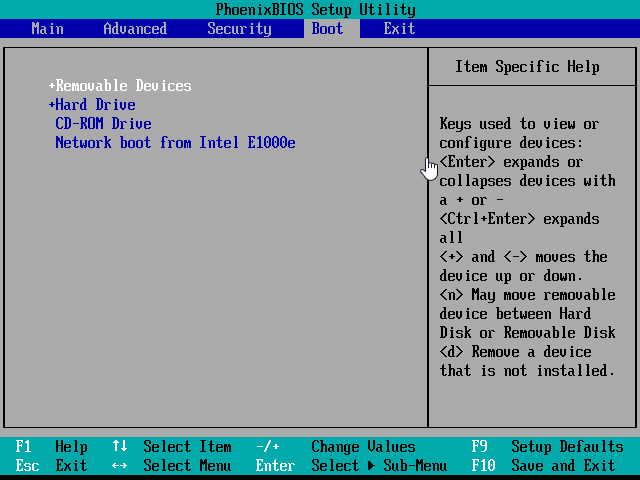
Step 1. Connect the installation media and boot from it.
- Restart your computer, and press a specific key at the initial screen (usually F2 or ESC) to access BIOS.
- Go to the “Boot” tab, use “+” to move the disc to the first option, hit “F10” to save the changes and click “Yes” if you are asked.
- Then, press a key when you receive a message like “Press any key to boot from CD/DVD”. Your computer will boot from the disc.
Step 2. In the first Windows Setup window, select preferences and click “Next”. Click “Install now” and wait until the Window Setup loads completely.
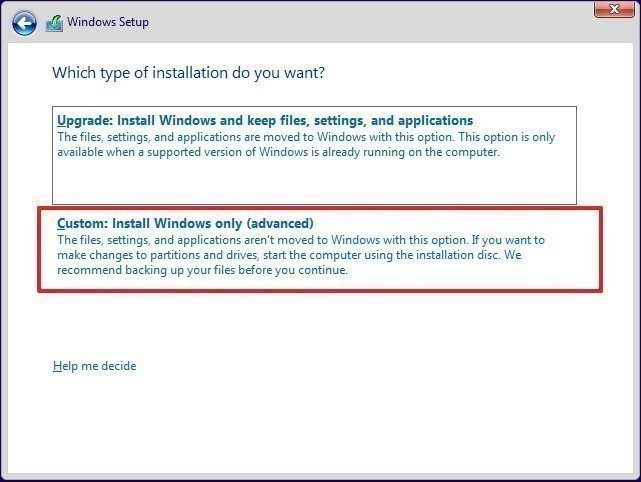
Step 3. Follow the wizard to tick “I accept the license terms” and click “Next”. Then, select “Custom”.
Step 4. Delete all partitions on the hard drive and reimage a computer from BIOS.
- Select one of the partitions on the hard drive you want to re-image and click “Delete”.
- Then, repeat the steps to delete the remaining partitions one by one.
- At last, click “Next” and set your personal settings after reinstallation.

Note: After deleting all partitions, the hard drive will be shown as unallocated. You can choose to directly install Windows or create partitions before installing Windows.
FAQs about reimaging a PC on Windows 10/11
💬How long does it take to reimage a computer?
Usually, it will take about half an hour to reimage your computer. After that, you will need to install all the software you like to use and restore your files back to your hard drive.
💬How to reimage a PC without reinstalling programs one by one?
Actually, if you create a system backup with AOMEI Backupper, you can restore system and all your installed software back after cleaning up your hard drive using the steps above. Reimaging is sometimes called Windows operating reload or system reinstallation.
💬Is Reimage the same as formatting?
Reimaging and reformatting both delete files on the computer. But they are not exactly the same. the reimaging keeps the pre-installed software that comes along with your computer, whereas reformatting deletes everything on it.
Summary
In this article, you will learn how to reimage a PC in Windows 11/10/8/7, without losing data. The core of this is to create a file backup before reimaging.
And it's suggested to schedule backup files after reimaging. Thus, you will always have a copy of important files and be able to restore files from backup if it's deleted mistakenly or corrupted. Also, you can choose to backup system or disk to prevent system failure and reimage a PC again.
If you don't want to make your data into an image file, try the sync or clone feature. The previous is to duplicate files, but not compress them to an image. The latter is to create an exact copy of hard drive, system partition, or non-system partition.

