How to Easily Perform Continuous File Sync on Windows
This article will detail two effective ways to perform continuous file sync, you can use Robocopy command line utility or reliable file sync software – AOMEI Backupper.
By Yuka Updated on May 6, 2023
User Case
Reliable Continuous File Sync Software Suggestion?
“Hello, I need a program that checks folder A (and all subfolders) and copies changes across to folder B (and subfolders) continuously. It should be reliable (i.e not crash in the middle of a sync job), do the job accurately and have a relatively simple interface. I have been using FreeFileSync for a while now which does this well but with the amount of adware being bundled of late, am looking for an alternative. Any suggestions?”
- Question from Windows 10 Forums
Benefits of Sync Files Continuously

The continuous file sync (also called real-time synchronization) monitors folder changes and copies new or modified files with a short delay after the changes occur. It maintains the accuracy and security of the data. Let's see what benefits it has.
✥ It ensures data consistency and security. Since you only need to enter data in the source folder or source device, it will automatically sync to the target location or device. So, it is always up-to-date, complete, and not prone to human error or duplication.
✥ It can save time and increase productivity. After the real-time sync setting is completed, the synchronization process will be executed automatically. So, you can save a lot of time and energy by manually exporting and importing data.
In this article, you can learn 2 effective methods for continuous file synchronization on Windows. Read on to learn more.
Perform Windows Continuous File Sync via Robocopy
ROBOCOPY, for "Robust File Copy", is a command-line directory and/or file replication command for Microsoft Windows. It can help you copy file data from one location to another. The basic syntax of the robocopy command is: robocopy [source] [destination] [file[ ...]] [options]. You can use a variety of options with the robocopy command to meet different needs.
| Parameter | Description |
|
[source] |
Specifies the path to the source directory. |
| [destination] | Specifies the path to the destination directory. |
| [file] | Specifies the file or files to be copied. Wildcard characters (* or ?) are supported. If you don't specify this parameter, *.* is used as the default value. |
| [options] | Specifies the options to use with the robocopy command, including copy, file, retry, logging, and job options. Click here to learn more copy options. |
In fact, Robocopy provides you with /mot: copy option to monitor changes within M minutes (only accepts minutes as a parameter), you cannot monitor changes less than one minute. You can perform Robocopy continuous sync with this command.
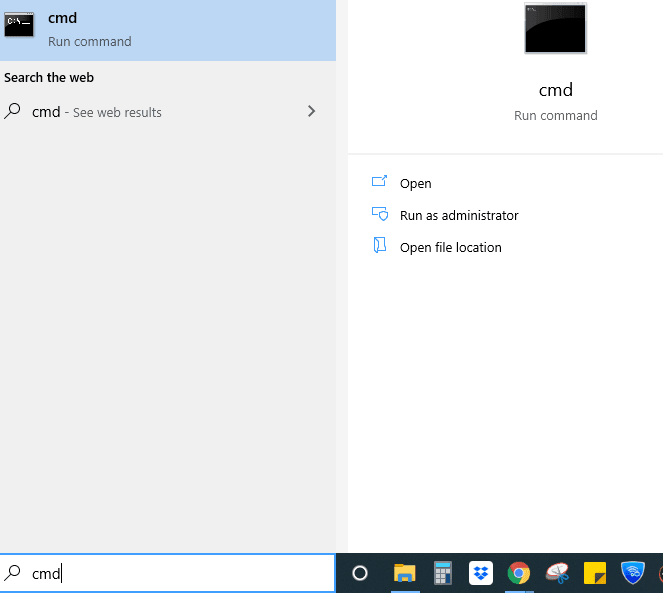
- Input cmd in the Windows search box, and right-click the Command Prompt, choose Run as administrator.
- For example, to sync the temp folder (and its subfolders) located in \\192.168.0.250\PublicShare\ to \\192.168.0.58\WorkD, and monitor every one minute to achieve continuous file sync, type:
▶ robocopy \\192.168.0.250\PublicShare\temp \\192.168.0.58\WorkD /e /copy:DAT /mt /z /mot:1

Tips✍:
● /e: Copies subdirectories. Note that this option includes empty directories.
● /copy:DAT: means you will copy the source folder to the destination folder with D (Data), A (Attributes), T (Time stamps), and you could modify these copied files.
● /mt: enabling multi-threading for higher performance.
● /z: the ability to restart the transfer in case it's interrupted.
Easier Way to Perform Continuous File Sync for All Windows
There is another simpler way to perform continuous file synchronization for all Windows PCs, such as Windows 7/8/8.1/10/11, including 32-bit and 64-bit. AOMEI Backupper Professional is a powerful and reliable file sync software that allows you to perform real-time sync, two-way sync, mirror sync, basic sync with just a few clicks on the intuitive GUI. It's easy to operate even if you're a novice.
With the help of AOMEI Backupper Professional, you could:
✾ Sync folders to multiple destinations: you could sync files and folders to local disk, external hard drive (HDD or SSD), CD/DVD, USB flash drive, network share or NAS, or even to the cloud (Google Drive, Dropbox, OneDrive, etc.).
✾ Schedule automatic file sync: in addition to real-time sync, it allows you to run schedule sync tasks at daily/weekly/monthly/event triggers/USB plug in, which can help you get changes regularly. The last one is recommended to copy files automatically when USB connected.
✾ Copy open files without effort: it will not affect the copying process when you are using the file.
Please download the file sync software for Windows - AOMEI Backupper Professional 30 days free trial to have a try. For server users, try AOMEI Backupper Server!
Below I will show you how to use AOMEI Backupper to achieve continuous file sync in Windows. Let's take the synchronization from one network location to another network location as an example.
Step 1. launch AOMEI Backupper Professional on your computer. Click the Sync tab on the left menu and then select Real-Time Sync.
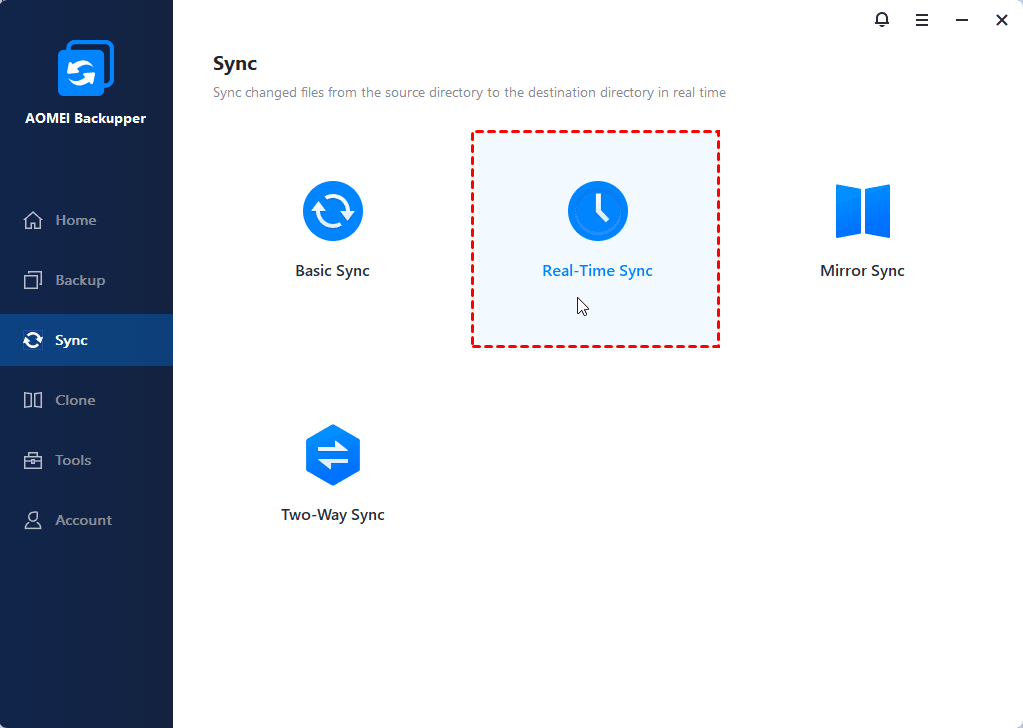
Note: Besides Real-Time Sync, the Mirror Sync still ensures data security to most extent, but it does so by blocking any file changes in the destination folder. So you will always have a duplicate copy.
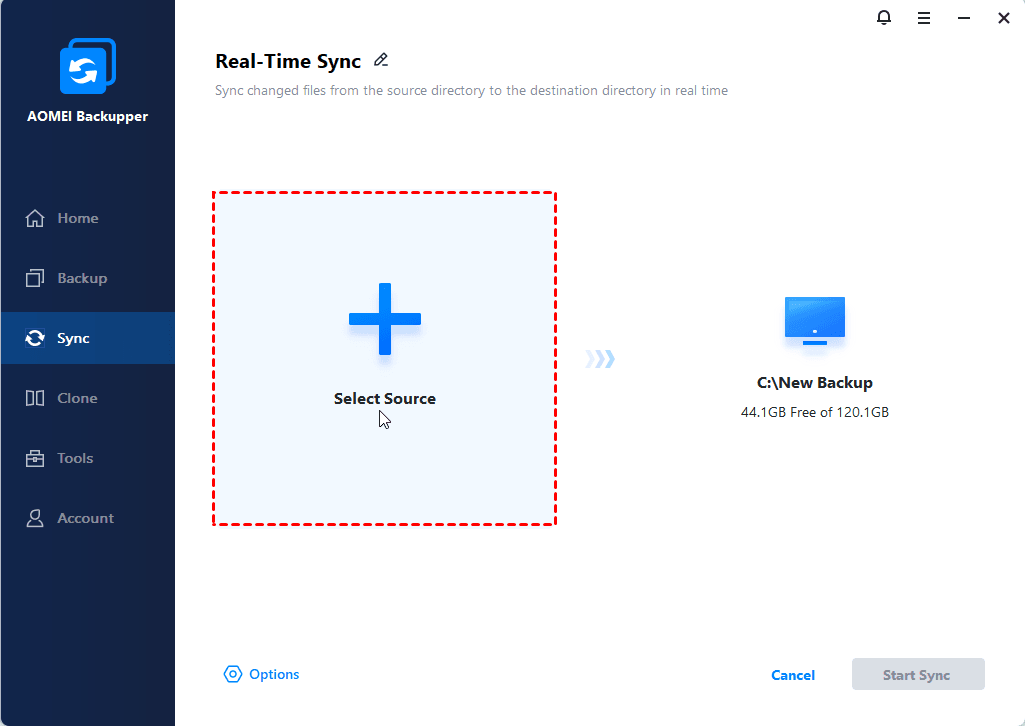
Step 2. Press + Add Folder button -> Share/NAS.
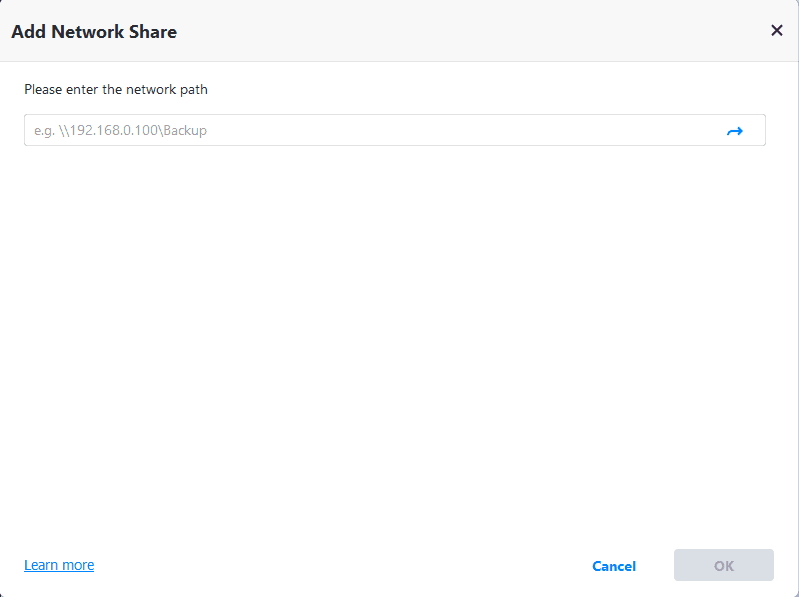
Step 3. Click Add Share or NAS Devices. In the pop-up window, input the Display Name and Network Path to add the network share. Type user name and password if required. Then choose the folder you want to sync.
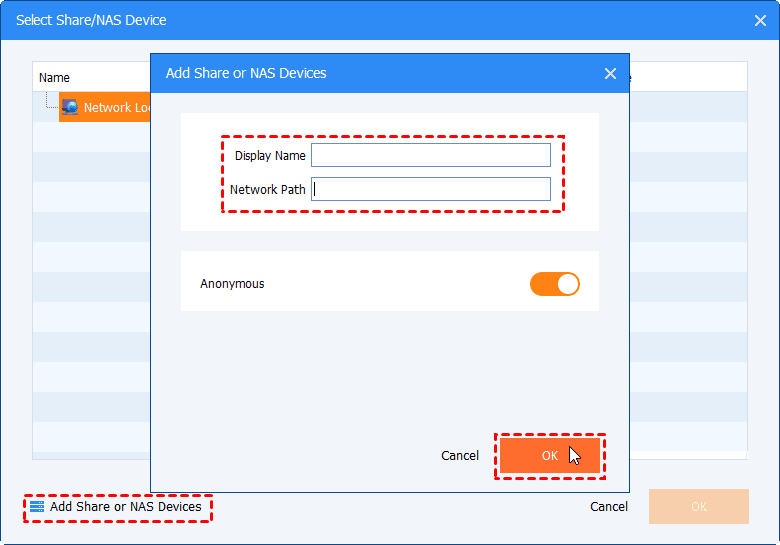
Note: Optionally, you can enable Filter settings to include or exclude files or folders you don't want to sync. Just like backup files with a certain file extenstion.
Step 4. Click the triangle icon and tap Add Share or NAS Device. Then input the Network Path to add another network share as the destination.
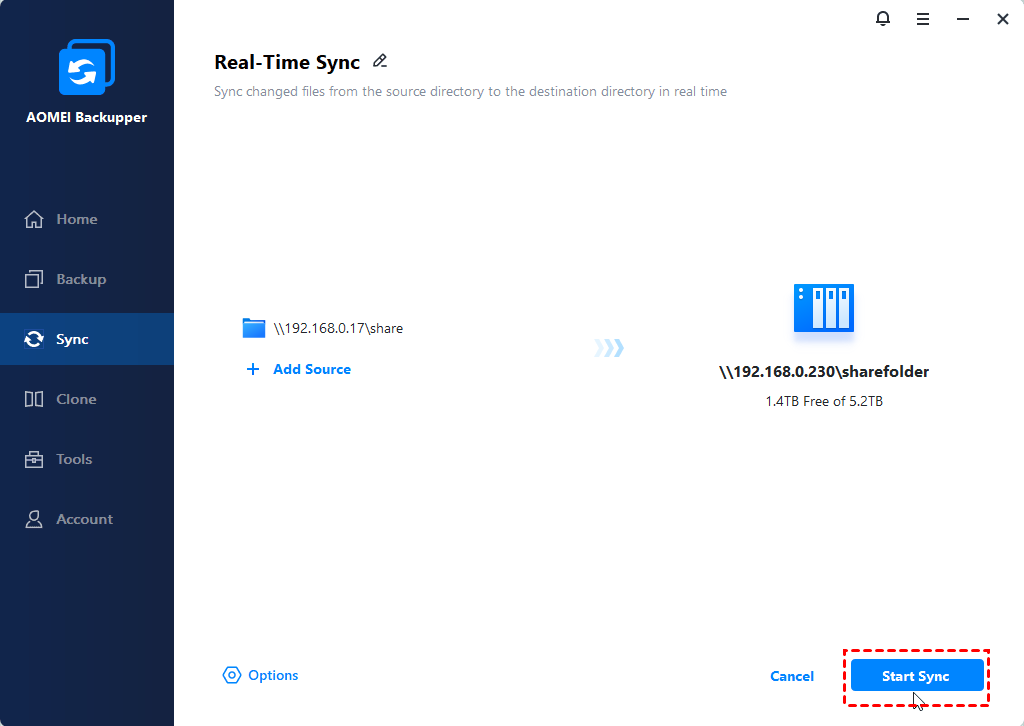
Step 5. After selecting the source and destination folders, confirm your settings. Then click Start Sync to perform continuous file sync.
Tips ✍:
● The Options in the lower left corner of the program allow you to comment on the real-time file sync task, and verify the integrity of the files in the destination location during synchronization, etc.
● If you want to perform real-time file sync on multiple computers easily, you could consider creating a portable version (supported by technician or techplus edition) of this software and running it off a flash drive. Thus, you don't need to install it on any computer.
● To copy data from one hard drive to another one, it's suggested to use the disk clone feature under the clone tab. And it also works well in cloning a system disk.
Summary
This article provides you with 2 possible methods to perform continuous file sync on Windows. The first is to use the Robocopy command line that comes with Windows. The second method is to use a very reliable and convenient file synch software-AOMEI Backupper Professional.
After comparing the specific steps of the two, it is not difficult to see that the second one will be your best choice. It is easy to operate, and even novices can get started quickly. Also, if your OneDrive sync gets stuck sometimes, this software can also help you. But the first method is a bit troublesome for some people who don't know much about computers. Because you need to be familiar with those commands.

