How to Backup Windows 7 PC to QNAP NAS Easily
It’s a wise decision to backup Windows 7 PC to QNAP NAS, and a professional QNAP PC backup software as AOMEI Backupper is necessary.
By Delia Updated on March 7, 2025
Why need to backup Windows 7 PC to QNAP
QNAP, short for “Quality Network Appliance Provider”, is aimed to deliver comprehensive offerings of cutting-edge network attached storage (NAS) and network video recorder (NVR) solutions. It is a wise decision that you have a QNAP NAS and backup your entire Window 7 PC to QNAP. As a result, everything on your Windows 7 PC is copied to the reliable QNAP so that you can do restore from QNAP as long as something happens to your PC hard disk.
Then, how to perform QNAP backup for Windows 7 PC? Here I will introduce 2 methods.
Way 1. Backup to QNAP NAS via Windows 7 Backup and Restore
Backup and Restore is a built-in backup software in Windows 7, which allows you to backup files, system drive (including operating system, system settings, individual folders, libraries, etc.) or other non-system partition(s).
It provides you with 2 different backup types. The file backup is saved to ZIP files while the system image is full system backup with .vhd file format, no compression. You can choose to backup to local disk, external hard drive, CD/DVD, USB flash drive, network locations.
✎Note: Windows 7 Backup and Restore could not backup these files: program files, files stored in FAT file system, files stored in Recycle Bin, Temporary files on drives smaller than 1 GB.
How to backup Windows 7 files to QNAP NAS via built-in tool
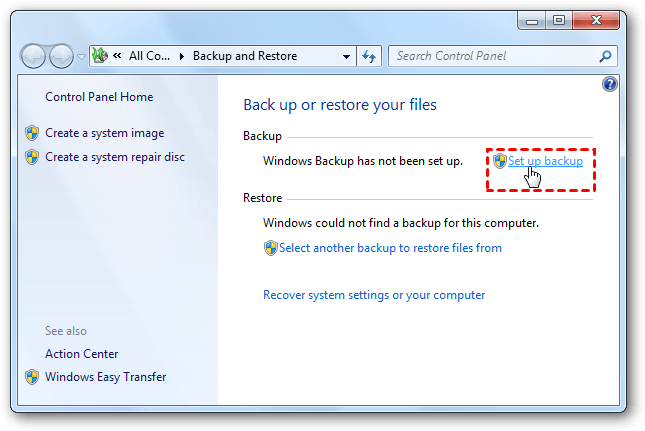
1. Open search box and search ”backup and restore“ in it. Then, select the top result in the list.
After opening this software, you can choose to create a file backup or system image:
- If you have never used it before, click Set up backup to create a full file backup.
- lf you want to create a system image separately, click Create a system image at the left panel.
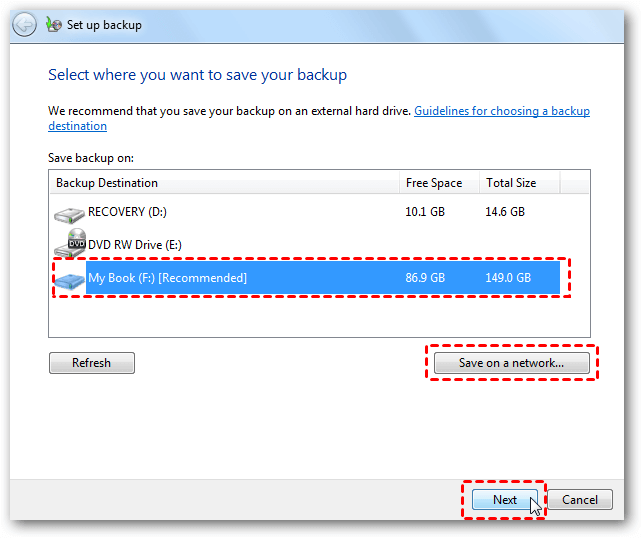
1. Take file backup as an example, you can click Set up backup to get started, and tap Save on a network... to specify the QNAP NAS as your backup destination. Optionally, you can aslo backup files to external hard drive.
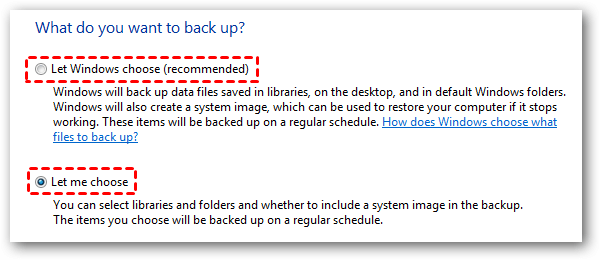
2. Then, tick Let me choose if you want to specify what to back up to QNAP NAS, and click Next to choose the files or drives manually. You can include a system image in this backup as well.
3. Review your backup settings and click Save settings and run backup button. The default schedule settings is every Sunday at 7:00 am, but you can click Change Schedule option and change it to daily or monthly.
Way 2. Create QNAP backup for Windows PC via professional tool
To perform the QNAP PC backup, a professional QNAP PC backup software such as AOMEI Backupper Standard may be a better solution. It is a free QNAP backup software that helps you backup your data to your QNAP NAS easily.
- With it, you can backup Windows 7 PC to QNAP directly instead of having a tedious operation to backup network drive to local.
- It have complete backup options, including disk backup, system backup, partition backup, and file backup.
- You can set a schedule to auto backup PC in case of forgetting to backup manually and regularly and you can incremental backup hard drive so as to update just changes from PC to QNAP NAS.
- It supports all Windows editions including Windows 11, 10, 8, 8.1, 7, Vista, and XP (32 bit and 64 bit).
Next, we’ll show you how to backup Windows 7 PC to QNAP with AOMEI Backupper. You can download it and follow the steps below to create Windows 7 backup to QNAP. The steps also apply to backing up PC to Synology NAS, FreeNAS, etc.
How to backup Windows 7 PC to QNAP step by step
1. Launch AOMEI Backupper's main interface. Select Backup and choose the Backup option as you need. If you want to back up Windows 7 operating system to QNAP NAS, then choose System Backup.

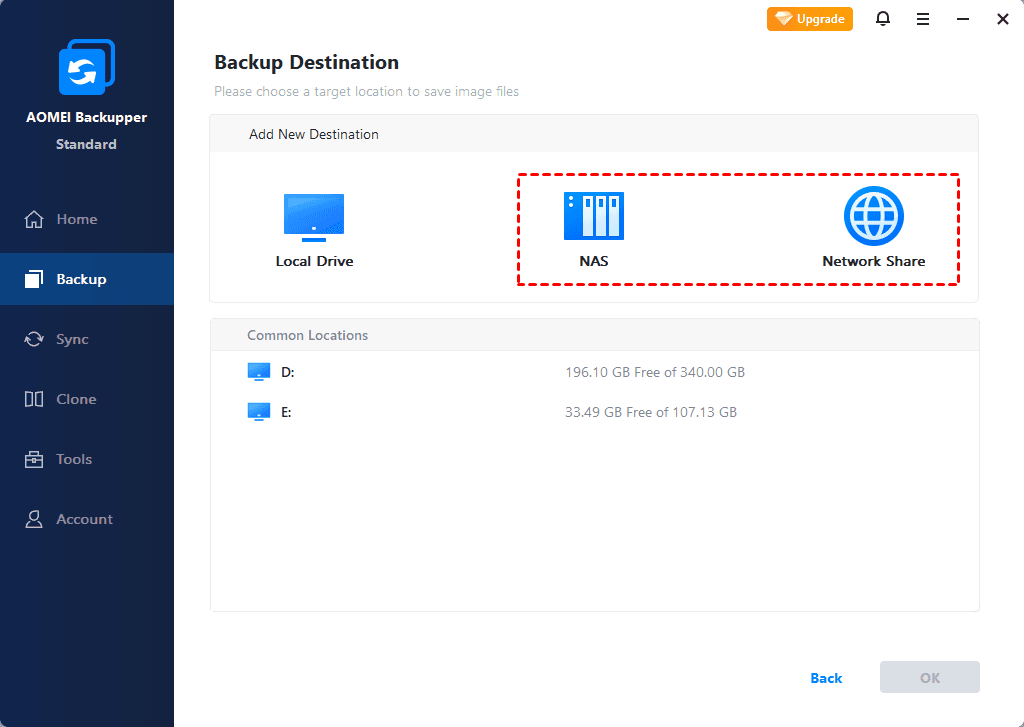
2. The system related partitions will be chosen automatically. You just need to click the drop-down menu of the destination bar and choose Add Share or NAS Devices.
3. In the pop-up window, type the network path or name of your QNAP NAS and click the blue button at the right. Input username and password if it is required.
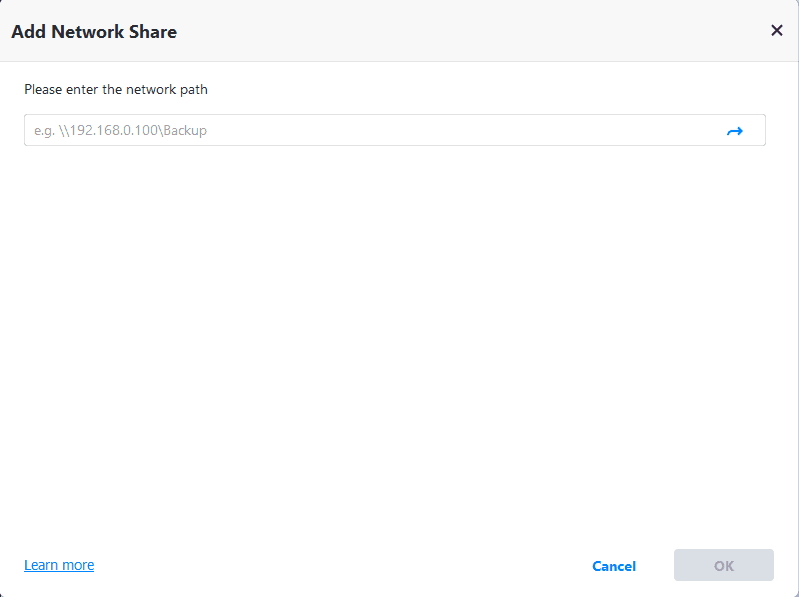
Then, choose one folder on the QNAP NAS as the destination path to store the backup image.

4. After that, you can click Start Backup to perform the QNAP backup.
✎More useful options
Options and Schedule Backup are both optional. You can set Schedule Backup to run a task daily, weekly or monthly of exact time.
And in Bacup Scheme tab, you can choose Backup Method (full/incremental/differential), or enable Automatic Backup Cleanup (available in Professional edition) to auto delete older backups and save storage space.

Conclusion
As you see, AOMEI Backupper is convenient to backup Windows 7 PC to QNAP NAS. Also, it supports to backup system, partition and files in all Windows editions, and it supports to save backup images to any device including external/internal hard drive, USB and NAS etc.

