
Backup Settings
You can find the global settings under the menu button in the top right corner of the program, also when creating a new task of the given computers, you can set up a task set by clicking the Settings button.

Compression
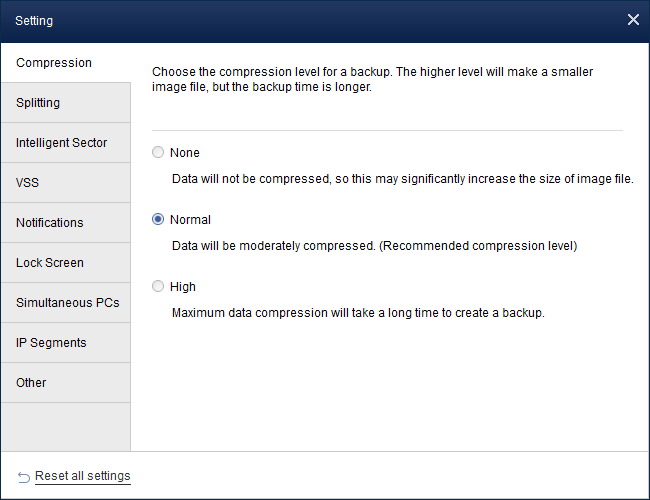
The Normal level is selected by default and is recommended, but you may also select Higher or None. See more details as follows:
· None: Data will be imaged without any compression, so the image file size will be equal to your original data.
· Normal: Data will be compressed to a moderate level. It is a recommended compression level.
· High: A much higher compression level is used during the backup. The image file will be smaller than other levels but the backup will take a longer time to complete.
Note that some types of files are already compressed, such as .jpg, .pdf, or .mp3. If your backup contains a lot of such files, then the generated image file might not obviously be compressed even when a High level is selected.
Splitting
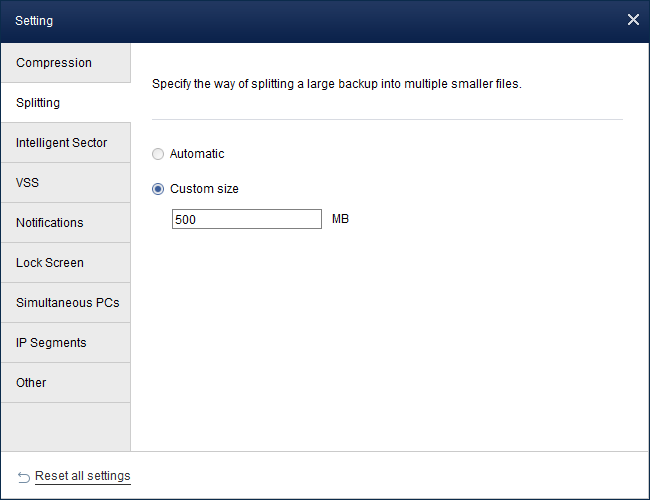
Image files can be split into several smaller files to fit into different smaller storage media. The program supports automatically splitting one image file into several parts during the backup process.
· Automatic: The split size depends on the file system of the destination storage medium.
· Customized size: Input a proper value and the image will be split into this size. Note that the minimum file size is 50MB.
Intelligent Sector
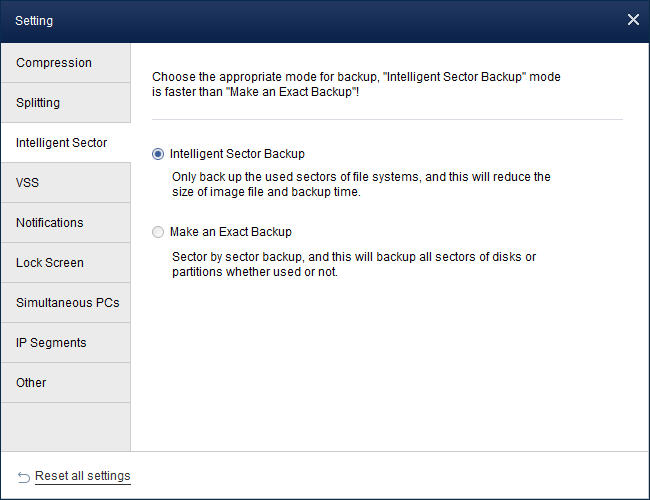
AOMEI Centralized Backupper allows you to select different backup modes for System/Disk/partition backup.
· Intelligent Sector Backup: Only backs up the used sectors(blocks)of file systems. This will reduce the size of the image file and backup time.
· Make an Exact Backup(a.k.a Sector by Sector Backup): This option will back up all sectors(blocks) of the disks or partitions whether they are in use or not.
VSS

VSS is short for Volume Shadow Copy Service. This technology allows you to continue working while the backup is in progress. If you don’t use VSS, the program will automatically use the built-in technique instead of offline backup. Choose one of the modes to begin your backup task.
Note: There are several paths and file type are excluded by Microsoft VSS, like Windows Upgrade list and Outlook *.OST file, you can select “Don’t use VSS” to include them in the backup file.
You can find the exclusion list under registry(regedit) path: Computer\HKEY_LOCAL_MACHINE\SYSTEM\CurrentControlSet\Control\BackupRestore\FilesNotToSnapshot
Notifications
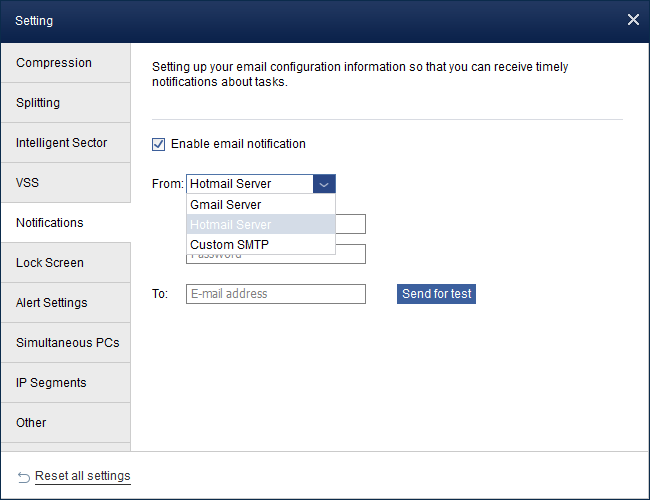
In unattended operations, you may wish to be informed about the results of backup plans. This function can be used to send a report of the execution result to an email address you provide. There are three email servers available for sending the email notification: Gmail server, Hotmail server, and Custom SMTP.
For Hotmail and Gmail server, you can enter your Hotmail or Gmail account and password as notification sender and then type an email address as the notification receiver.
In Custom SMTP, you can specify your own email SMTP server to send the email notification.
Note: You need to enable email notification when you create a backup task under Settings-->General.
Lock Screen
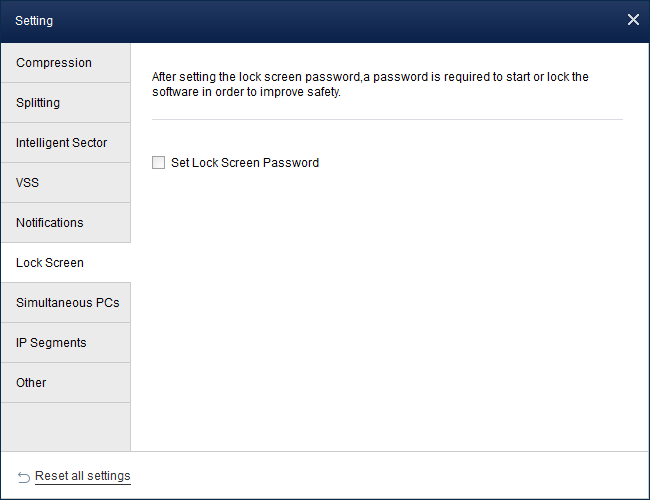
In order to protect your data from unauthorized access, you can increase the security of the software by setting a lock screen password. After setting the lock screen password and locking the software, you need to enter the password to unlock the software. To start the software again, you also need to enter the password so that you can use the software.
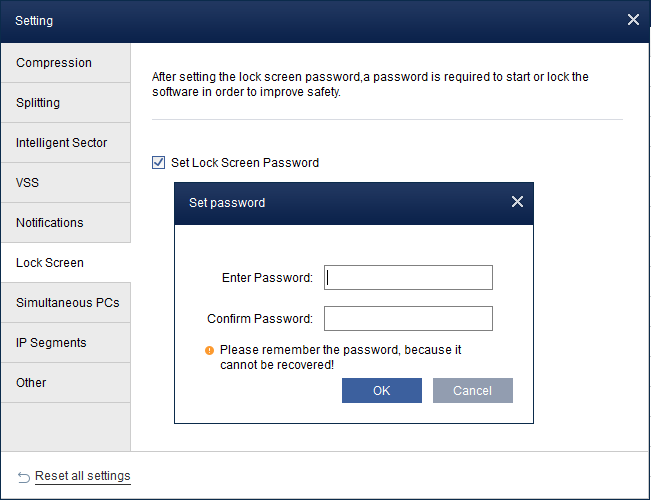
1. Set the lock screen password:
Tick the option of "Set Lock Screen Password" and a pop-up window for setting a password will pop up. Please enter the password and confirm the password in the window, and click "OK". It will prompt you the password setting is successful. Please remember the password.
2. Cancel the lock screen password:
Untick the "Set Lock Screen Password" option to cancel the lock screen password, and the software will not have a lock option.
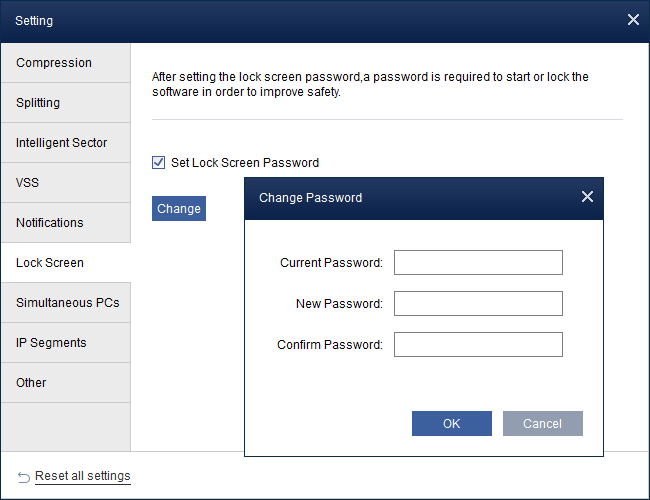
3. Change the lock screen password:
Click the "Change" button on the page, and a pop-up window for changing the password will pop up. Enter the current password, the new password and the confirmed password in the window, and click "OK". It will prompt you the password is changed successfully. Please remember the password.
4. Lock software and unlock software:
After the lock screen password setting is successful, you can click the "Lock" button under the directory to lock the software. At this time, the software page will jump to the login page, and you need to enter the set password to unlock it.
When the lock is completed, you can also right-click the software icon in the tray, click the "Unlock" button, or directly double-click the software icon, and the software login interface will pop up.
Notes:
-
Please remember your password. If you forget the password, you cannot retrieve it.
-
The maximum length of the password digits is 32 characters, and the minimum length is 1.
-
Password character type, only supports English, numbers, and some special characters.
Simultaneous PCs
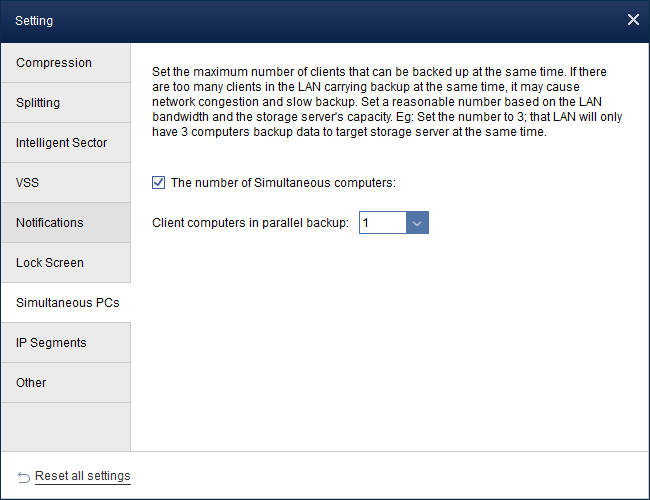
Generally, if there are too many clients (such as, 10 or 20 computers) backing up to same NAS or Network share storage simultaneously, it will slow down the overall speed of writing to NAS, you can restrict the numbers of clients that can be backed up at the same time based on the LAN bandwidth and the storage server's capacity. Eg: set the number to 3, so, there only are 3 computers backing up data to target drive at the same time.
IP Segments

If there are clients from different subnets. for example, AOMEI Centralized Backupper is connected to network 192.168.1.1, and you want to manage clients under192.168.4.1, you can enter 192.168.4 in the textbox below Enable IP Segments Management checkbox to allow AOMEI Centralized Backupper control those clients.
Notes:
You need to add IP segments one by one to the box.
You can input IP segments in batch via importing a text file. Please create a text file and input IP segments to text: each line with one IP segment.
Other
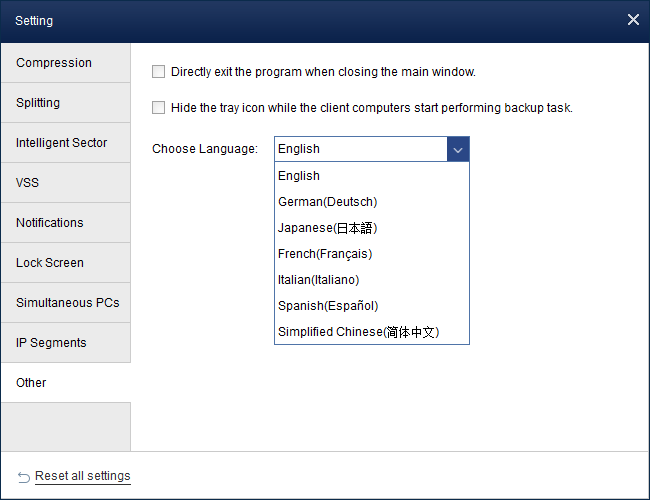
Directly exit the program when closing the main window.
Hide the tray icon while the client computers start performing the backup task.
Choose Language: you can select a language from the drop-down list.
Tips:
For specific task settings, there are other options available:
· Comments: You can make comments for the current task so that you can find it easily
· Encryption: You can encrypt your backup image for this current task so that others can not access the data within.
