DriveImage XML Clone Boot Drive and Its Safer Alternative
Learn how does DriveImage XML clone boot drive for Windows users. In addition to DriveImage XML, this page provides a more reliable cloning software to keep you away from any boot problems.
By Yuka Updated on December 27, 2024
DriveImage XML Overview
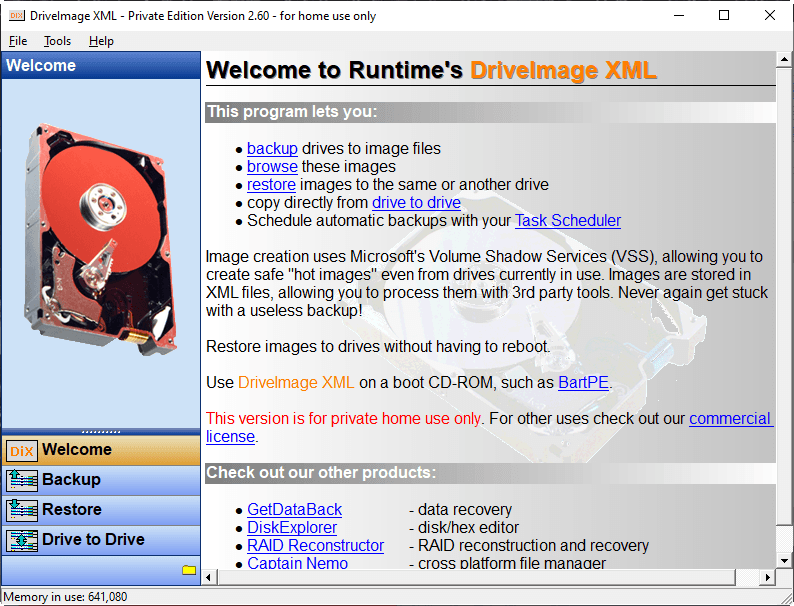
DriveImage XML is an easy to use and reliable program for imaging and backing up partitions and logical drives. It includes all the basic functions you expect from disk cloning software. This tool allows you to copy directly from one drive to another. This is helpful if you need to clone HDD to SSD or clone computer hard drive to external drive as a backup.
What’s more, you can back up any drive on your computer to an XML image file or restore an existing image to any drive connected to the computer. Even if your computer is running, you can make a backup. And there is no need to restart when restoring the backup.
How Does DriveImage XML Clone Boot Drive?
DriveImage XML lets you clone one disk directly to another disk, without having to create an image first. The DriveImage XML desktop app looks dated, but it’s fairly straightforward to use. There are three tabs for Backup, Restore, and Drive to Drive. In this part, I will show you how to use the DriveImage XML Drive to Drive function to clone the boot drive.
Note✍: Please be aware that all data on the destination partition will be overwritten and any files residing on it will be destroyed. So, if there are some important data on it, please backup files in advance.
- First, download DriveImage XML for free and install it as usual.
- When you launch DriveImage XML (DiX), click on the “Drive to Drive” button on the lower left of the screen. DriveImage XML will display all available source partitions and show information about their geometry below.
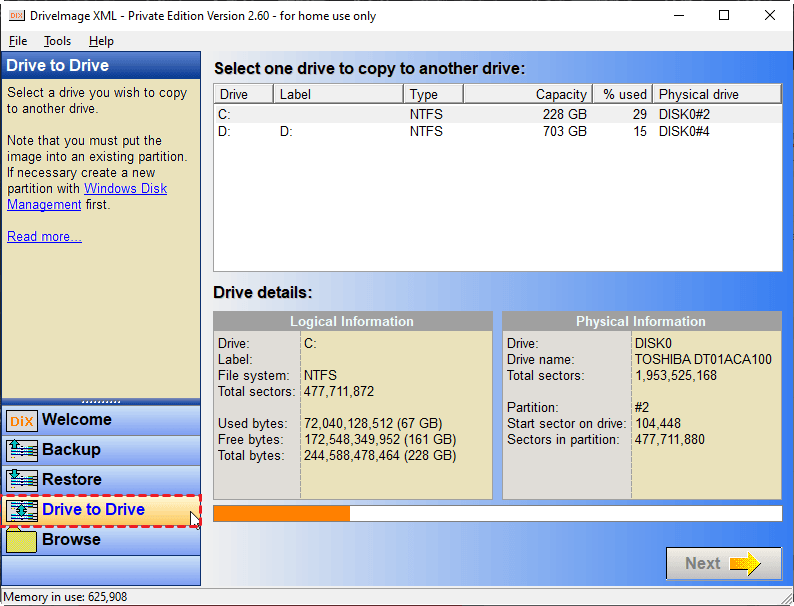
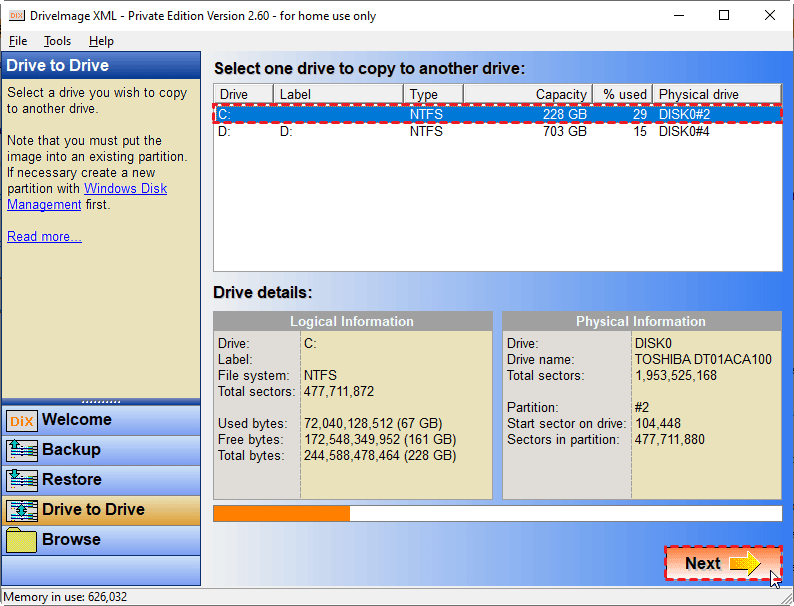
- Select the boot drive you wish to copy to another drive and click Next to continue.
- The drive you selected as the source drive in the previous step will be displayed again. And some options are provided. According to your needs, check the options and click Next.
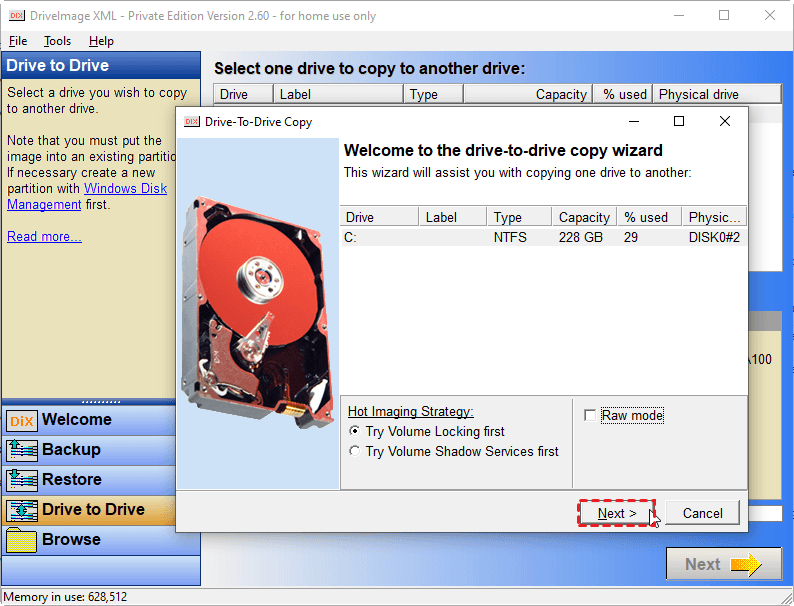
▶ Raw mode
If you select raw mode, DriveImage XML will create a sector-by-sector image of your drive on the destination drive (all the sectors on your drive, even the unused ones).
If you only need to image the used portions of your drive, leave raw mode unchecked. The process will be faster. Automatic resizing of the destination works only with raw mode unchecked.
▶ Hot Imaging Strategy
DriveImage XML allows you to create an image of your drive even if it is in use. This requires that the section of the drive currently being processed for backup be blocked from write access to prevent modification of the file without reflecting these changes in the backup. DriveImage accomplishes that by either locking the volume for write access rights for all other applications or processes while the image is created, or by using Microsoft's Volume Shadow Service (VSS).
- Then select the destination drive and click Next.
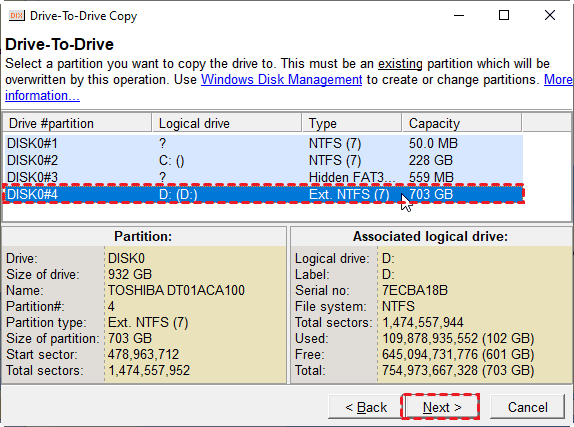
Note✍: You must put the image into an existing partition. If you don't already have a suitable partition, you need to create one. You can use Windows Disk Management to do this.
- Then DriveImage XML will show you again which drives you selected as the source drive and as the destination drive. Make sure you selected the correct drives and click Next to begin the operation.

- Then a DriveImage XML bootable clone will be performed. Once completed you will be notified whether or not the copy process was successful. Press Finish.
Note✍: If you want your computer to boot from the new partition you must set it to "active" with Windows Disk Management. The partition you want to boot from must also be a "primary" partition.
Why Need DiskImage XML Alternative?
If you can take advantage of a free license, DriveImage XML is a good choice for disk cloning, but its features are relatively limited. At the same time, many users reported that they encountered some errors when using DriveImage XML to clone disk. Some cases are listed below:
♨ Case 1: “DriveImage fails to execute "Drive to Drive" operation. Since the 1TB hard disk is dying, I decided to move the System Drive to newly bought HDD. It said, unable to retrieve drive layout. And when I right click on X: drive of Disk 3, the option "Mark Partition as Active" is disabled. Why?”
♨ Case 2: “I selected the "drive to drive" option, and chose for the boot drive to get cloned onto the external hard drive. It gives me an error along the lines of "Unable to lock DISK1 #1 (which is the number and partition of the external hard drive). I opted to ignore it, since there was little help on the web, and continued on with the rewrite. Hours later when it finished I plugged it into my 64 bit machine and it wouldn't boot. I got your basic "Could not find bootable drive" or whatever.”
Most Reliable DriveImage XML Alternative – No Boot Issues
If you don't want to encounter these problems above during cloning, you can use another more reliable alternative. As the best DriveImage XML alternative, AOMEI Backupper Professional provides more features to protect your data and system. After cloning the boot drive with AOMEI Backupper, you can safely boot from it.
This cloning software has a user-friendly design and a clear interface so that all users can use it smoothly in a short period of time. It supports all Windows PC, including Windows 7/8/8.1/10/11/XP/Vista. If you plan to replace HDD with SSD, you can use its SSD Alignment option to improve the writing & reading speed of the SSD.
Now that you know how does DriveImage XML clone boot drive, I will show you how to use this powerful software to clone a disk and boot from the cloned disk. Download and install it firstly.
(*The clone features can only be demonstrated in the trial version. To execute the clone operations, please upgrade to the full version.)
Step by Step Guide to Clone Boot Drive via AOMEI Backupper
Step 1. Connect the prepared HDD or SSD to your computer with SATA-to-USB adaptor. Please back up data on the HDD or SSD in advance.
Step 2. Launch AOMEI Backupper, click Disk Clone under the Clone tab.

☃ Tips:
❄ If your new hard drive is not enough to save the boot drive and all the installed programs, files, folders, you can click System Clone to transfer only the operating system to the new hard drive.
❄ AOMEI Backupper Professional supports cloning system disks from MBR to GPT/MBR, or GPT to GPT/MBR, you don't need to convert the partition style of the disks. If you only want to clone the MBR data disk without the system to the MBR data disk, you can use the free cloning software - AOMEI Backupper Standard.
Step 3. Select the boot drive on your computer as the source disk. Then, click Next.

Step 4. Select the HDD or SSD you connected before as the destination path.

Step 5. Check SSD Alignment option if your destination disk is an SSD. Confirm all your settings and click Start Clone.

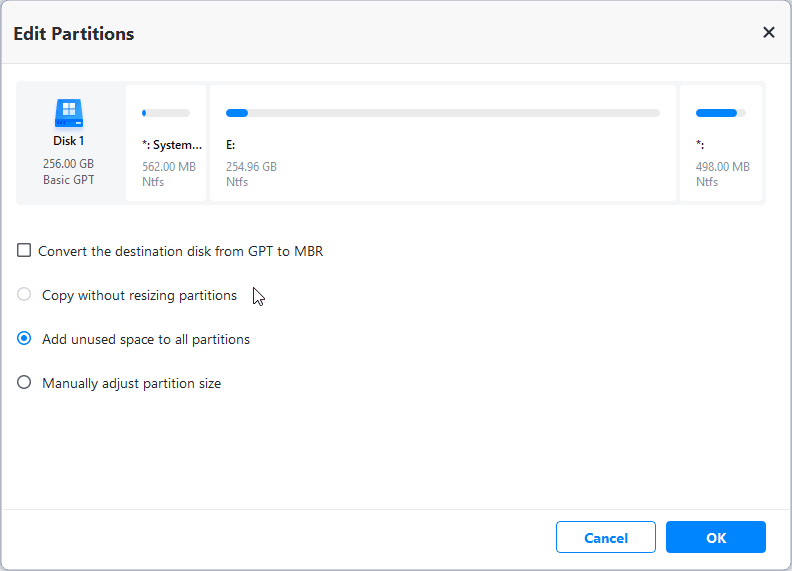
Tip: You can adjust partition size of destination disk with “Edit Partitions”. This feature is very useful if you clone a disk to a larger one. It will help you resize the partition of the target disc to avoid unallocated space after cloning.
Tip on making cloned disk bootable
Since you have cloned the Windows boot drive, you can check whether the cloned hard drive is bootable. Therefore, you can use it to replace old hard drives in the event of a failure or upgrade as needed. To boot from the cloned hard drive:
- Replace the old hard drive with the cloned drive.
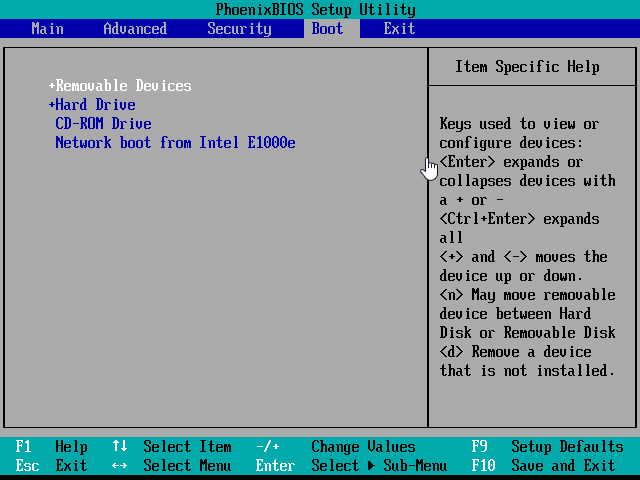
- Restart your computer and press “F2” or “ESC” key to enter BIOS.
- Set the cloned hard drive as default boot option, then save changes and exit this window. After that, it will automatically boot from the cloned hard drive.
Summary
This article explains in detail how does DriveImage XML clone boot drive. In addition, you can also do this through another software—AOMEI Backupper. The latter operation seems a bit simpler. And you will not encounter any startup errors encountered with DriveImage XML cloning.
Also, with its powerful backup & restore functions, you can recover deleted PC files from Synology NAS easily. All the errors you encounter when using other backup or cloning software will not appear in AOMEI Backupper. Such as Cobian Backup “Engine not found” error, Acronis True Image hangs when cloning, etc. Why hesitate? Try it now!

