Schedule Windows Server Backup to Remote Shared Folder
Learn how to use Windows Server Backup for schedule to remote shared folder in Windows Server 2008/2012/2016 and overcome the limitations.
By Delia Updated on December 8, 2022
About Scheduled backup of Windows Server Backup
Since Windows Server 2008, Microsoft has replaced NTBackup with Windows Server Backup that provides block level backup instead of file level. Windows Server Backup has many advantages over NTBackup. However, in some aspects, Windows Server Backup is not as practical as NTBackup.
- Using Windows Server Backup to schedule to remote shared folder directly is not supported in Windows Server 2008, and in Windows Server 2012 or later versions.
- The next backup will overwrite the previous backup, so it will only perform full backup all the time.
- If a backup to network share folder does not complete successfully, you will lose your backup as it will delete Windows backup created previously before the backup starts.
Fortunately, no matter which version of Windows Server you are running, there is a workaround to overcome the limitations of Windows Server Backup.
Configure a schedule backup to remote share folder
Before learning the Windows Server schedule backup to network tricks, let’s see how it allows you to set up a regularly scheduled backup over the network.
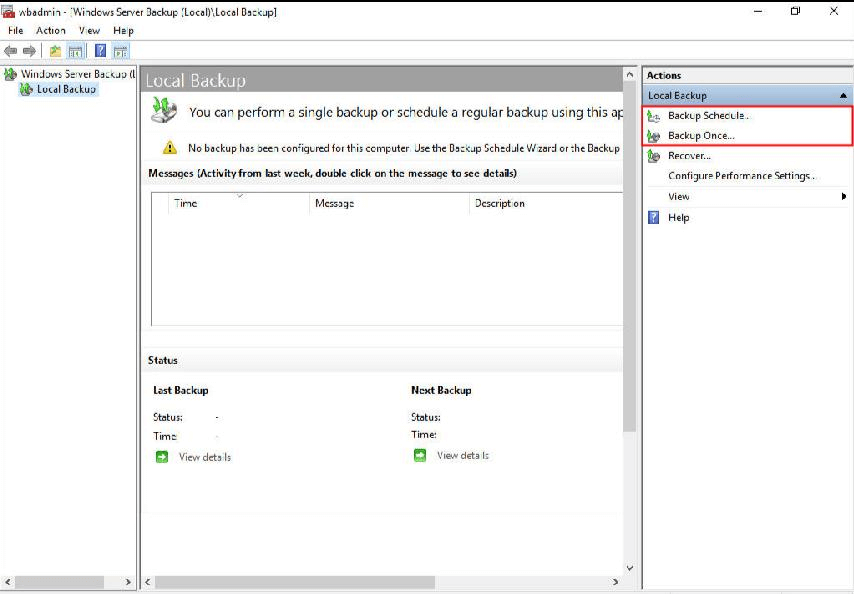
1. Install and open Windows Server Backup in Server Manager if you have not done it.
2. In the main interface of Windows Server backup, click “Backup Schedule...”.
3. It will pop out the Backup Schedule Wizard window. From there, click on the “Next” button to continue.
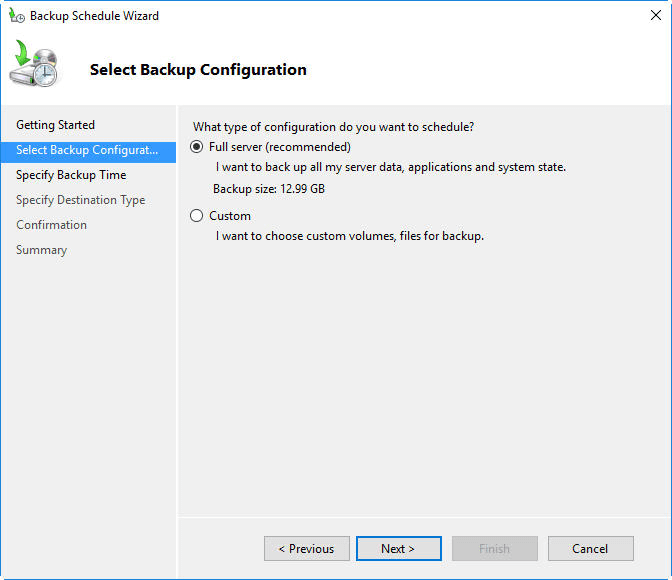
4. At the Select Backup Configuration screen, select “Full server” to backup all data on the server or “Custom” to specify certain files that need backing up.
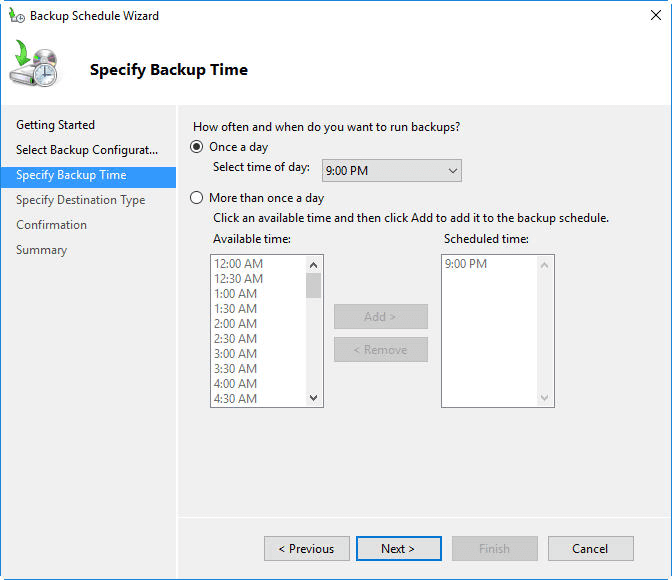
5. At the next screen, decide when you want the backup to run by choosing one or more times in a day and click “Next” to continue.
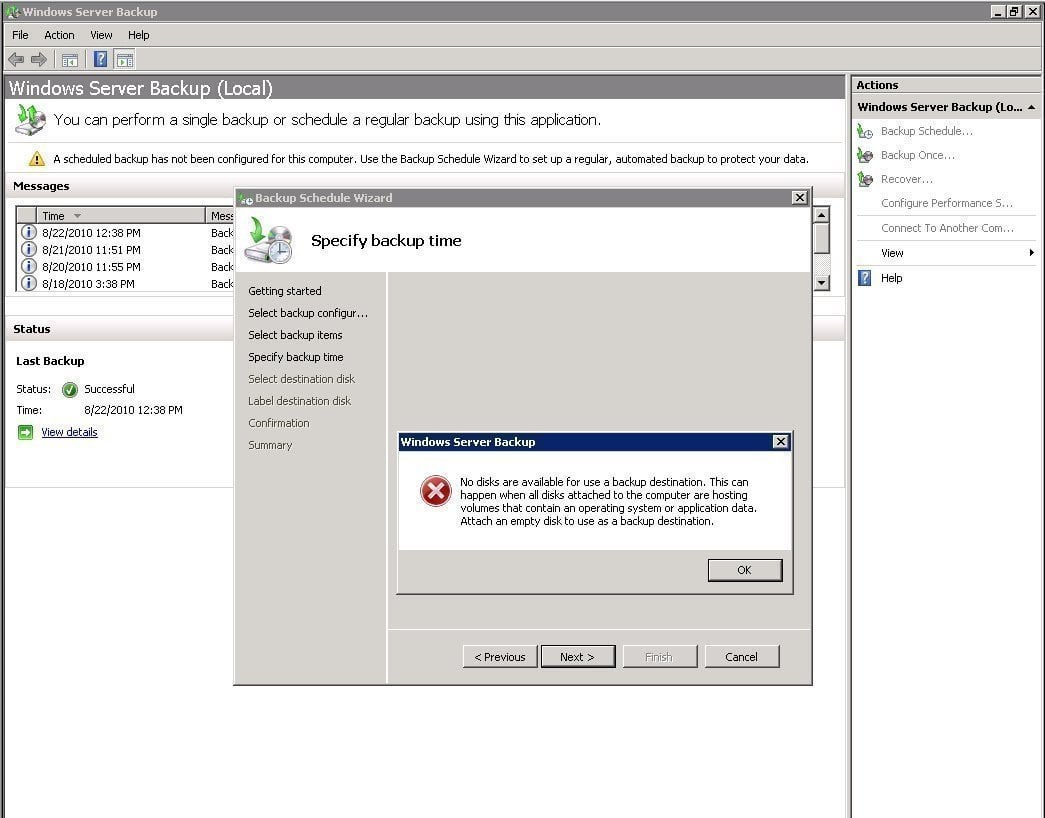
6. Then check the “Back up to a shared network folder” option and click “Next” in the Specify destination type screen.
7. At the next screen, type the network path where you want to save the backup to.
8. Finally, confirm the scheduled backup and click “Finish” to add this scheduled backup.
As mentioned, Windows Server 2008 is unable to access the remote shared folder, and you will get an error that no disks are available for use a backup destination. To run schedule backup on Windows Server 2008, you can write a WBadmin backup command and use Task Scheduler to run it regularly.
If you want to run an incremental backup to network share location, you can create a virtual hard disk(VHD) using Disk Management on the shared folder. This VHD will be regarded as a local disk that Windows Server Backup can create volume shadow copies, so you can create incremental backup to this VHD without worrying about losing backups.
However, if you do not content with this workaround or want a simpler way to run scheduled backup over network, you can turn to third-party backup software.
Windows Server scheduled backup to network share easily
Rather than using Windows Server Backup workaround to create scheduled backup to network drive, you can do it an easier way using Windows Server backup software AOMEI Backupper Server.
① Backup types and locations
It offers you System/Disk/Partition/File Backup, which can meet your different needs. You are allowed to backup to any locations that are detected in File Explorer besides network share folder.
② Backup schedule
It enables you to set backup tasks to run daily, weekly, and monthly, etc. You can also configure the backup to run in the way of full/incremental/differential backup.
③ Backup scheme
It provides automatic old backup cleanup feature that can save you from the "backup disk is full" issue.
Other useful backup options like email notification, encryption, and spliting are also available in AOMEI Backupper Server. If you want to protect unlimited PCs and servers within your company, you may choose AOMEI Backupper Technician Plus. It offers unlimited billable technical services to clients. It also enables you to copy AOMEI Backupper to removable device and directly run the target computer without installing.
To create a scheduled backup over network share with AOMEI Backupper:
1. Download and run AOMEI Backupper on your server.
2. In its main interface, choose System Backup under Backup tab.

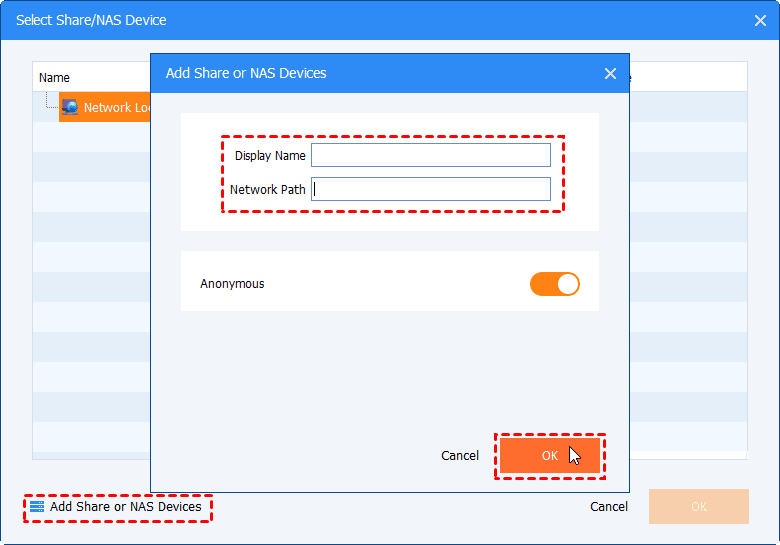
3. The program will automatically include needed files for a system restore in the backup. Here you can click the marked column to choose the destination path. It will bring you a File Explorer window. From there, choose share/NAS.


4. In the pop-up window, click Add Share or NAS Devices. Type in the address of the shared folder and fill in other boxes.
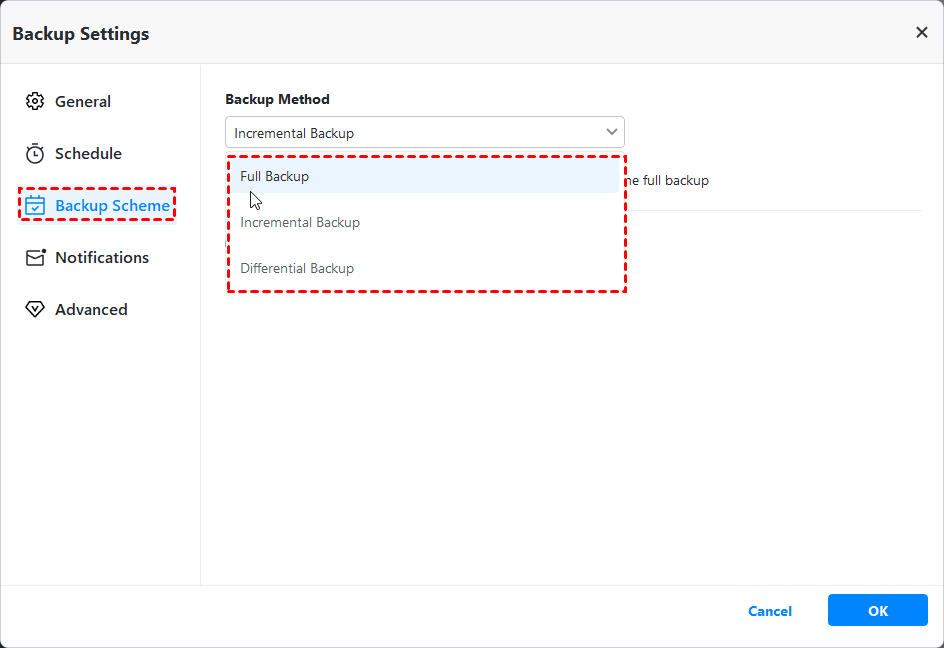
5. After specifying the backup target location, click Schedule Backup to choose a specific time to perform the backup.

The incremental backup is set as default. If you want to change, just click Backup Scheme and choose full or differential backup from the drop-down menu of “Backup Method”.
6. Confirm the backup job, and click Start Backup to add this backup schedule.
After the backup finishes, you can easily locate the image backup in File Explorer. Moreover, you can mount the backup to see what was backed up or restore it. If you do not like the way of Windows Server Backup schedule to remote shared folder, AOMEI Backupper Server is your choice.
Tips: AOMEI has another program called AOMEI Centralized Backupper which enables you to backup multiple computers over network on one central management console.

