How to Change Backup Drive in Windows 10: Full Guide
This article describes how to change backup drive in Windows 10 and provides a graphic tutorial. Finally, we recommend you a professional backup software to backup Windows 10 data.
By Miya Updated on December 11, 2024
Why Need to Change Backup Drive In Windows 10
There are a few reasons why you might need to change backup drive in Windows 10 for your data:
- Storage Capacity: If your current backup drive is running out of space, you may need to switch to a larger drive to accommodate future backups. This ensures that you have enough storage capacity to store all your important data.
- Performance and Speed: Upgrading to a faster or more efficient backup drive can improve the speed and performance of your backup process. A drive with faster read/write speeds can significantly reduce the time it takes to back up your data.
- Redundancy and Reliability: In some cases, you may want to implement a backup strategy that involves multiple drives for redundancy. By switching to a different backup drive, you can create additional copies of your data for enhanced reliability and protection against drive failures.
- Portability and Accessibility: If you need to access your backup data on different devices or locations, changing the backup drive to a portable or cloud-based solution can offer greater flexibility and accessibility. This allows you to easily retrieve your data whenever and wherever you need it.
- Upgrading Technology: As technology advances, new backup drives may offer improved features, such as better encryption, data compression, or compatibility with the latest backup software. Switching to a newer drive can take advantage of these advancements and enhance the overall backup experience.
How to Change Backup Drive In Windows 10
File History in Windows 10 is a user-friendly and hassle-free feature. It offers automatic backups and the capability to retain older file versions, making it an excellent "set it and forget it" backup solution. If you have a defective drive or require additional backup storage, you can easily change the backup drive. Here are the step-by-step instructions to change backup drive in Windows 10:
Step 1. Access the Start menu and click on the Settings option.
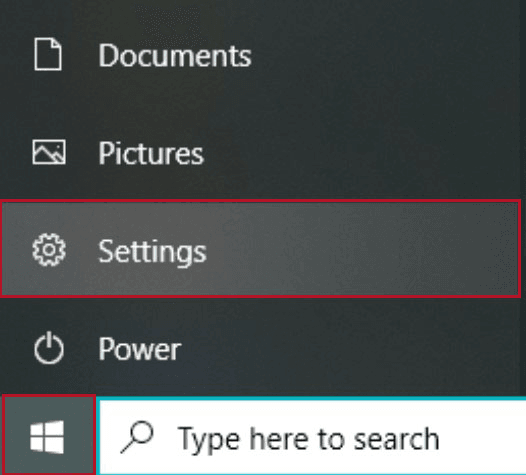
Step 2. Within the Windows Settings, navigate to and select Update and Security.
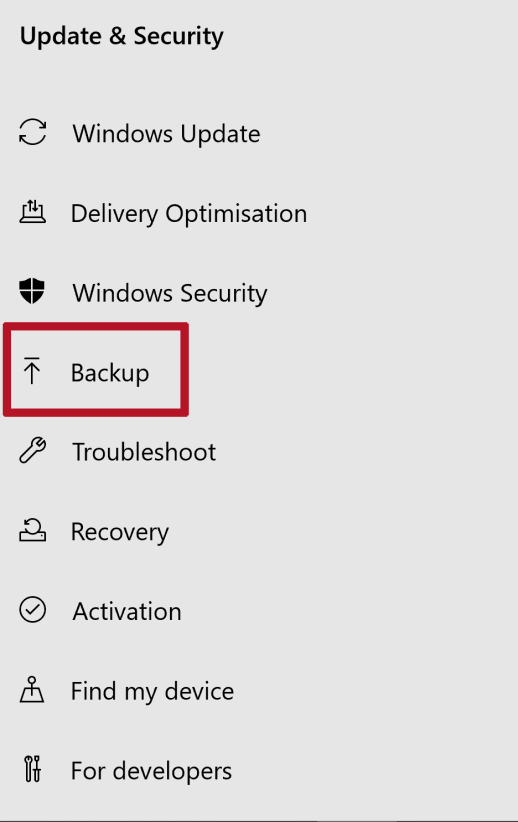
Step 3. On the left-hand menu, locate and click on the Backup option.
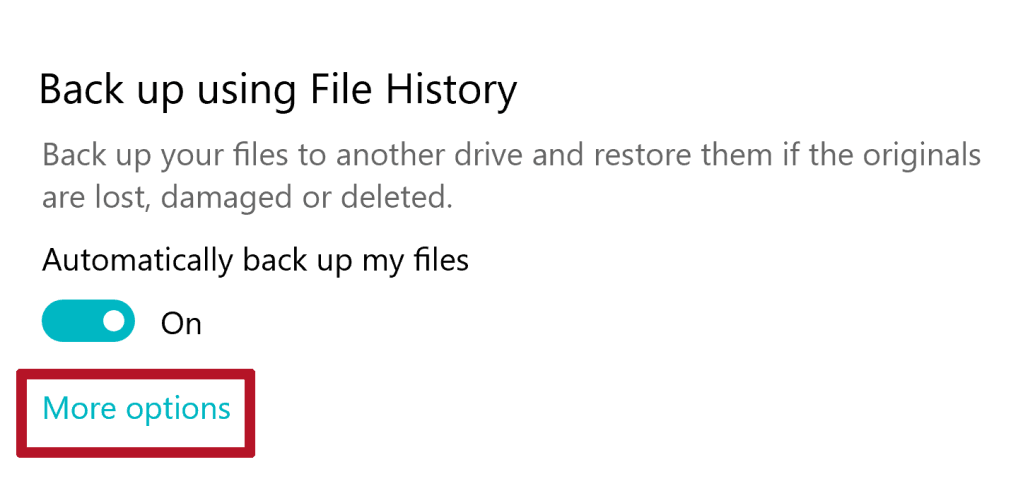
Step 4. Under the Automatically back up my files section, click on the More options link.
Step 5. Scroll to the bottom of the backup options and click on the Stop using drive button.
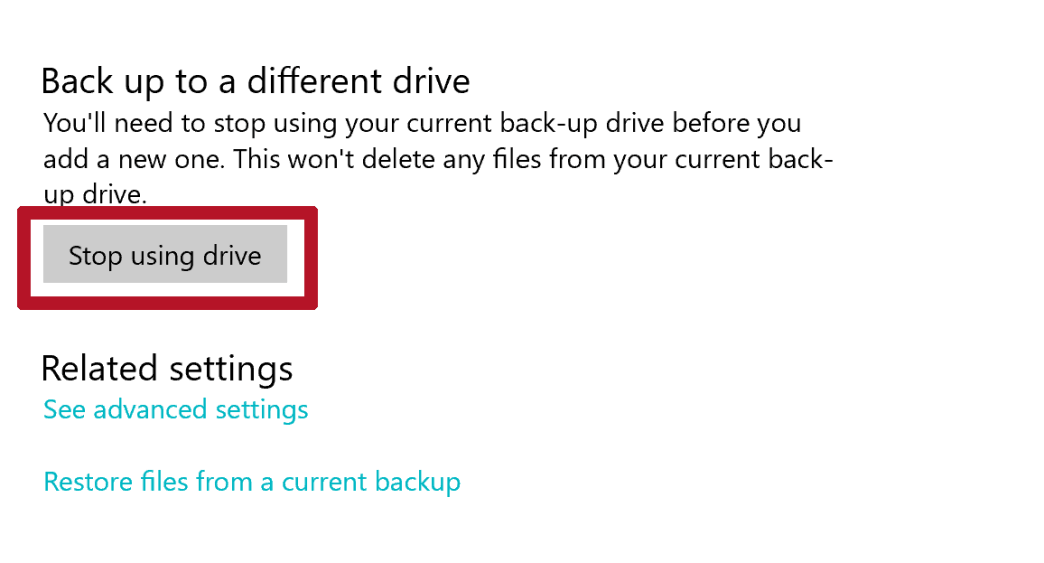
Step 6. Now, you can choose a different drive to use with File History. To proceed, click the back arrow located in the top left corner of the current window.
![]()
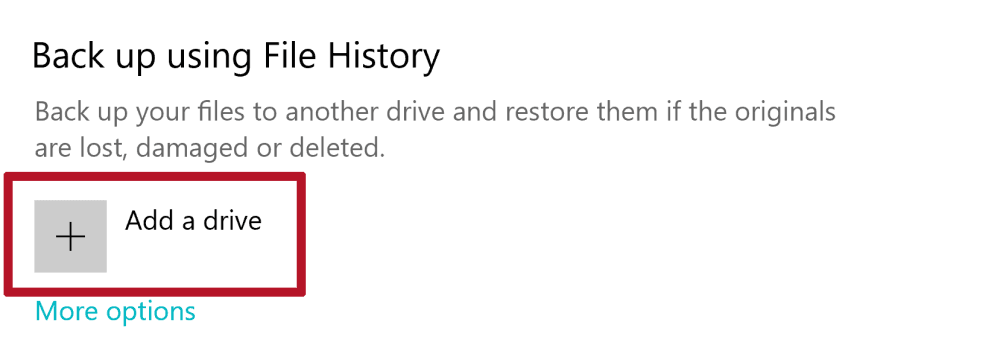
Step 7. By doing so, you will be directed to the Backup section where you can proceed with the next steps. If you haven't done so already, attach your new drive. Once connected, navigate to the Back up using File History section and click on Add a drive.
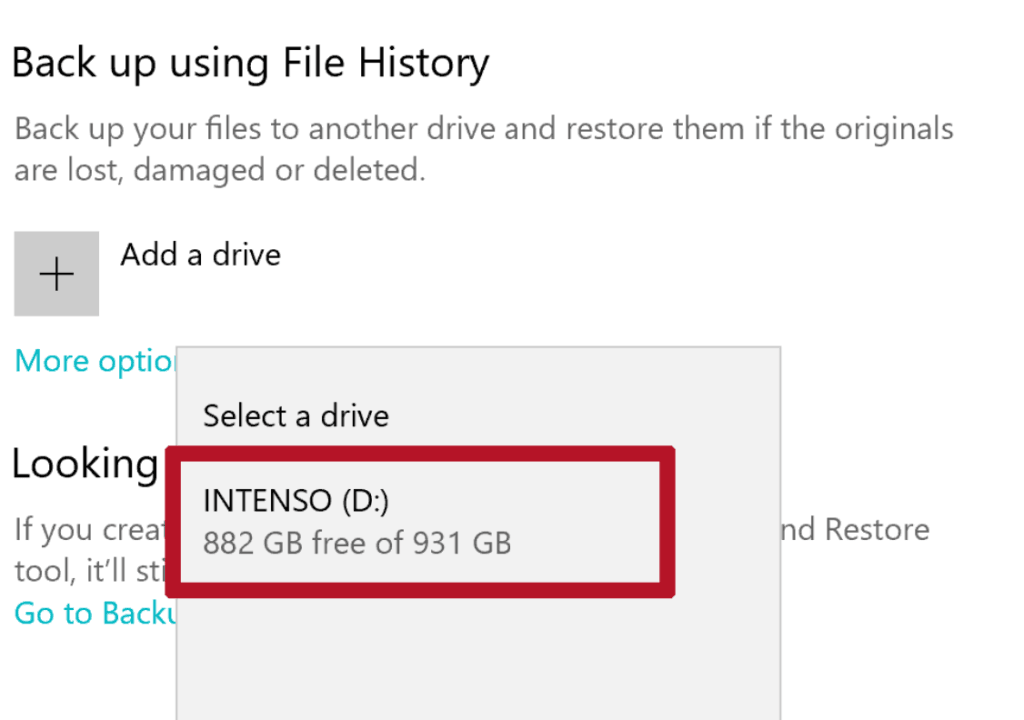
Step 8. From the list, choose your desired drive. If multiple drives are displayed, ensure that you select the correct drive.
Now you can utilize your new drive for backups. However, please note that Windows 10 has reset the backup options to their default settings.
If you made any changes to your previous backup options, you will need to reconfigure them. These settings can be found in the backup options section and include:
- Back up my files: Frequency of file history backups.
- Keep my backups: Duration for which backup history will be retained.
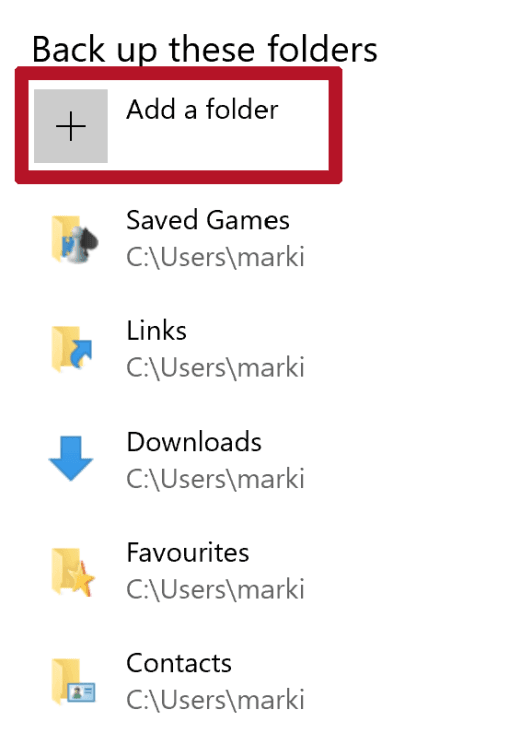
- Back up these folders: Most importantly, adding any additional folders not included in the default list.
No matter what data you want to back up or to which drive, you can use professional backup software to provide full data protection for your Windows data. Here, I recommend you AOMEI Backupper which is designed for Windows, it can not only automatically backup the data you want to backup, but also delete the old backups automatically. It will not take up extra space on your disk.
Auto Backup All Your Windows Data (Auto Delete Old Backups)
AOMEI Backupper Standard, the finest free backup software for Windows, offers unrestricted scheduled backups.
◉It supports various operating systems such as Windows 11/10/8/7 and multiple file systems including NTFS, FAT32, FAT16, EXT2, and EXT3.
◉To effectively manage full backup disks, you can activate the automatic backup cleanup method within the Backup Scheme. This feature will delete outdated backup images based on the chosen method.(you can find this feature in paid version)
◉The software boasts a user-friendly interface that allows you to effortlessly configure daily, weekly, or monthly scheduled backups. Furthermore, you can utilize the Windows Task Scheduler to execute the backup schedule jobs.
◉In addition to regular full backups, AOMEI Backupper allows you to perform incremental backups, which are set as the default option when creating a scheduled backup. Incremental backups only include modified or newly added files, resulting in significant savings of disk space and time.
◉In addition to regular full backups, AOMEI Backupper allows you to perform incremental backups, which are set as the default option when creating a scheduled backup. Incremental backups only include modified or newly added files, resulting in significant savings of disk space and time.
Moreover, the software offers the capability to create bootable media, enabling you to restore your system in the event of a boot failure.
Begin by downloading and installing AOMEI Backupper Standard. Once the installation is complete, launch the software to initiate the process of creating automatic backups.
Step 1. On the main interface, click on the Backup option. From there, you can select various backup options such as file/folder backup, system backup, partition backup, and disk backup. As an example, let's choose system backup.

Step 2. When selecting the System Backup option, the backup process will automatically include the system-related partitions. Therefore, you only need to choose a destination location to store the backup.

Step 3. To determine the timing of the backup, click on Schedule Backup. You have the flexibility to set up a daily, weekly, or monthly backup schedule according to your preference. Additionally, you can opt for Eventtriggersbackup or USB plugin backup as per your requirements.

Note:
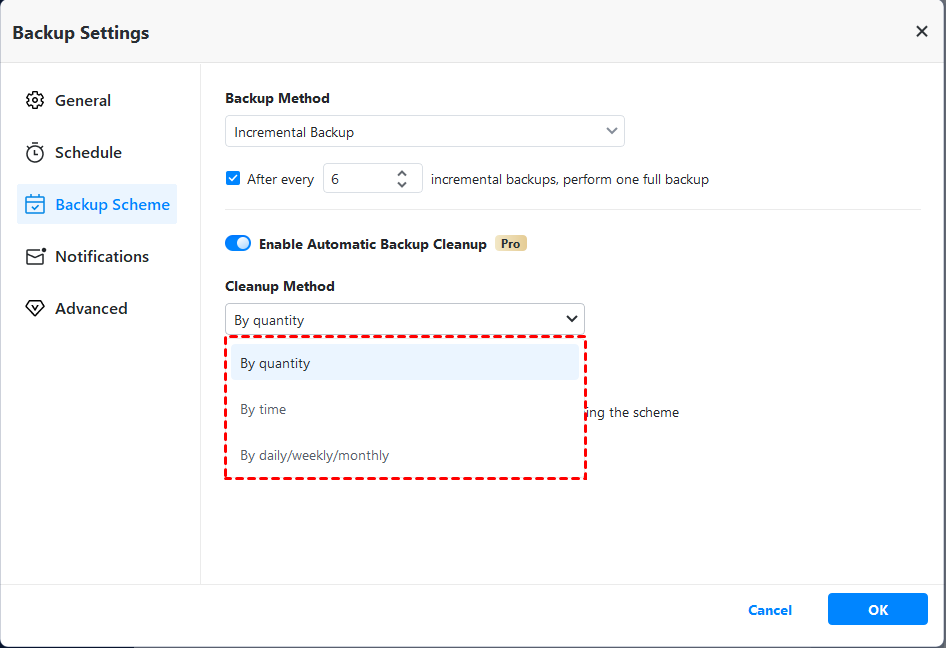
Click on Backup Scheme to configure the backup settings, including options for full, incremental, or differential backups. Additionally, you can set up automatic deletion of old backups to ensure that the backup disk doesn't become full.
Please note that the features of differential backup and automatic backup cleanup are available in AOMEI Backupper Professional or higher editions.
Step 4. Next, click on Start Backup, and select Add the schedule and start backup now to initiate your initial backup process.
Your Turn
This article describes in detail how to change backup drive in Windows 10. and provides a detailed graphic tutorial. Finally, we recommend you to use professional backup software to backup your Windows 10 data.
Similar to the Windows built-in command line backup tool WBadmin, AOMEI Backupper offers the capability to backup a hard drive using the command prompt(available as a paid feature). Additionally, AOMEI Backupper provides cloning functionality, allowing you to clone a hard drive or operating system to safeguard your data without the need for imaging.

