How to Transfer Music from Windows Media Player to iTunes
How to transfer music from Windows Media Player to iTunes when you prefer using iTunes to enjoy wonderful music songs, it will be annoyed for some people. Now this post will help you make it without effort.
By Kathy / Updated on May 14, 2026
Music brings us countless wonderful experiences and makes us feel relaxed. Believed that lots of Windows users usually put their music on their Windows Media Players, and they may wonder how to transfer playlists from Windows Media Player to iTunes, so they can enjoy their music on the iPhone, or iPod anytime and anywhere.
In this passage, we will teach you how to import music from Windows media player to iTunes easily and offer you a professional transfer tool to help you manage your iPhone data.
How to transfer music from Windows media player to iTunes
Because of different music-format compatibility, please make sure your music can be played on your device before performing the operation.
The currently supported audio formats for the iPhone/iPad/iPod are:
● AAC /ALAC (Apple Lossless)/AC-3/E-AC-3
● MP3/WAV/AIFF
● AA /Audible Enhanced Audio / AAX / AAX+
For the iTunes and Windows Media Player, iTunes supports audio file formats: AAC, AIFF, Apple Lossless, MP3, and WAV, etc. audio file formats. The newest Windows Media Player 12 has built-in support for a number of popular music/audio and video formats, such as 3GP, AAC, AVCHD, MPEG-4, WMV, and WMA. It also supports most AVI, DivX, MOV, and Xvid files.
Step 1. Install iTunes and open the Windows Media Player on your Windows 10 (Usually, Windows Media Player is default music media player on Windows computer.)
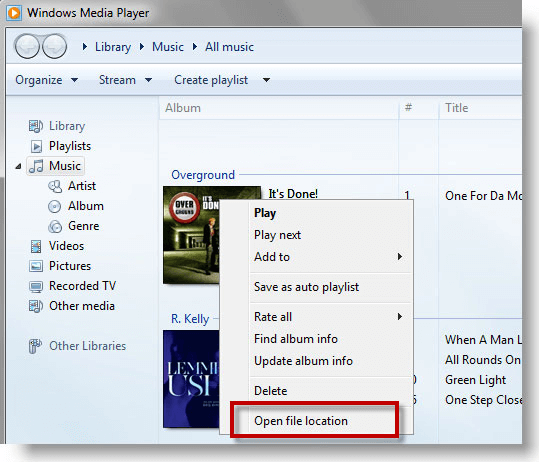
Step 2. Right-click on the songs > Open file location.
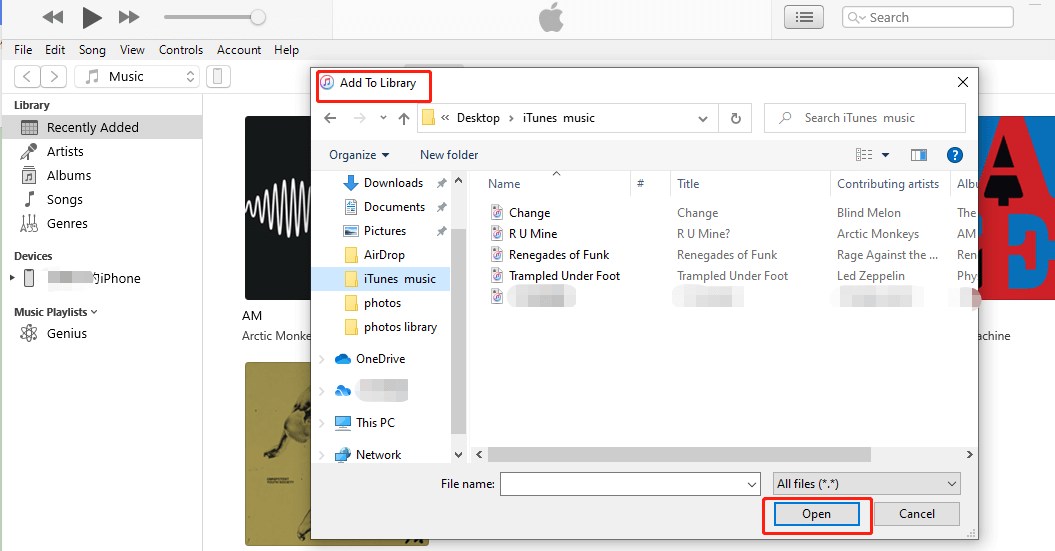
Step 3. Open the iTunes with double clicks. Then click the File tab on the top left corner and then select Add File to Library or Add Folder to Library from the drop-down menu.
![]()
Step 4. Choose the file location and music files which you what to transfer from Windows Media Player to iTunes, then click Open to continue.
Step 5. When transferring process is completed, you can check and view the music songs in iTunes library.
You can open Windows Media Player, and click the "Organize" option to show its list > Select "Manage Libraries" and click "Music" to open a new window > Click "Add..." button to browse the folder of your iTunes library, and hit "OK" button to finish the whole process.
◆ Steps to sync music via iTunes
If you want to enjoy the music files on your iPhone or iPod at once, you can sync music to iPhone/iPad/iPod via iTunes directly. Here are the precise steps for you:
1. Open iTunes and connect iOS device to computer with USB cable.
2. Click the device icon of your iPhone in iTunes.
3. Select Music section in the sidebar.
4. Check Sync Music, select music from iTunes library, and click Apply.

The above is the whole process about transferring music from Windows Media Player to iTunes. You can check it to have a try.
How to transfer music from Windows media player to iPhone [Best & easy]
In fact, transferring music from Windows Media Player to iTunes is troublesome. And we prefer to listen to music through iPhone or iPod. Here we would like to introduce you to powerful transferring and managing iOS data software to help you, which is FoneBackup, which works as the best iTunes alternative to import music from Windows Media Player to iPhone, iPod Touch, and iPad.
Currently, FoneBackup can support most iPhone models from iPhone 4 to the latest iPhone 15/iPhone SE and would be perfectly compatible with the latest iOS 18. You can copy your music songs to iPhone in only a few clicks through the tool.
Some amazing feathers of FoneBackup, you can view from the below:
● Selectively transfer music. You can transfer all music playlists to iPhone at once or transfer selected songs as per your needs.
● No data loss. It will not erase the existing music songs or any other data on the device when transferring.
● Easy to transfer music. It can be finished in only a few clicks, you don’t spend much time waiting.
● No needed third-party software. It gets you to transfer music between iOS device and computer freely.
● Supported types of data. Apart from music data, it can also help you transfer photos, videos, contacts and messages, etc.
Free download FoneBackup and prepare to transfer music songs to your iPhone in an easy way.
1. Launch FoneBackup and connect your iPhone to the computer. (you may be asked to tap Trust on your iPhone.)
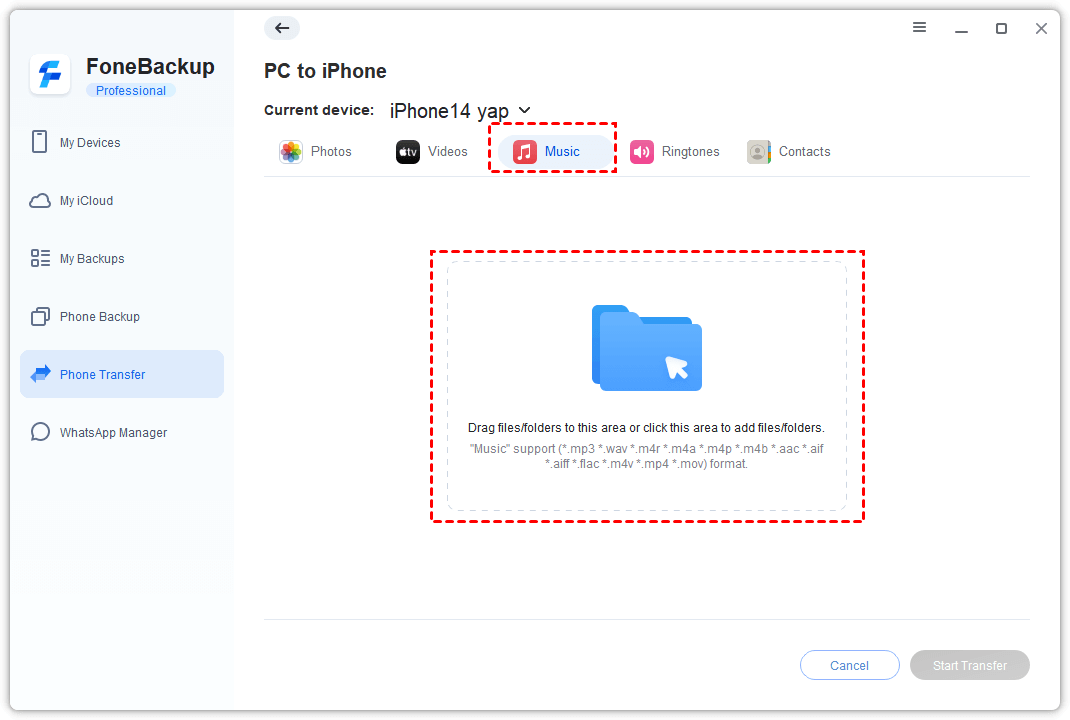
2. In the home interface, click the Phone Transfer option. Move the mouse to PC to iPhone. Click Get Started.

3. Click the “+” icon > Choose the music songs you’d like to transfer to iPhone > Click Open to continue.
4. Click Start Transfer to add music from Windows computer to iPhone.
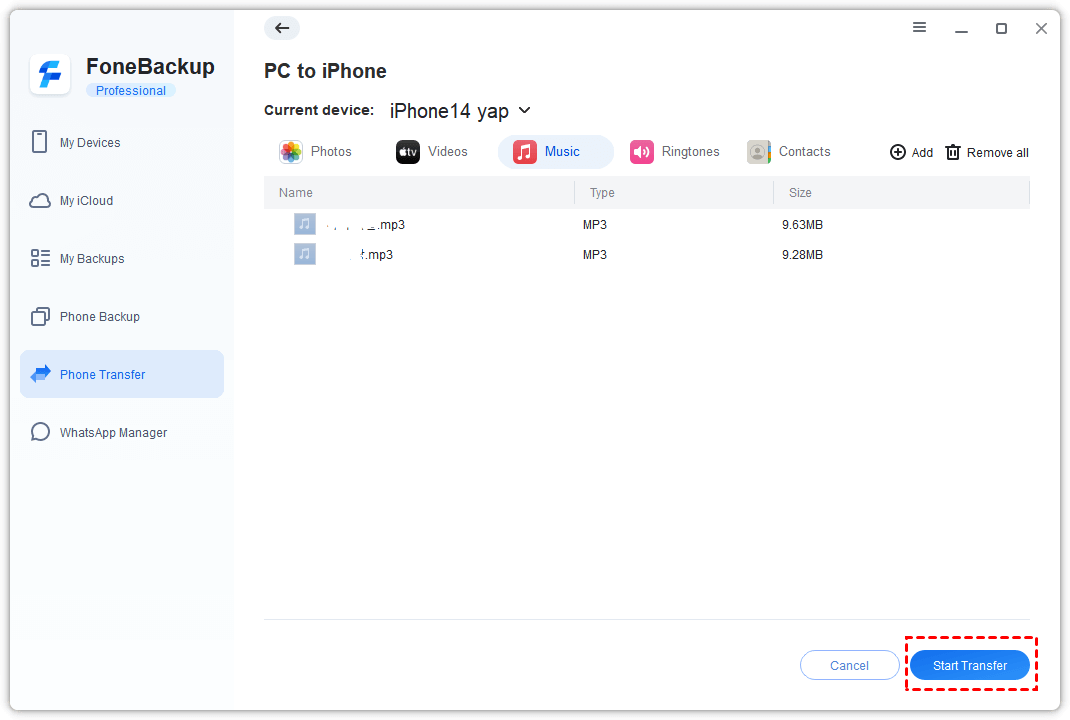
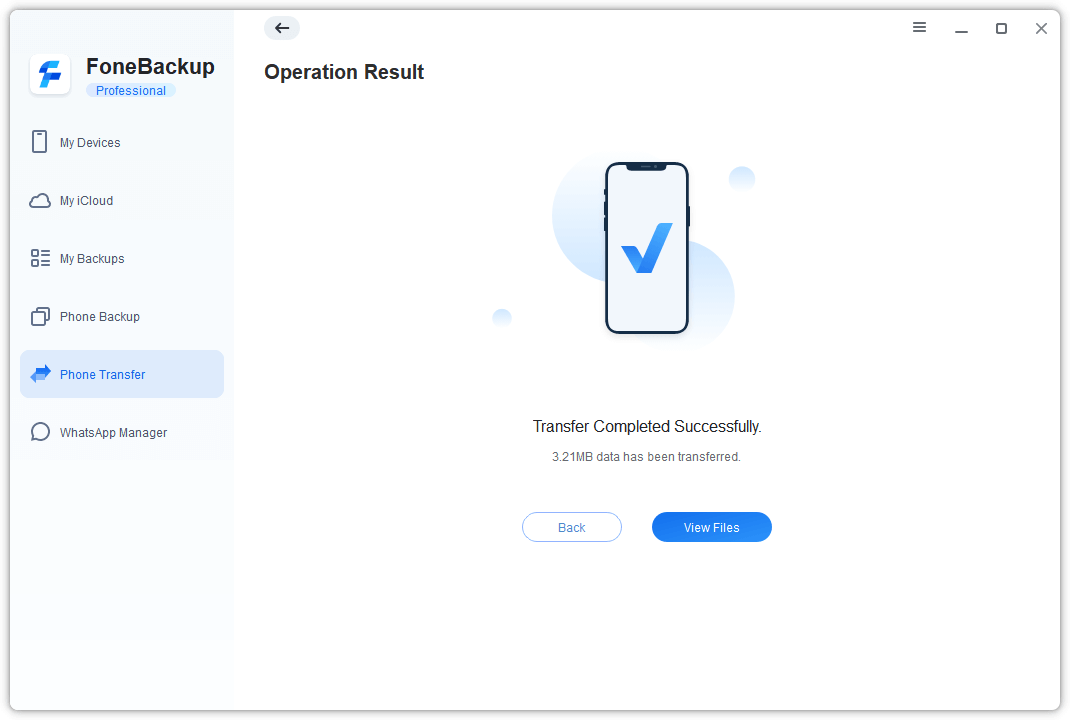
5. Click OK when the transfer is completed.
Tips: FoneBackup also can help users transfer music from iPhone to computer, from iPhone to another iPhone or iPad, which helps you easily move your music playlists in the right place.
Conclusion
That’s all for how to transfer music from Windows Media Player to iTunes and the alternative to iTunes for importing playlists to iPhone/ iPad/iPod. If you want to transfer MP3 to iPhone without iTunes, FoneBackup can be the best choice for you.
If you think this passage really help you import music from Windows Media player to iTunes, please share it to others who in need. Or any problem you have faced, you can leave a comment below.