Best Inland SSD Clone Software: Move OS and Files Safely
Want to find Inland SSD clone software? The most reliable disk cloning software is introduced in this article. Learn how to use easily clone HDD to Inland SSD without startup issues.
By Lily Updated on October 14, 2024
Help: Issues with Cloning Boot Drive to Inland SSD
"I recently purchased an Inland Premium 1TB SSD (3D NAND M.2 2280 PCIe NVMe 3.0 x4). I cloned my boot drive (C:) to it using Macrium Reflect, but when I attempt to boot off of it, I'm unsuccessful.
I noticed that one of my other drives (A:) contains Windows system files. So I tried testing the boot capability of each of my drives, and to my surprise, it looks like my system can't boot without including my A: drive in the boot priority list in BIOS. It doesn't appear to matter which order, but without it, my system won't boot. Is it possible to clone both my current C: and A: drive to my new NVMe drive, and if so, would that fix my problem?"
- Question from Micro Center Community
There are many scenarios in life that require SSD clone software. The user who wants to replace the system disk in the above case is one of them. We all know that SSD provides your computer with shorter boot time, more immediate data transmission and higher bandwidth.
Regardless of the reason, it is not surprising that people are willing to convert HDDs to SSDs. There are various brands of SSDs on the market. Inland SSDs are chosen by many users because of their affordable prices. With the increase in Inland SSD usage, the demand for Inland Professional SSD clone software has gradually increased.
Most Reliable Inland Disk Cloner | Free Download
AOMEI Backupper Professional is one of the most reliable SSD cloning software on the market. It supports all Windows PC (Windows 7/8/8.1/10/11/XP/Vista). It can help you copy all the data from one disk to another completely and ensure that the computer can start normally after cloning.

- Migrate OS only from HDD to Inland SSD Drive
- Clone entire hard drive to Inland SSD
- Clone from larger disk to smaller disk via Intelligent clone
- Support all popular disk brands, Samsung, WD, Kingston, Crucial, PNY, Inland, etc.
- Support all disk interfaces, SATA HDDs, SATA SSDs, NVMe SSDs, M.2 SSDs, etc.
Download and install this powerful Inland drive cloner on your PC now!
How to Clone HDD to Inland Professional SSD Step by Step
Here, I will show you how to clone HDD to Inland Professional SSD with AOMEI Backupper. If there are important data on the Inland SSD, please backup files in advance, because all the data in the destination will be overwritten in the cloning process.
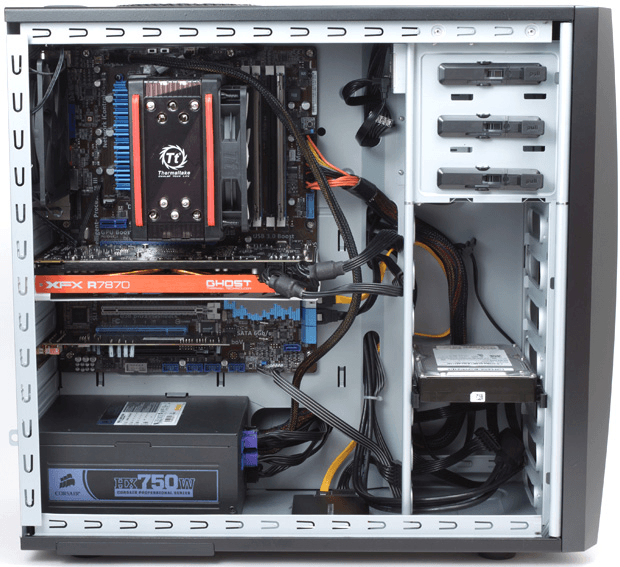
Step 1. Make sure your computer is fully powered off. Unscrew and remove the side of the computer tower case. Install the Inland SSD and then restart your computer.
Step 2. Launch Inland SSD clone software AOMEI Backupper, then you will see its deep-blue screen. Click Clone and then select Disk Clone to start hard drive copy. It clones all the data on the source disk to the target disk.

Step 3. Select the original HDD on your computer as the source disk. Then, click Next.

Step 4. Select the Inland SSD as the destination path.

Step 5. Check SSD Alignment option to improve the writing & reading speed of SSD disk while cloning hard drive to SSD, then click Start Clone.

Tips:
👉 Sector by Sector Clone: It allows you to clone all sectors of a hard drive including bad sectors and empty sectors.
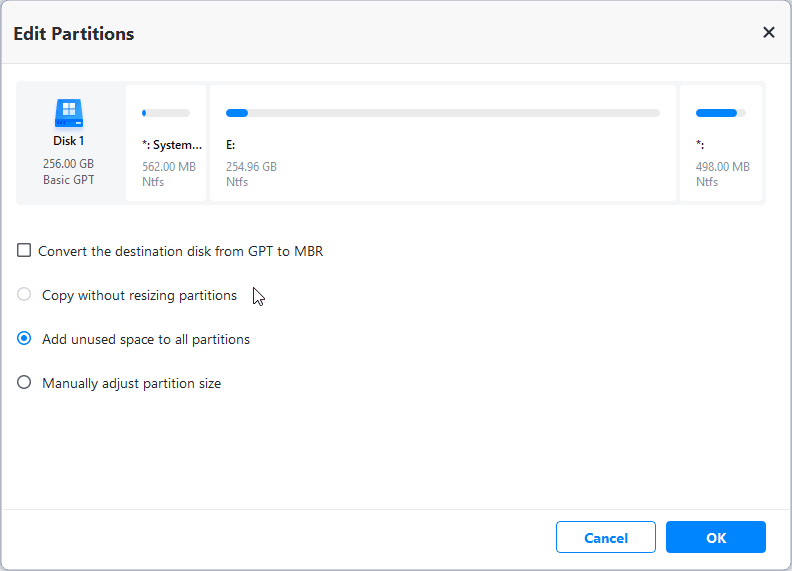
👉 Edit Partitions: It offers several useful options.
- Convert the destination disk from MBR (GPT) to GPT (MBR): You can convert the partition style of the destination disk to make it coincide with the source disk, thus avoiding boot failure.
- Add unused space to all partitions: It will reallocate the unallocated space to each partition of the target disk, appropriate for the disk size.
- Manually adjust partition size: It allows you to add unallocated space to any partition on the destination disk as you want.
Step 6. After cloning is complete, set the cloned SSD as the first boot priority in the BIOS to boot from it.

More Details about Inland SSD
Inland is a smaller brand that is carried in-store at Micro Center. In the past ten years, we all know that any SSD is better than an HDD. This rule still exists today. So many people choose to replace their HDD with SDD to improve computer’s performance. Inland SSD is much cheaper than other brands such as SanDisk, Western Digital, Seagate, etc., which is the main reason why most users choose it.
Except for the product packaging, you can't learn the specifications of Inland SSDs from anywhere. Here, I will introduce 2 different series of Inland SSD.
| Aspect | Inland Premium 1TB NVMe SSD | Inland Professional 1TB SSD |
| Available Capacities | 256GB to 2TB | 256GB to 1TB |
| Form Factor | Single-sided M.2 2280 (80mm) | Single-sided M.2 2280 (80mm) |
| Read Speed | 3100 MB/s | 2000 MB/s |
| Sequential Write Speed | 2800 MB/s | 1600 MB/s |
| Endurance Rating | 1600TB | 75TB |
| Comparison with Competitors | Comparable performance, higher endurance | Lower performance, potentially better endurance |
| Notable Point | Excellent endurance for a 1TB SSD | More budget-friendly option |
To Sum Up
Using the best Inland SSD clone software—AOMEI Backupper, you can easily transfer data or operating system without boot issues. For instance, you can use it to perform a bootable clone on Windows 11.
In addition to the cloning function, it also has many useful functions. Such as backup, synchronization, restore and tools. Use it now to protect or migrate your data!
FAQs on Inland SSD Migration

