How to Image Windows Server 2012 (R2) to New Hard Drive
Want to learn how to image Windows Server 2012 to new hard drive? This article provides you 2 efficient ways. If you are interested, please continue reading.
By Jonna Updated on September 26, 2023
Why image Windows Server 2012 (R2)?
Windows Server 2012 is mostly used by small to medium business company administrators and IT experts in large companies as well as some individual fans. Therefore, server 2012 contains not only personal documents and files but also, more importantly, the significant information and commercial data of clients. Thus, to image Windows Server 2012 to new hard drive or to network drive or other storage devices is extremely urgent.

When you image Windows Server 2012 (R2), mostly, you are doing a system backup of that computer, which includes the system state, settings, and all the important applications in Server 2012. Once you have regular images of Server 2012, you will not be flurried if you encounter a virus attack, accidental system crash, or computer failure.
In which, the system state consists of Active Directory, System volume(if it is a domain controller), Certificate Services(certification authority only), Cluster Database(cluster node only), Boot Files, The Registry, Performance counter configuration information, and Component Services Class registration database. If an unfortunate accident occurs, you can reduce server downtime and ensure business continuity using Windows Server 2012 system image.
Create Windows Server 2012 image backup using Windows Server Backup
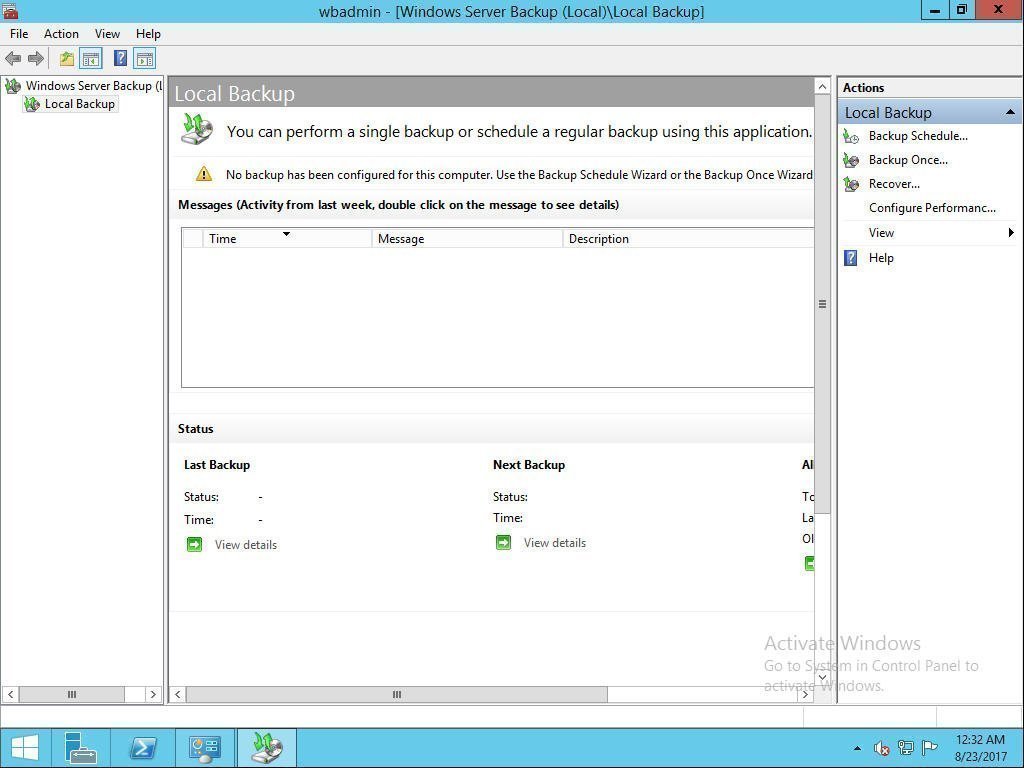
The first solution that comes into your mind might be a built-in backup tool in Windows Server 2012, Windows Server Backup. Well, there is no ready-made backup function in Server 2012, so you need to add it first. To get started, you’ll first need to install Windows Backup Role using the Add Roles and Features Wizard in Windows Server 2012.
Once added, open Server Manager, click on the Tools menu, select Windows Server Backup, and install it. Then go to "Local Backup"-> "Backup Schedule" (backup once is available)-> "Select Backup Configuration"-> "Specify Backup Time" (once a day, more than once a day)-> "Specify Destination Type" - > "Confirmation."
After setting the personal configurations, you can start to backup. Please note that if you choose "back up to a shared network folder", you have to input the location and offer administrator information when necessary.
When you want to image Windows Server 2012 to a new hard drive, all you need to do is select the system backup you created earlier and then perform a system state restore.
Windows Server Backup utility limitations
It's ok if you want to backup Windows Server 2012 to new hard drive with Windows Server Backup. However, you may need to use Windows Server Backup alternative software in the following situations or just want more advanced features like incremental backup Windows Server 2012.
✬ Size limit. You cannot use Windows Server Backup to back up files and folders on volumes that are more than 2040 GB (or 2 TB).
✬ File System limit. You cannot store backups on disks that are formatted FAT32—the disks should be formatted NTFS because Windows Server Backup uses shadow copies to maintain backup versions.
✬ Destination path limit. You cannot store backups on USB flash drives or pen drives.
✬ Permission limit. To use Windows Server Backup, you must be a member of the Backup Operators or Administrators group, or you must have been delegated the appropriate authority.
Besides, Windows Server 2012 R2 ends of life on October 10, 2023. That's to say, Microsoft does not provide you with security update or patch it, your computer will be exposed to various risks, such as virus or hacker attacks. If you want to continue using this operating system, the system and data security are more important.
Windows Server Backup utility alternative
Given the above limitations of Windows Server backup, you may need to use Windows Server backup alternative software or want more advanced features such as incremental backup for Windows Server 2012. Here is a more reliable backup software recommended - AOMEI Backupper Server. it can ensure you always have a system backup including all data and boot files for recovery. You can set up automatic backup tasks with different frequencies, for example, daily, weekly, monthly, event triggers and USB plug in.
Also, it helps you prevent potential problems due to accumulated backups and limited disk space, such as incremental or differential backup, automatic backup cleanup, normal or high compression level, etc. Besides, it has great compatibility with storage devices and file systems. For example, it allows you to do Windows Server 2012 (R2) backup to external hard drive, local disk, network drive, etc.
Image Windows Server 2012 to new hard drive with AOMEI Backupper Server
Here you will use AOMEI Backupper Server to create Windows Server 2012 image backup and then you can restore system image to new hard drive in the event of a disaster, even a different computer with dissimilar hardware. Also, you can use this software on other server computer, such as, Windows Server 2008/2011/2016/2019/2022 and its R2 version.
Without further ado, let's get started to image Windows Server 2012 (R2). In the very first place, click the download button below to get the 30-day free trial and proceed to do Windows Server backup 2012 (R2) step-by-step:
Step 1. Launch the professional server backup software - AOMEI Backupper, and then you will see its deep-blue screen. Choose "Backup"-> "System Backup" to start this imaging task.

Note✍: If your target disk has enough space, you can choose to backup entire disk with "Disk Backup" feature. Also, you can backup specific files or folders with "File Backup" feature.
Step 2. Edit "Task Name" if you want to, and then choose the new hard drive. Please remember to plug in a new hard drive into your computer and make sure it can be detected.

Step 3. Click "Schedule Backup" to enable daily, weekly, or monthly frequency. And it's suggested to enable backup scheme to delete old backup regularly, which ensures you always have the latest backup for recovery.

Notes✍:
◉ To distinguish this backup task from others, you need to make a comment on it by "Options". You can also encrypt the backup, set high compression level or customized splitting, etc.
◉ By default, this software use incremental backup to backup only changed files. Differential backup means to backup files that are changed since the last full backup. Differential backups take longer to backup, but the content is more complete and independent. So, only one differential backup and one full backup are needed for restore.
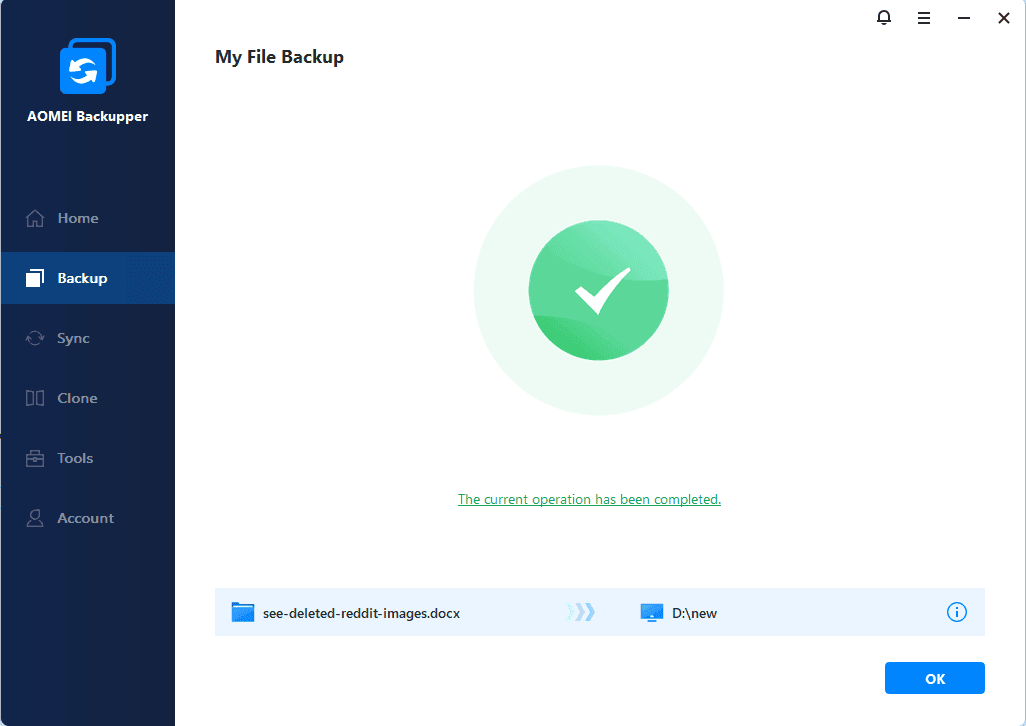
Step 4. Then click "Start Backup" to image Windows Server 2012 (R2) to new hard drive.
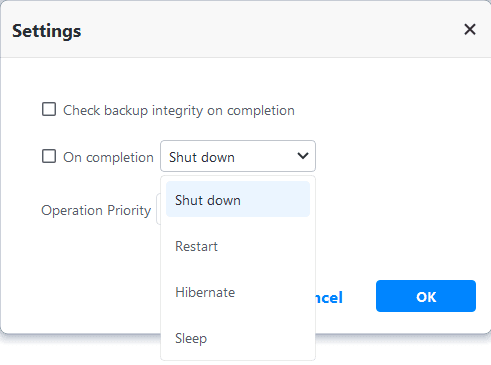
Tip: During the backup process, you will see a "Settings" icon at the lower-left corner. Tick "Check backup integrity on completion" feature to check if your data is intact. Also, you can specify what the computer will do on completion among Shut down PC, Restart PC, Hibernate, and Sleep.
Now, you may successfully create a system image in Windows Server 2012 (R2) and save it to new hard drive. Then, it's suggested to create bootable USB drive, so you can easily restore server computer even if it fails to boot. Try Recovery Environment if you don't have USB or CD/DVD.
In the event of a disaster, boot your computer from the bootable media and restore from it with the following steps:
- Switch to the Restore tab and choose Select Image File to locate backup image manually.
- After selecting backup image, tick Restore this system image and Restore to other location. Click Next.
- Choose a destination path to receive the backup image and click Next.
- Confirm this task and click Start Restore. If you are restoring system to new computer with different hardware, like restoring Windows Server 2012 to new hardware, please check if the Universal Restore feature.
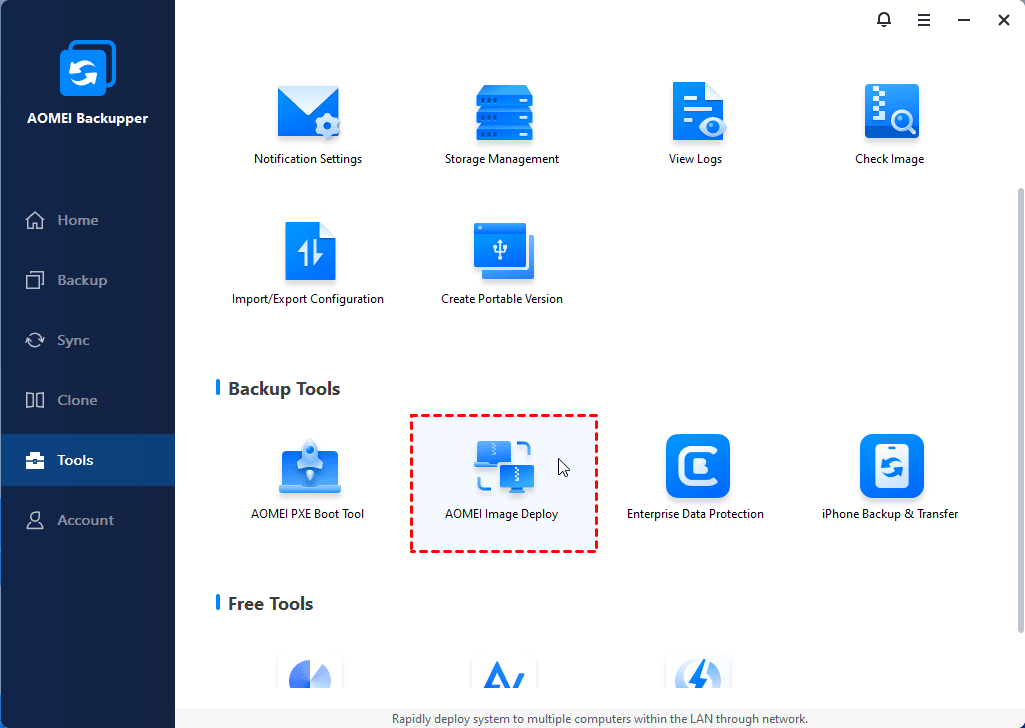
It will be ok if you just restore system to new hard drive or another computer. But if you have multiple computers, this operation is time-consuming and tedious. Thus, it's suggested to deploy image to multiple computers simultaneously with image deployment software in the AOMEI Backupper TechPlus.
In addition, it allows you to copy installation directory for portable version creation and offers unlimited billable technical services to clients.
Conclusion
You can choose to image Windows Server 2012 to new hard drive with Windows Server Backup or AOMEI Backupper Server, it's all your decision. Once a disaster happens, you can restore Windows Server 2012 with the image created by them. Also, it supports newer OS like Windows Server 2022 or 2019.
Considering simplicity and efficiency, you'd better use the latter one. It not only has a clear interface and user-friendly design but also offers users more backup features, such as schedule backup, event triggers, USB plug in, incremental & differential backup, backup scheme, encryption, 3 compression level, etc.
Besides, it comes with other powerful features like Clone and Sync. You can use it to migrate hard drive on Windows Server easily.

