Fix: Recycle Bin Shows Empty But it Not!
Recycle Bin shows empty but it not? Use different methods to fix it and use data recovery software/data loss prevention software to recover emptied Recycle Bin.
By Penny / Updated on March 9, 2026
Recycle Bin shows empty but it not?
The Windows OS will send all the deleted files to the Recycle Bin. These deleted files and folders will keep consuming the storage of your PCs before emptying the Recycle Bin.
Some of you may find the Empty Recycle Bin option becomes grayed out.
My Recycle Bin icon shows empty, and when I click the Empty Recycle Bin, the option is greyed out. But when I double-click the icon, it shows a lot of files in it.
- A user from Microsoft
When it comes to the reasons for the greyed Recycle Bin icon, the corrupted Recycle Bin comes first. Besides, those users who are not available for the admin rights tend to empty Recycle Bin, so the Empty Recycle Bin icon could also appear grayed out.

Please don’t worry because you can find corresponding methods to empty Recycle Bin, restore Recycle Bin icon, or recover permanently deleted files from Recycle Bin.
Part 1. How to empty Recycle Bin Windows 10/11?
If your deleted files fail to go to the Recycle Bin, which suggests the Recycle Bin might be corrupted. Faced with the corrupted Recycle Bin, you need to fix it using CMD.
Use the elevated command prompt to reset Recycle Bin
These steps describe how to use the elevated command prompt to reset Recycle Bin.
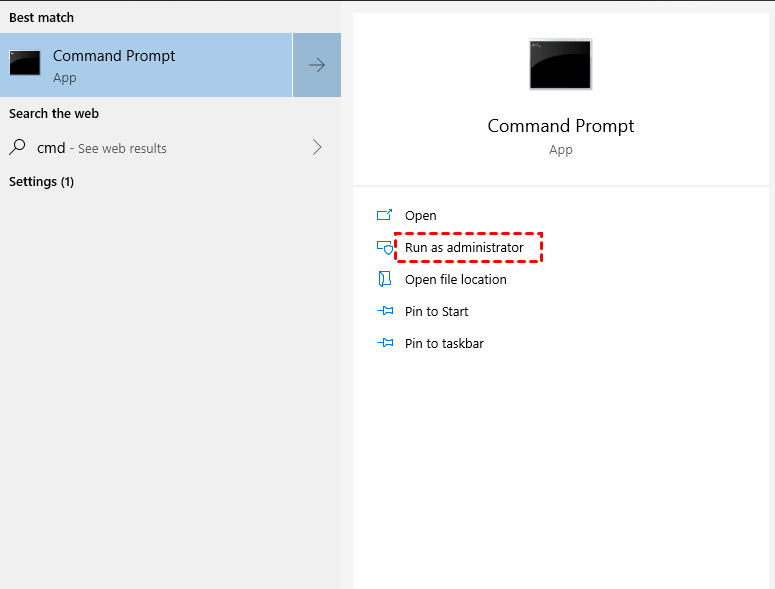
Step 1. Open an elevated command prompt by typing “cmd” in the search bar and select the “Run as administrator” option.
Step 2. Type “rd /s /q C:\$Recycle.bin” in the window and hit “Enter” to begin the process. You can replace the letter C with your selected drive letter.

Part 2. How to restore Recycle Bin icon?
If you haven’t deleted your Recycle Bin icon, it might be hidden from you.
▶Try these clicks first:
Right-click on the blank section on your desktop. Then select “View” from the context menu > click “Show desktop icons” to check it.
Show hidden Recycle Bin icon via desktop icon settings
If the above operations fail to make your hidden Recycle Bin icon appear, you can try the following steps.
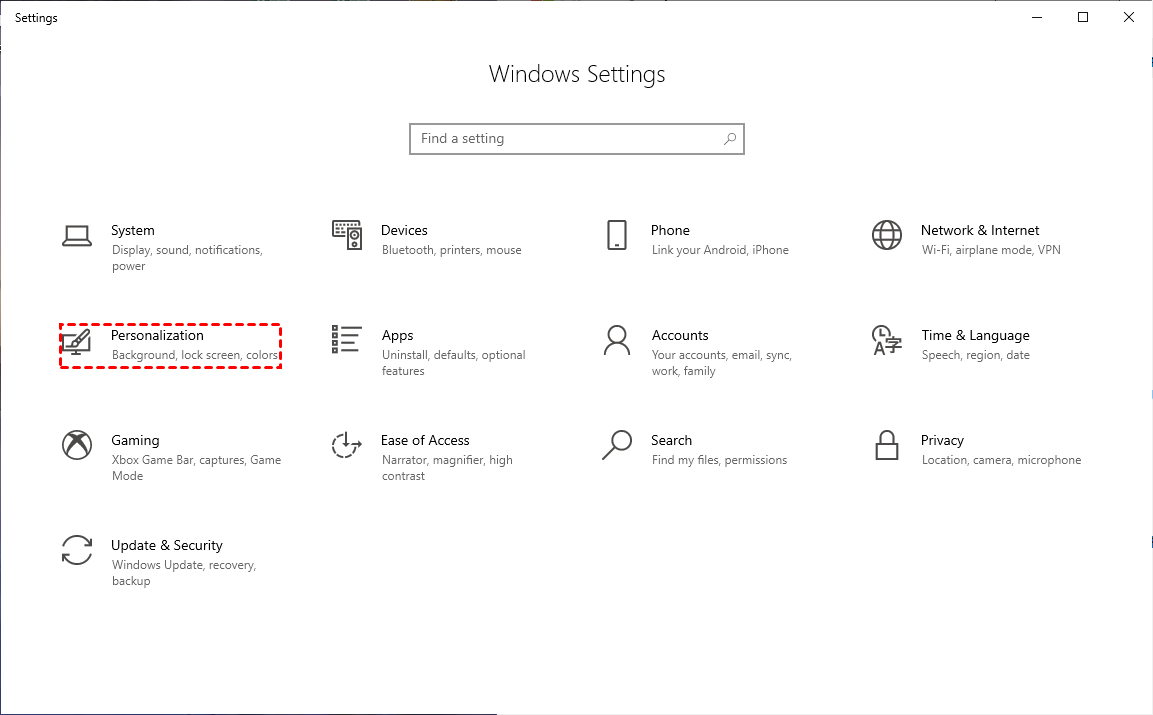
Step 1. Press “Win + I” to open Windows Settings, then click the "Personalization” button.
Step 2. Click the "Themes" button.

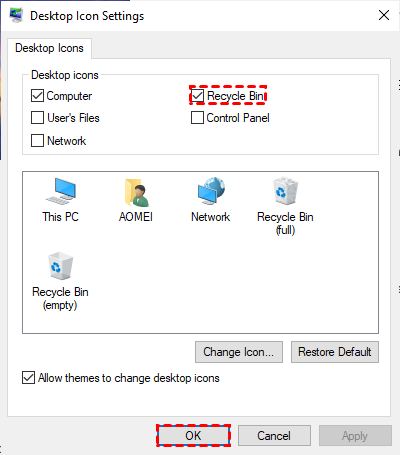
Step 3. Click “Desktop icon settings” and find the Recycle Bin icon.
![]()
Step 4. Tick it and click the “Apply” and “OK” buttons.
Part 3. How to fix: Recycle Bin shows empty but it not?
So how to fix Recycle Bin shows empty but it not? There’re two methods for you. You can try one after another.
Solution 1. Show hidden files, folders, and drives in Windows File Explorer
Please refer to the following steps to show hidden files, folders, and drives.
Step 1. Open “Control Panel” by tying it in the search bar. Under the Appearance and Personalization tab, select the “Show hidden files and folders” option.
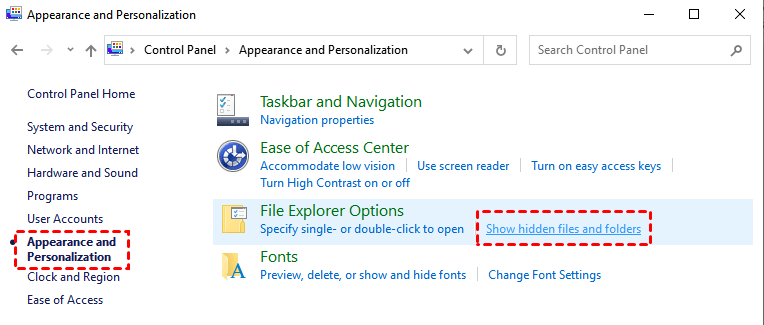
Step 2. Select the “Show hidden files, folder, and drives” option. Please remember to “Apply” it and click the “OK” button.

Solution 2. Customize the storage size of the Recycle Bin
If your Recycle bin is not big enough to store your large deleted files, you can add the storage size by customizing it. After that, maybe you can locate and recover the deleted files in the Recycle Bin.
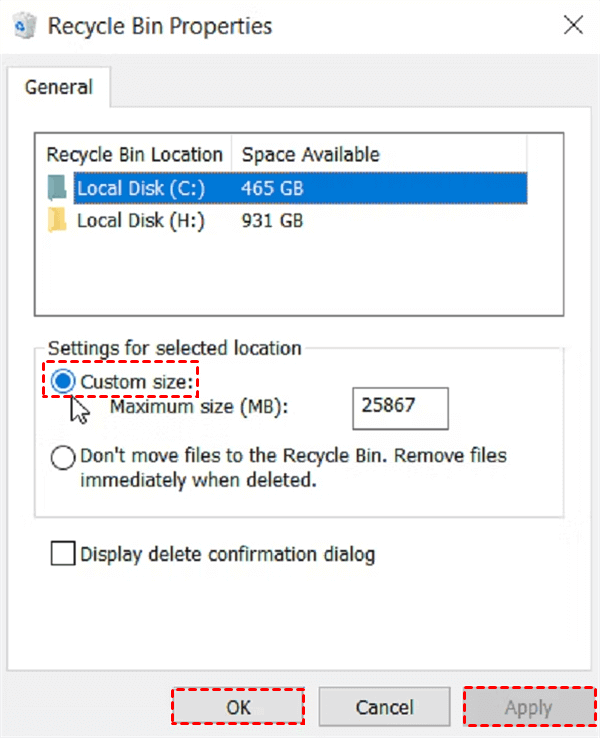
Step 1. Right-click on the Recycle Bin icon on your desktop and select the “Properties” option.
Step 2. Set the storage size of your Recycle Bin.
Step 3. Click “Apply” to confirm your customized number and click “OK” to close the window.
Another way to recover deleted files from Recycle Bin with data recovery software
If you want to recover emptied Recycle Bin with ease, powerful data recovery software like FastRecovery could be your top choice.
Perhaps you’ll be attracted by it after getting an overview of its functionality and user-friendliness features.
- Notes:✎...
- Recover the deleted/lost files from HDD, USB drives, SD cards, and other storage devices.
- Recover Word, Excel, PPT, Photos, Videos, Audio, Emails, Compressed files, and other 200+ types of data.
- Get the original path, filename, and format for the deleted data.
- During scanning, you can search your needed files by typing their filenames in the search box or wait to find all the deleted and other lost files on your computers after scanning automatically.
- Support NTFS, exFAT, FAT32, and ReFS file systems in Windows 11, 10, 8, 7, and Windows Server.
So why not download it on your computer?
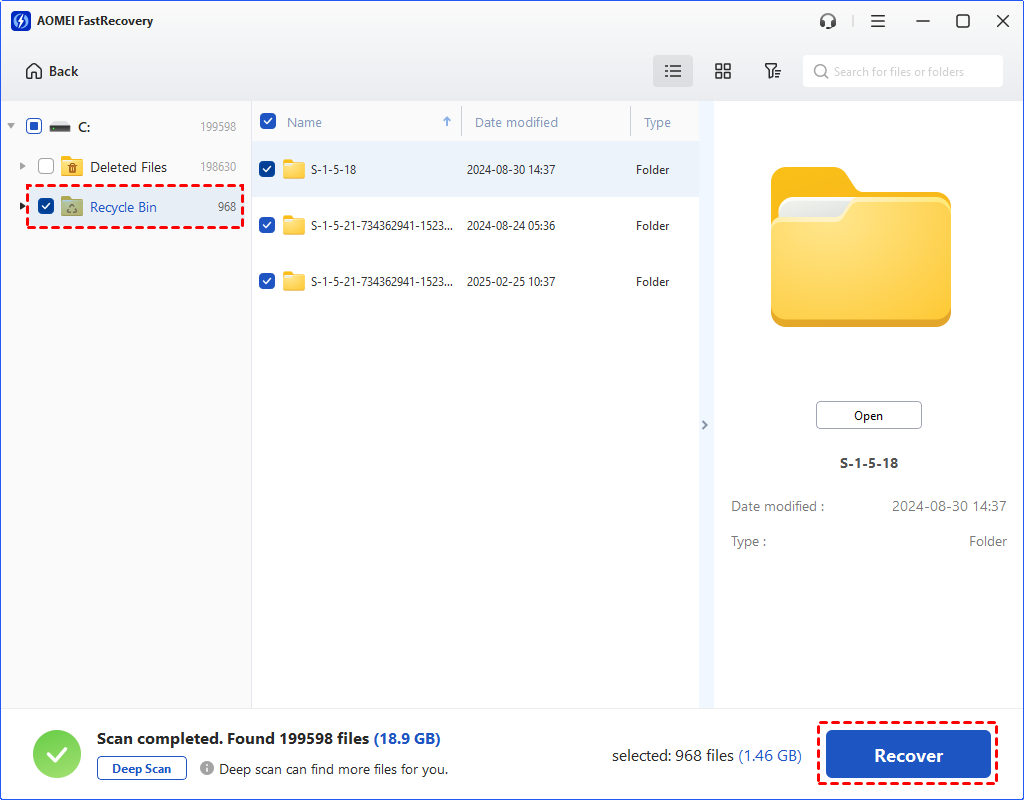
Step 1. Run it on your PC, and hover the mouse over the C drive (assume your Recycle Bin is on the C drive). Then click Scan.

Step 2. You can search or wait to view all the deleted and other missing files on your C drive.

Step 3. Go to the Deleted files folder > Recycle Bin to select your needed files. Then click “Recover x files” and save them in a new location.
Further reading: How to avoid permanently deleted files loss?
How to fix Recycle Bin shows empty but it not? First, clear out what you want to restore. Second, follow a targeted approach to solve your issues. Third, develop a good habit of making regular backups because backups are the best hedge against data loss.
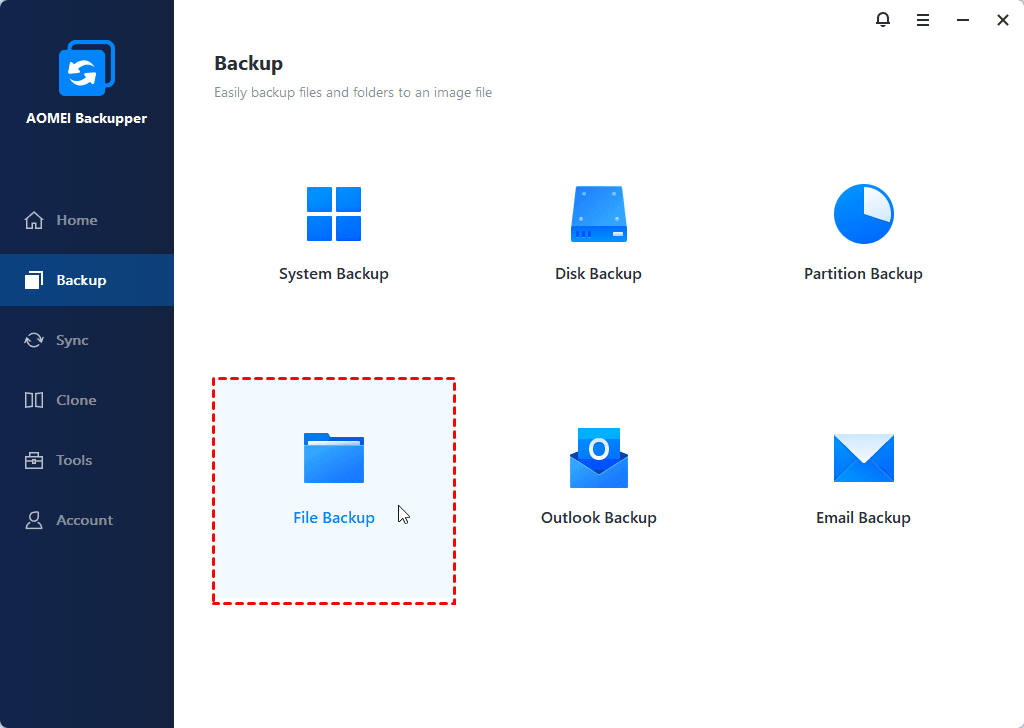
This free backup software for Windows, AOMEI Backupper is good at making a “File Backup,” “Disk Backup,” “Partition Backup,” or the “System Backup.” In this case, let’s take file backups as an example.
Step 1. Install and download AOMEI Backupper on your computer.
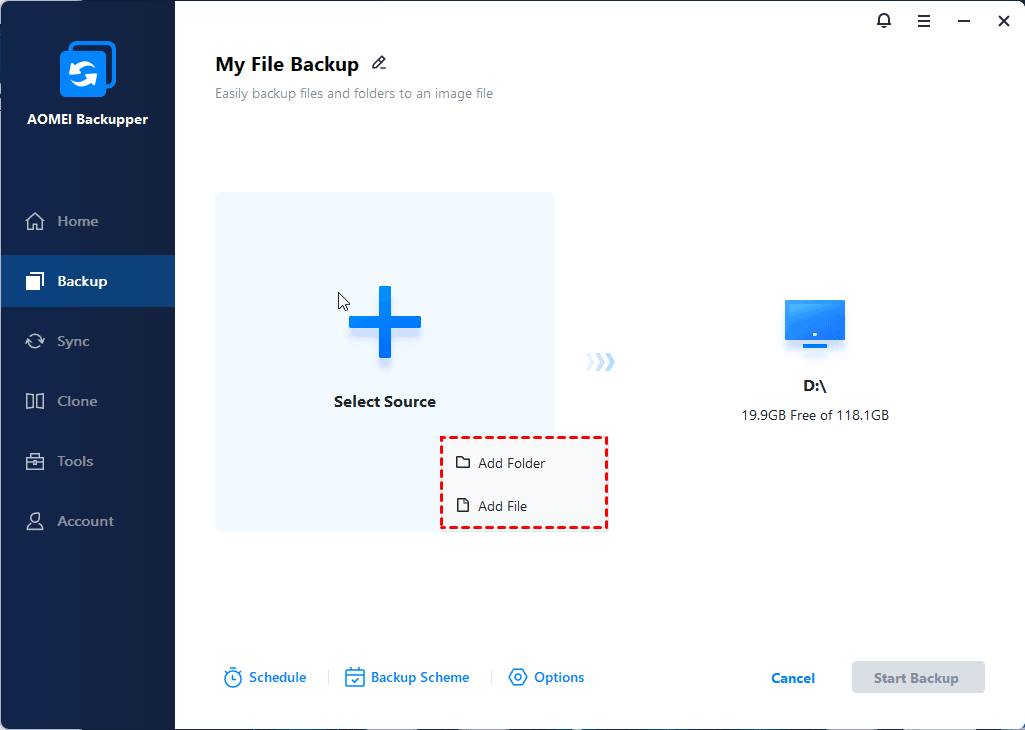
Step 2. On the main interface, select the “File Backup” option.
Step 3. Click “Add folder” or “Add file” > “This PC” > “Devices and drives” to add files and folders. Then click the “Start Backup” button.
Step 4. After the process, exit the window by clicking the “Finish” button.