How to Refresh Windows 7 without Losing Data?
How to refresh Windows 7 without losing data? you will find best way to refresh Windows 7 and keep all your personal files, settings, installed programs, etc.
By Yuka Updated on October 28, 2022
Scenario
My Windows 7 PC runs into some problem, and I want to refresh it but I have no idea on how to do it. Can someone show me how to refresh my Windows 7 without losing data? Thank you!
Options to try before refreshing Windows 7
Before learning how to refresh Windows 7 without losing data, you can try some other options to repair your PC when your computer has problems.
-
Last Known Good Configuration
You can boot into Safe Mode and select Last Known Good Configuration. It often solves booting and stability problems after installing or updating software, drivers, or messing with Registry entries.
-
System File Checker
If Windows is able to boot, use System File Checker to repair corrupted system files. You can type sfc /scannow in the command prompt to check and repair corrupted files.
-
Startup Repair
Startup Repair usually can repair problems that are preventing Windows from starting. You can repair Windows 7 installation by running Startup Repair. At the Advanced Boot Options menu, select Repair your computer. Then select Startup Repair at system recovery options.
-
System Restore
System Restore can restore your system to earlier date when your computer was running normally. By default, System Restore in Windows 7 is turned on. You can boot into Advanced Boot Option, select System Restore and restore from one restore point.
Repair your computer is useful for fixing startup problems and file system errors, and testing memory modules for defects. If none of these methods works, then you should try to refresh Windows 7.
How to refresh Windows 7 without losing data?
Unlike Windows 8 and Windows 10, there is no option “Refresh your PC” or “Reset this PC” in Windows 7 for you to click. But, you can still have a repair install from boot for Windows 7. If you are still able to get to your desktop, there is another more thorough way to refresh Windows 7, which is to perform a nondestructive reinstall of Windows 7.
Nondestructive reinstall of Windows will restore all your system files to pristine condition without damaging any of your personal data or installed programs. In order to perform a nondestructive reinstall of Windows 7, you will need a Windows 7 installation DVD. If you do not have one, you can download the latest Windows 7 installation ISO file.
Note: This non-destructive reinstall of Windows 7 might cause compatibility issues with some of your installed programs, so it is recommended to backup the whole disk before trying.
Let’s see how to refresh Windows 7 all versions including ultimate, premium, etc in detail:
Step 1. Boot your computer, and then insert the installation DVD or USB disk.
Step 2. If AutoPlay Windows pop-up, select Run Setup.exe. Or open DVD drive in Windows File Explorer, locate the Setup.exe file and double click it.
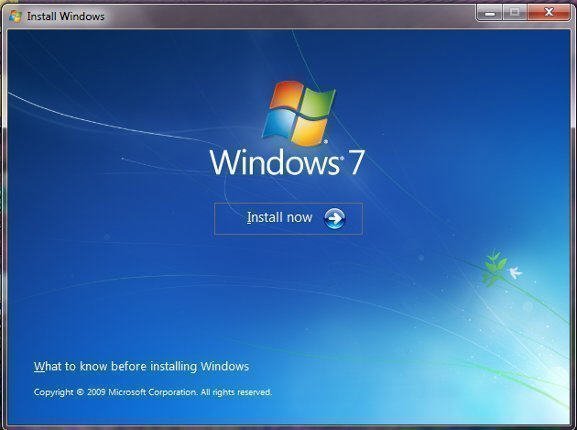
Step 3. Here you come to Windows 7 install page. Click Install now.
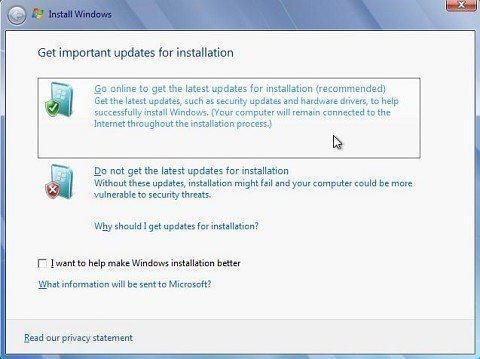
Step 4. In the next dialog "Get important updates for installation", click Go online to get the latest updates for installation.
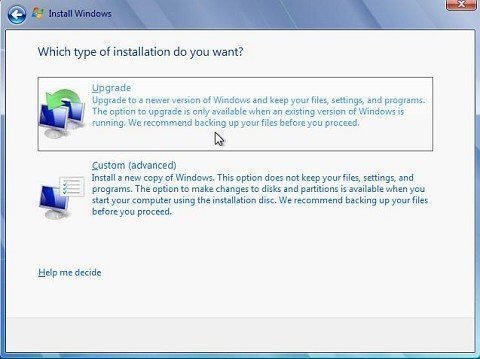
Step 5. In the window "Which type of installation do you want?", click Upgrade.
Step 6. If Product Key is needed, enter it and click Next.
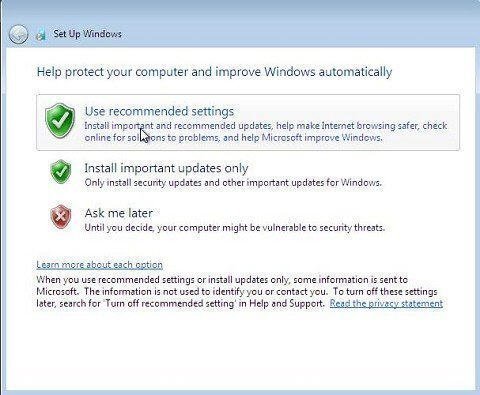
Step 7. At next Window, click Use recommended settings.
Step 8. Confirm your time and date settings, select your Windows current location and wait for the install finished.
You do not have to refresh Windows 7 to solve system issues
Although you can refresh Windows 7, it is still a troublesome process to prepare installation disk or to recover product key. If you cannot get into desktop, it would be a lot of work to reinstall Windows as your programs and applications will be deleted. To avoid such trouble, you can prevent system issues happening again by creating a system image backup.
For better backup experience, you can use free AOMEI Backupper Standard to protect Windows 7/8/10 PC. With its user-friendly interface, it is very simple to use. You can create a scheduled backup to keep your data up to date. And it does not require much disk space for keeping many backup versions thanks to its medium to high compression level and incremental/differential backup feature.
To create an image backup with AOMEI Backupper, follow the easy steps below:
Step 1. Download, install and open this free backup software. At the home page, click the Backup tab and choose System Backup.

Step 2. Select a destination location to save the backup image. AOMEI Backupper supports many storage devices. You can backup to any location that Windows detects, including external hard drive, cloud drive, NAS network location, local storage, etc.

Step 3. In the next screen, click Schedule to configure scheduled backup settings if necessary. After that, click Start Backup and wait for the process done.
The backup will be created in a short time. Whenever you have problems with your system, you can easily restore from the backup. Even when your PC fails to boot, you can restore system from bootable disc. If the computer hardware fails, you can use the advanced version of AOMEI Backupper to restore your system to another computer with dissimilar hardware.
If you want to protect unlimited computers within your company, you can pick AOMEI Backupper Technician. With the inbuilt AOMEI Image Deploy tool, you are also allowed to deploy/restore system image file on server-side computer to multiple client-side computers over network.
Conclusion
To refresh Windows 7 without losing data can surely fix some system issues that may have. However, it is obvious that restoring from a backup is much easier and more convenient to solve system issues. In case system issues happen again, a regular system image backup is very necessary. With a backup at hand, you can even factory reset Windows 7 without losing data.

