4 Fixes: Windows Update Cleanup Not Deleting on Windows 11
Does increasing Windows update files frustrate you a lot? How to fix windows update cleanup not working on Windows 11? Here are the answers!
By Maggie Updated on August 28, 2025
User case: Windows Update Cleanup on Windows 11 will not delete
Case: Windows Update Cleanup on Windows 11 will not delete. How to delete to open up more space?
After each Windows update and deleting temp files, my Windows update Cleanup does not clear and adds to total amount of space used. Am not a "pro" and using command system is beyond my learning curve. Simple, plain explanations is wanted. Have read many blogs, help sites, etc. but have not been able to solve problem. And, Microsoft has not been helpful in attempting to solve problem with numerous people requesting help from them.
- Question from Microsoft Community
Deleting Windows Update files should be done with caution, as it may prevent you from reverting or restoring previous versions of Windows on your computer.
However, if you are on the same occasion as the previous user case, namely, you want more storage space and perform further upgrades, then you need to solve disk cleanup not deleting Windows update files.
It's important to note that removing Windows Update files should be done carefully, and it's always recommended to create a backup of your important data before making any changes to your system.
4 ways to fix Windows update cleanup not deleting
If you are at a loss for Windows update cleanup not deleting Windows 11, please try the following 4 methods, which we believe will help you solve the problem. Please note that the methods below can also be used to solve the problem that Windows update cleanup not working Windows 10.
Method 1. Using Command Prompt
This method can help you troubleshoot disk cleanup not deleting Windows update files using the 2 useful tools together.
Step 1. Type command prompt or cmd in the Windows Search bar and select Run as administrator.
Step 2. In the Command Prompt window, type sfc /scannow and hit Enter.
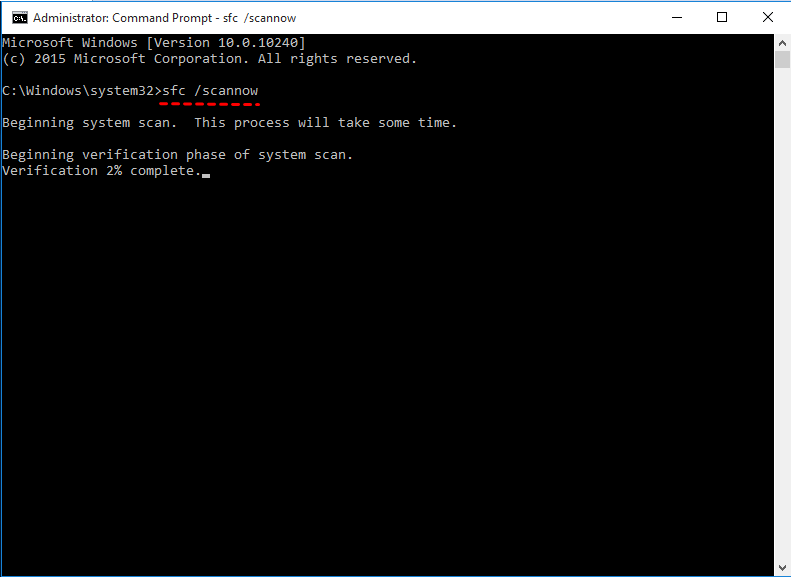
Step 3. Enter the following commands in turn, and press Enter to execute the commands respectively.
Dism /Online /Cleanup-Image /ScanHealth
Dism /Online /Cleanup-Image /CheckHealth
Dism /Online /Cleanup-Image /RestoreHealth
Step 4. Wait for the scan to complete and then restart your computer and try to perform Disk Cleanup again.
Method 2. Manually delete Windows update files
First, you need to stop the Windows Update service.
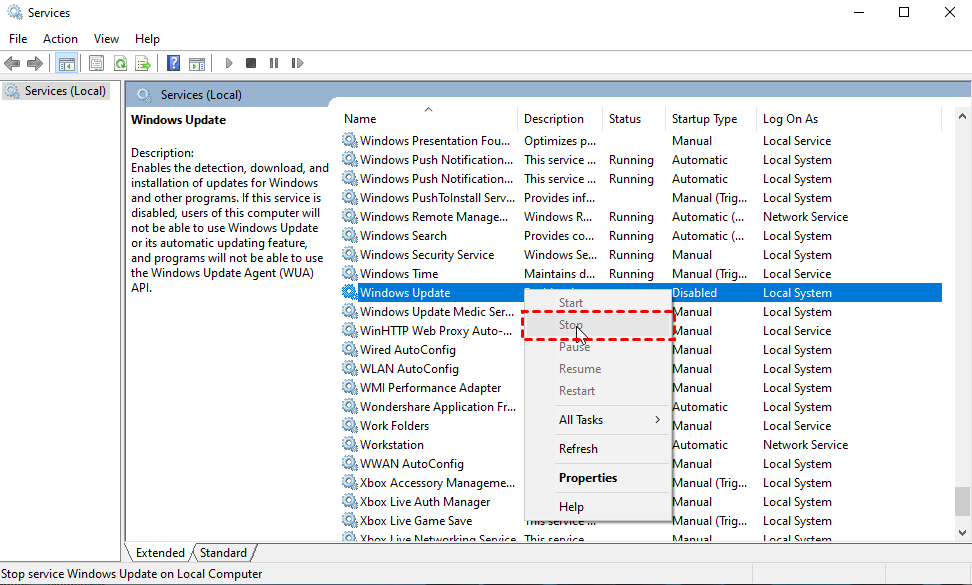
Step 1. Open the Windows Start Menu, type services in the search bar, and select Run as administrator when Service pops-up.
Step 2. Right-click on Windows Update on the list of services and select Stop.
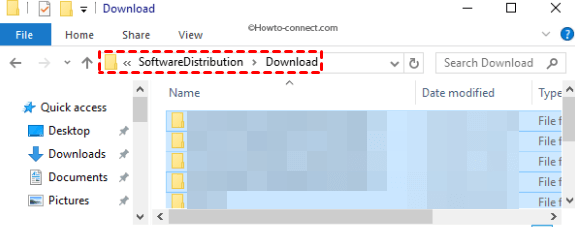
Step 3. Open the File Explorer (press Windows key + E), paste C:\WINDOWS\SoftwareDistribution\Download in the Navigation Pane, and press Enter.
✍Tip: The softwareDistribution folder will open at this step—where Windows stores temporary installation files needed to update your computer’s operating system. Deleting or moving contents of the folder can also fix Windows Update issues.
Step 4. Press Ctrl + A to select all folders. Right-click the selection and choose the Delete key on your keyboard.
Step 5. Re-open the Windows Services app (see step #1), right-click Windows Update, and select Start.
Now, you can be assured to solve Windows update cleanup not deleting questions. What’s more, you can also use other methods below.
Method 3. Using Disk Cleanup
Step 1. Press the Start button, type disk cleanup in the search bar, and select Run as administrator.
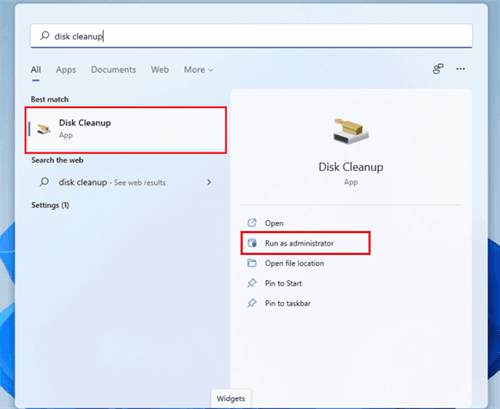
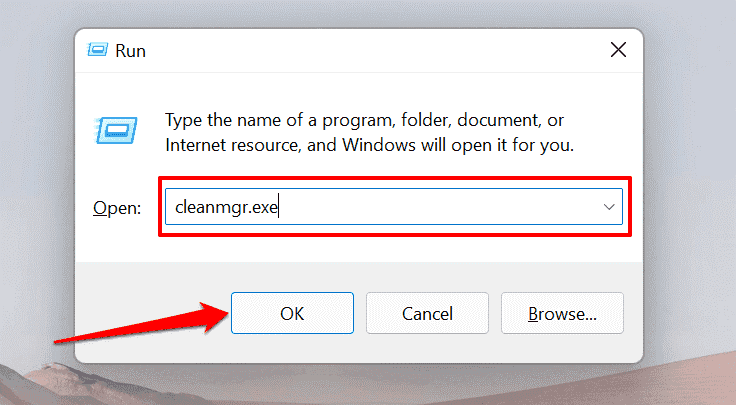
✍Note: Alternatively, you can open the Run box (press Windows key + R), type in the dialog box, and select OK.
Step 2. Select the Windows Update Cleanup and Delivery Optimization Files checkboxes and select OK.
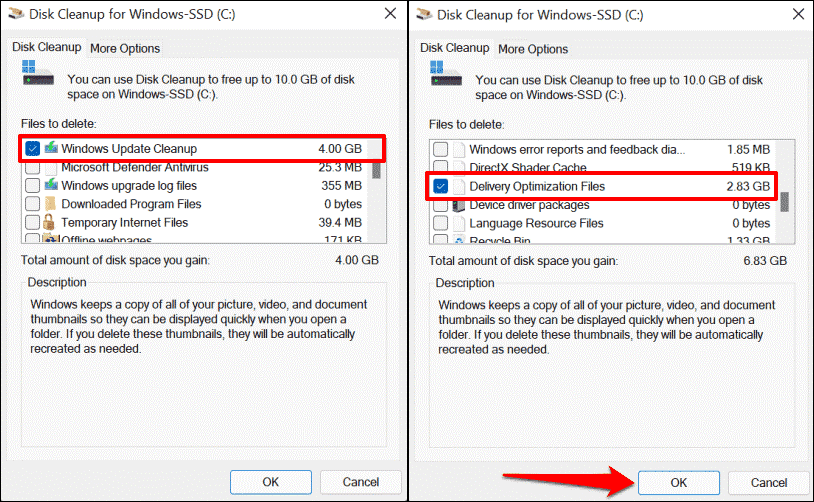
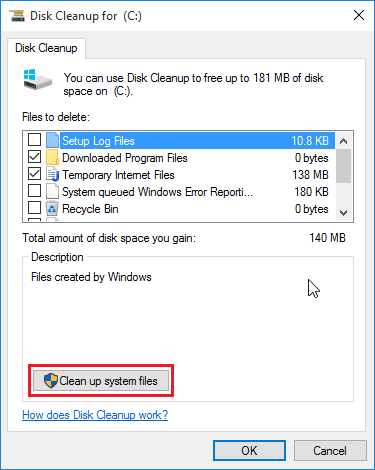
✍Note: If you don’t see the Windows Update Cleanup option, you didn’t open Disk Cleanup with administrative privileges. Click on the Clean up system files button to unlock all Disk Cleanup features.
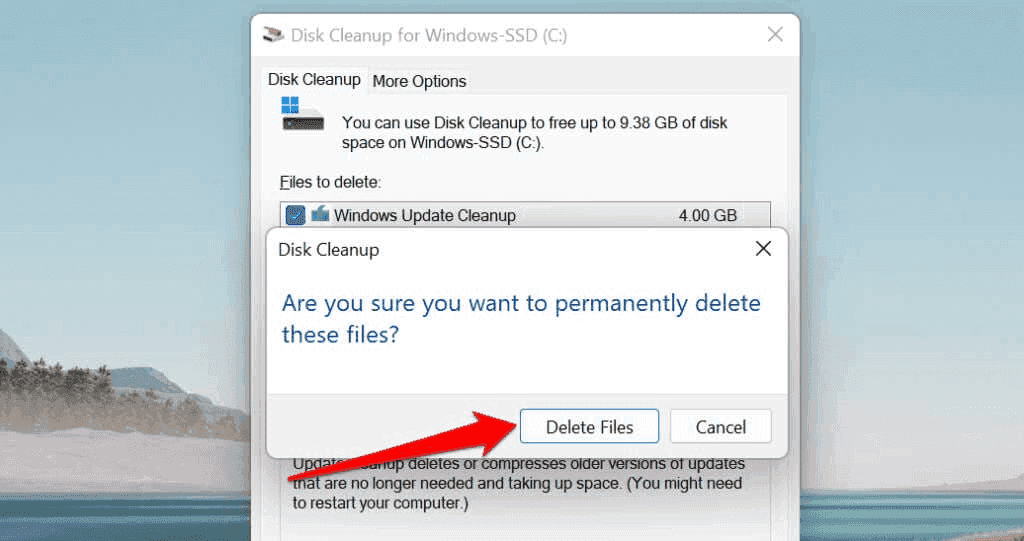
Step 3. Select Delete Files on the pop-up to proceed.
Method 4. From Window Settings
Windows 11 and Windows 10 computers have a Windows Update Cleanup tool in the Settings menu. Follow the steps below to use the tool to delete old Windows Update files.
Step 1. In Windows 11, go to Settings > System > Storage and select Temporary files.
Step 2. Select the Windows Update Cleanup and Delivery Optimization Files checkboxes. Afterward, click Remove files at the top of the page.
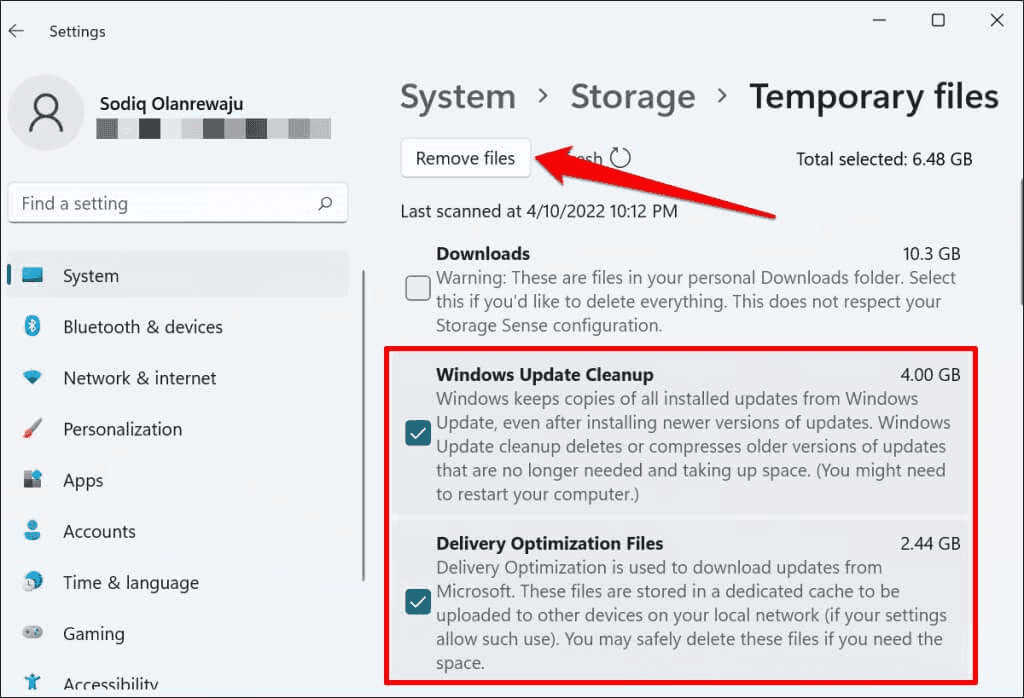
✍Note: Delivery Optimization Files are associated with Windows Updates. The files allow your computer to exchange Windows Updates information with devices on your local network.
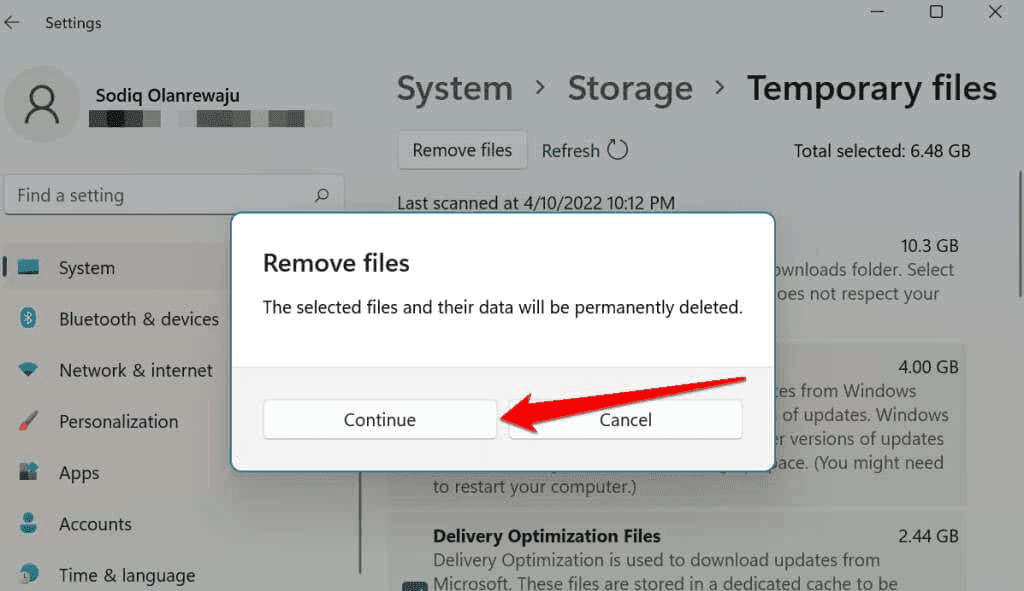
Step 3. Select Continue to delete the Windows Update Files.
Suggestion: make a regular backup before the system upgrade cleanup
If you are struggling with the problem of Windows update cleanup not deleting Windows 11, please refer to the 4 methods provided in the article to solve the problem after understanding the cause. However, we must remind you that the cause of this problem will involve system file corruption, which may lead to system crash in serious cases.
Therefore, considering system security, we recommend that you use AOMEI Backupper Standard to perform regular system backups. So that you can restore from system backup in time when you encounter system problems, which will also help you solve the above problem.
If you have never used this software before, please follow the steps below.
First, download and install it on your computer (For Windows Server users, please turn to AOMEI Backupper Server):
How to backup your previous Windows 11 system
Step 1. Select Backup and then choose System Backup in the right panel.

Step 2. Then the system-related partitions will be selected by default. Afterward, you need to choose the destination (click the PC icon > Add New Destination) to save your backup image.
Step 3. Ending with Start Backup to start your backup process. Before that, click on Schedule Backup in the lower left corner to set customized backup schedules.

How to restore your Windows 11 system
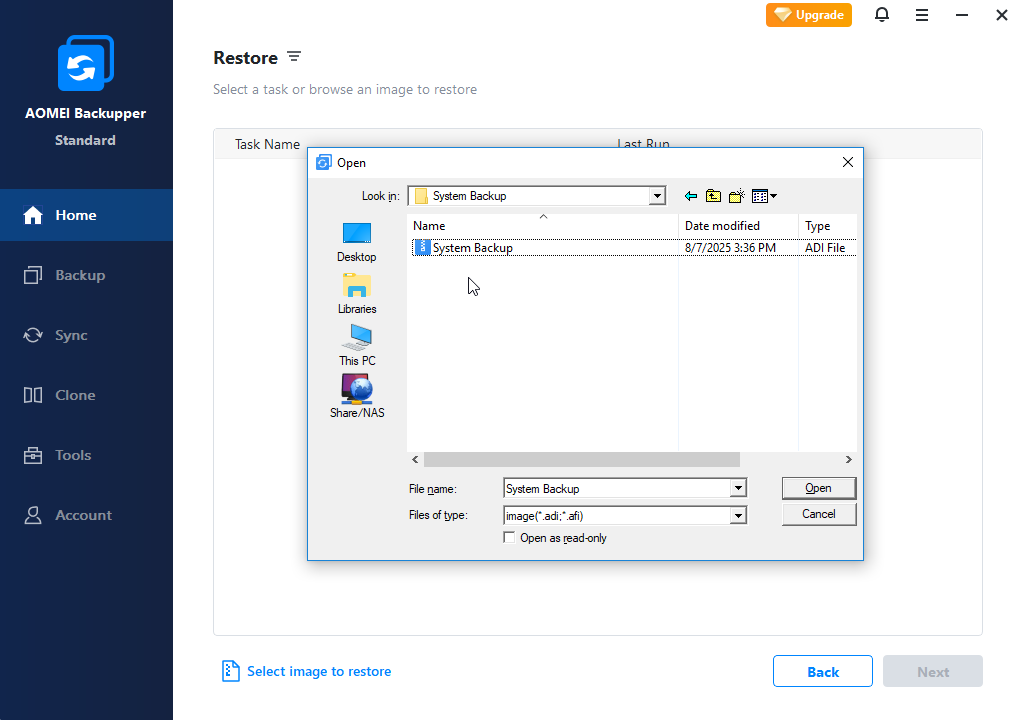
Step 1. To restore the system image, you just need to click Home and then Restore > Select image to restore.
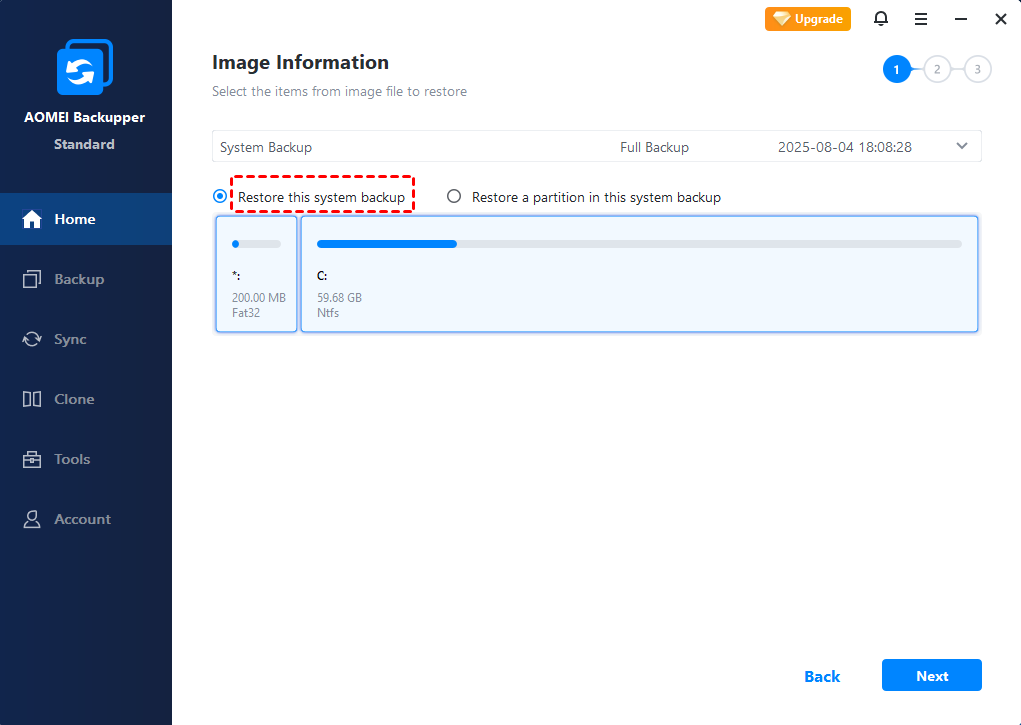
Step 2. Then, choose to restore the entire image or part and click Next.
Step 3. By default, it will restore to original location. You can also consider using "Restore to a new location" if it's not detected.
Step 4. Click Start Restore to continue. Then you can successfully restore your previous Windows 11 system.
❤Bonus tip: upgrade your disk to gain a larger storage location
This software not only enables you to backup C drive Windows 11, but also allows you to upgrade your original system disk to a larger one by its system clone utility in its advanced version. Here is how you can do it:
Step 1. Select System Clone after you choose Clone on the left side menu.
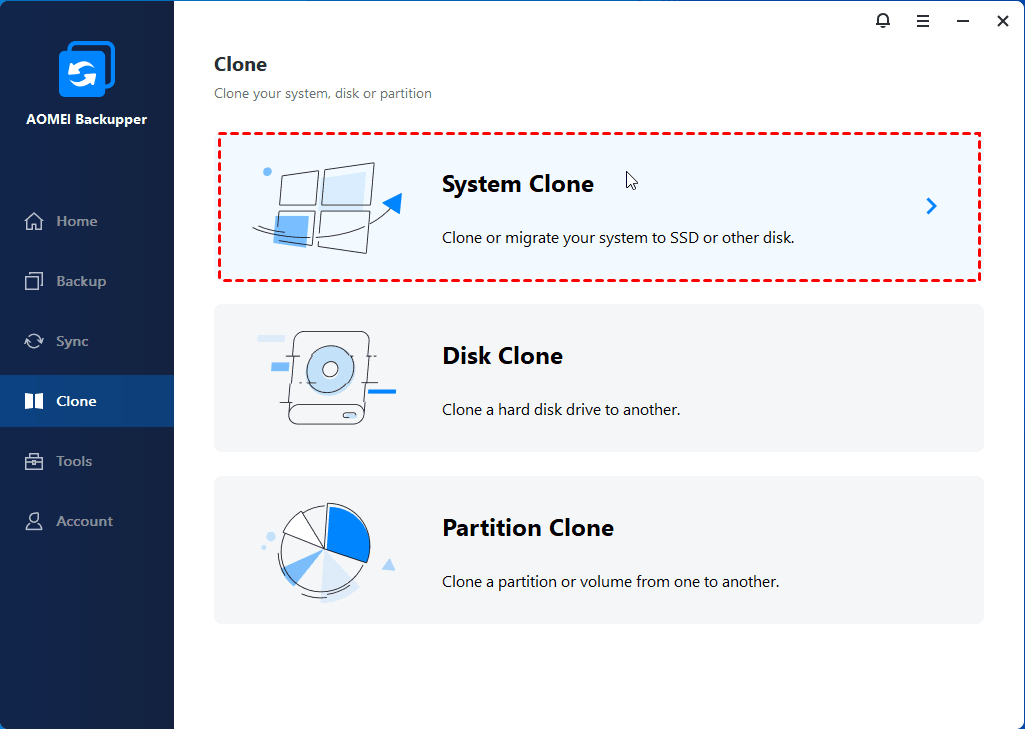
Step 2. Then the partition included in the C drive will be selected by default.
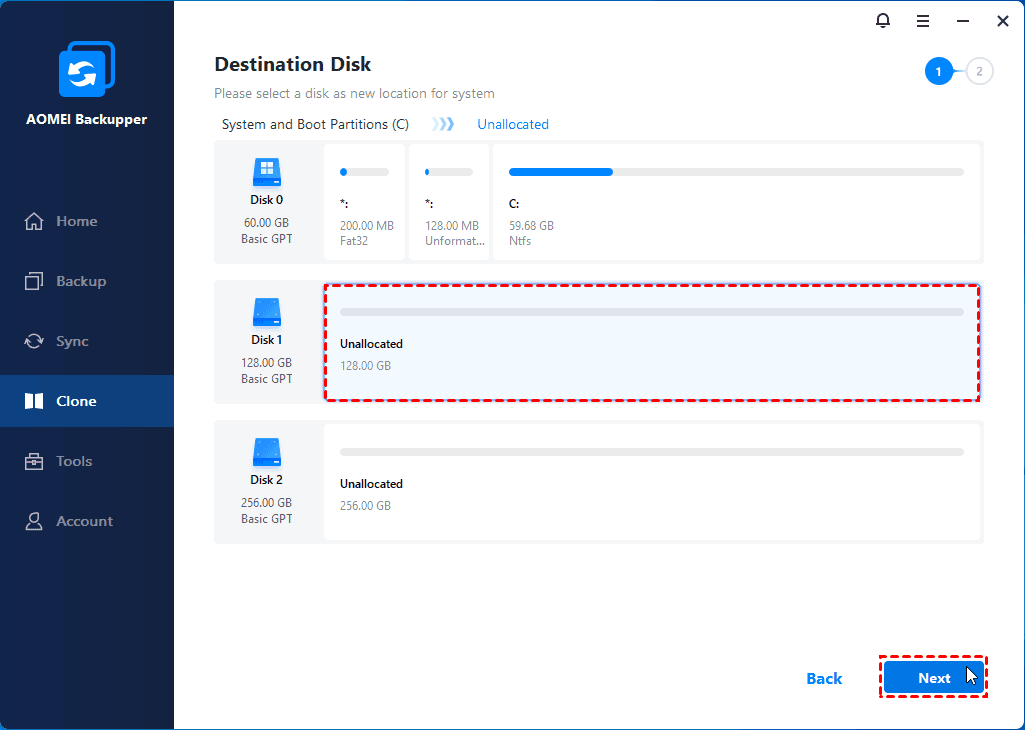
Step 3. As for the save path, you can choose a bigger disk to store the cloned drive, or save to an external hard drive.
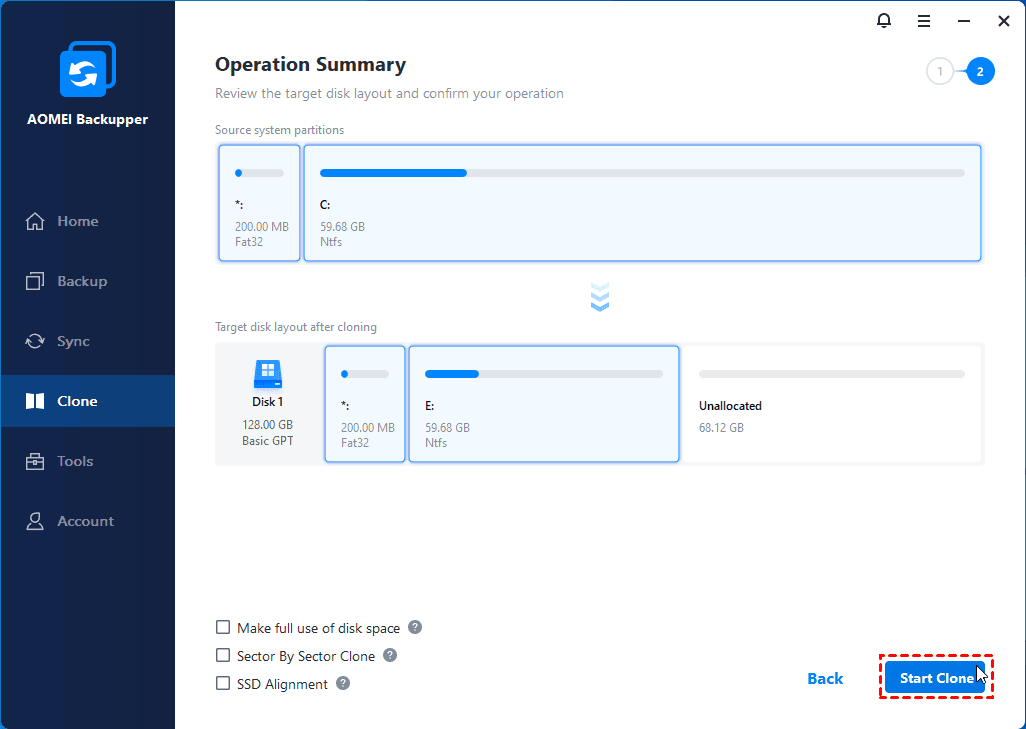
Step 4. Finally, choose Start Clone to upgrade your drive.
Summary
Windows update cleanup not deleting Windows 11 is troubleshoot by the previous 4 methods. For the sake of system security, we kindly suggest you make a regular backup of your computer and system. Also, if you need a bigger system storage location, AOMEI Backupper can fully satisfy your backup and restore needs, as well as clone your drive disk to a bigger disk.

