Auto Backup Windows 10 to WD My Cloud | 2 Easy Ways
If you own a WD My Cloud device and want to figure out how to backup Windows 10 to My Cloud automatically, read this page patiently to learn the top two ways.
By Lily Updated on December 23, 2024
Need My Cloud auto backup on PC
WD My Cloud is one of the most popular network-attached storage for home and small office users. It allows you to keep all your content in one safe place and you can access your files from anywhere with MyCloud.com or My Cloud app.
As the data saved on WD My Cloud is separate from the data saved on your PC, it is wise of you to backup your PC to My Cloud. As a result, you won’t lose the backed up files when your computer crashes, which makes the further data recovery process possible. Then, how to use WD My Cloud to backup Windows 10 automatically? There are two efficient ways for your reference.
# 1. Auto backup Windows 10 PC to My Cloud using a free tool
To backup PC to WD My Cloud, you can turn to the best free backup software - AOMEI Backupper Standard. Following are its main features:

-
Various backup types: You are allowed to backup Windows OS, an entire disk/partition, or specified files/folders as per your need.
-
Multiple backup destinations: You are able to backup to a local disk, external drive, USB drive, NAS device or cloud service, etc.
-
Automated backups: It enables you to run a backup daily, weekly, monthly or based on a special event.
Download this powerful yet free backup software and follow the guidance below to backup PC to WD My Cloud automatically:
Step 1. Install and run AOMEI Backupper. Select Backup > Disk Backup to backup the whole system disk. If you only want to backup system partitions, then choose System Backup.

Step 2. Click Add Disk to select the disk where Windows 10 is installed to be backed up.

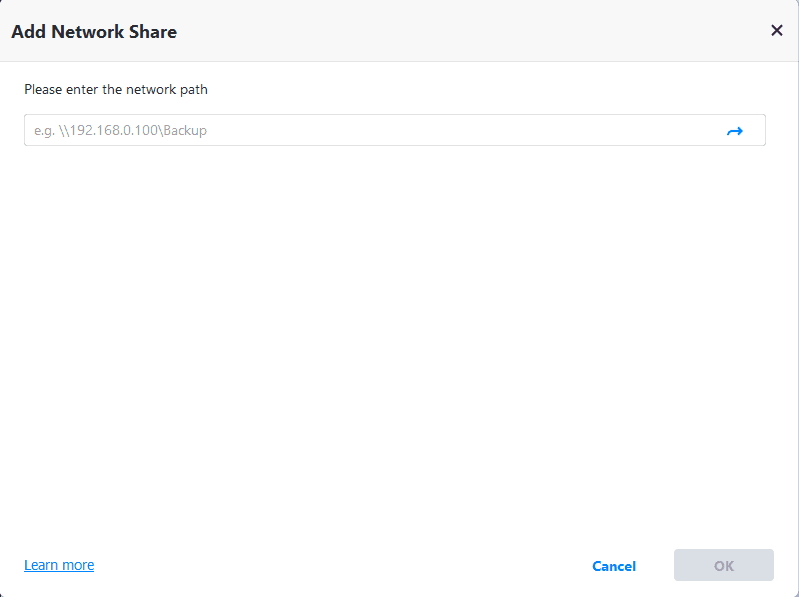
Step 3. Click the second bar and choose Add Share or NAS Devices from the drop-down menu. In the next window, type the IP address of WD My Cloud and click the blue button on the right to add it.

Step 4. Choose a shared folder on My Cloud device to save the backup image and click OK.

Step 5. Click Schedule Backup in the left bottom and set a backup frequency based on your need.

Step 6. Review your settings and click Start Backup > Add the schedule and start backup now to backup your whole PC to My Cloud instantly.
Notes:
● The scheduled backup will run in the way of incremental backup by default to save backup time and storage space. However, to ensure data safety, you’d better run a full backup manually after a period of time.
● To have old backups deleted automatically, you may upgrade to AOMEI Backupper Professional and enable Backup Scheme.
# 2. Auto backup Windows 10 files to WD My Cloud via File History
If you only want to backup specific folders to My Cloud, the built-in tool File History can help you make it. Follow the instructions below:
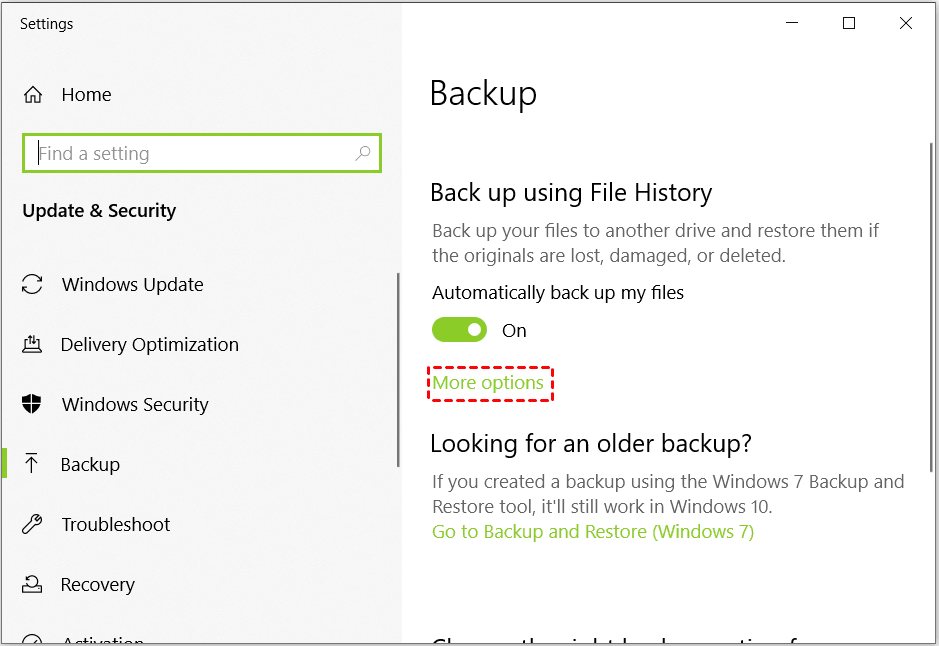
1. Type “backup” in the search box of the taskbar. Then click Backup settings from the search results.
2. Under “Back up using file history”, click Add a drive. Then, click Show all network locations and select the network path of WD My Cloud.

3. You’ll see a new heading called “Automatically back up my files”, and the switch is automatically turned on. Click More options under the switch.
4. In the “Backup options” window, you can do the following configurations:
- Choose backup frequency: you can choose an appropriate interval from every 10 minutes to daily. The default option is “Every hour”.
- Choose backup deletion time: you can choose to delete the backups older than one month, 3 months, etc. The default option is to keep your backups forever.
- Add backup folders: it automatically adds folders in your user account’s home folder, including the Desktop, Documents, and Music folders, etc. You can click “Add a folder” to add any other folders to be backed up or click “Remove” to prevent Windows from backing up a certain folder.
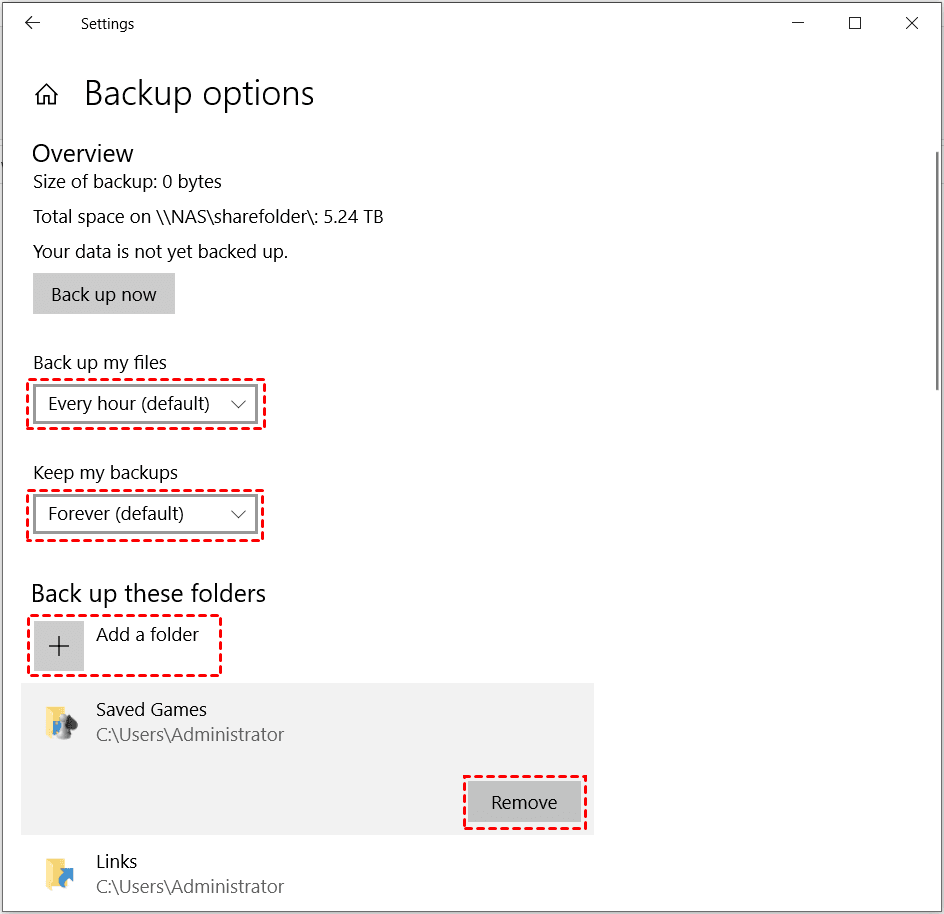
Tip: You can also find an “Exclude these folders” section. This section allows you to exclude specific subfolders from being backed up, which can help you resolve the “Windows 10 backup cannot add folders” error.
5. Confirm all your settings and click Back up now to backup Windows 10 files to WD My Cloud immediately.
Although the operations aren’t complicated, you may be disappointed by File History limitations:
-
You can only add folders to be backed up instead of files.
-
You cannot backup Windows 10 OS with File History.
-
There aren’t “Weekly” and “Monthly” options for backing up less-frequently changed files.
In these cases, you’ll need a more advanced backup tool like AOMEI Backupper.
Bonus: How to set up WD My Cloud
To set up a WD My Cloud, you can follow these steps:
1. Connect the device
Use the ethernet cable that came with the device to connect the My Cloud to your router. Then, plug the power adapter into the back of the device and into an electrical outlet.
2. Go to the setup website
Open a browser and go to www.mycloud.com/setup.
3. Create an account
Click Get Started and enter the information you want to use for your MyCloud.com account.
4. Confirm your email
Check your email for a confirmation email and create a password for your MyCloud.com account.
5. Link your account
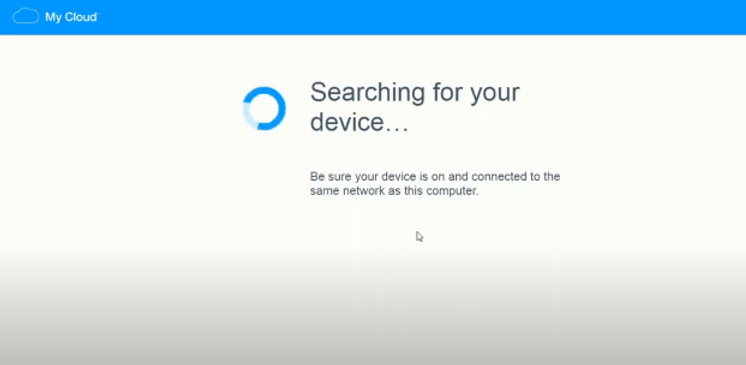
If your device isn't discovered automatically, you can enter the device code to link your account. You can find the device code on the quick installation guide or on the bottom of the My Cloud.
Resolving Connection Problems
If you're having trouble connecting WD My Cloud to your Windows 10 system, don't worry—these issues are common and usually easy to fix. Below are the steps to troubleshoot and resolve connection problems.
1. Check Network Connections
- Verify Ethernet Connection: Ensure the WD My Cloud device is securely connected to your router using the provided Ethernet cable. A loose cable can cause intermittent connectivity issues.
- Restart Your Router: Unplug your router for 30 seconds and reconnect it to refresh the network connection.
- Ensure Same Network: Confirm that your Windows 10 PC and WD My Cloud are connected to the same local network (either wired or Wi-Fi).
2. Check the LED Indicator
Ensure the LED on the My Cloud device is solid blue, indicating it's ready. Blinking or other colors may signal a problem.
3. Update WD My Cloud Firmware
Log in to the My Cloud dashboard and check for firmware updates under the settings menu. Outdated firmware can cause connection issues.
4. Disable Firewall or Antivirus Temporarily
Sometimes, firewall or antivirus software on your Windows 10 system can block the My Cloud connection. Temporarily disable these programs to see if the device connects. If it does, whitelist the WD My Cloud application and its IP address in your security software.
To sum up
Both File History and AOMEI Backupper can help you with WD My Cloud auto backup on Windows 10. However, File History only allows you to do file backup while AOMEI Backupper offers all-around PC backup solutions. In addition, AOMEI Backupper is specialized PC clone software and bootable hard drive eraser. Go for it right now!

