3 Best Restore Point Creators for Windows 10
Want to find a restore point creator for Windows 10? This article provides you with 3 methods to help you do this. Two of them are Windows built-in utilities, and the third is free third-party software that can automatically create system restore points.
By Yuka Updated on November 1, 2022
Need to Create System Restore Point for Windows 10

System files and data are the most important aspects of a computer. During use, the computer may have different problems, such as hardware failure, system crash, virus intrusion, man-made damage and so on. Although you can solve these problems by reinstalling the system, it will be very laborious.
A system restore point is an image of the system configuration and settings in the Windows Registry, which helps to restore the system to an earlier date when the system was running perfectly. If you create a system restore point in advance, you can easily solve these possible computer errors mentioned before. With a system restore point, you can avoid reinstalling operating system and application, which saves you a lot of time. You can not only get back a working operating system but also all the applications installed on the system partition.
You can find 3 methods on this page to help you create system restore point and restore your computer in the event of an unexpected situation. Read on to learn more about the methods.
Method 1. Create a System Image via Backup and Restore
The first method is to create a system image in Windows 10 through Backup and Restore (Windows 7). A system image is a copy of all data on a drive volume. When restoring a computer from a system image, you cannot select individual items to restore. All your current programs, system settings and files will be replaced with the contents in the system image.
Before you start, you need to prepare a storage source for saving image files. It is recommended that you choose an external drive, network drive or network attached storage (NAS) to store the system image. Here is an example to create system image for Windows 10 on an HDD.
- Connect the HDD where you want to store your backup to the computer. Make sure it has enough space.
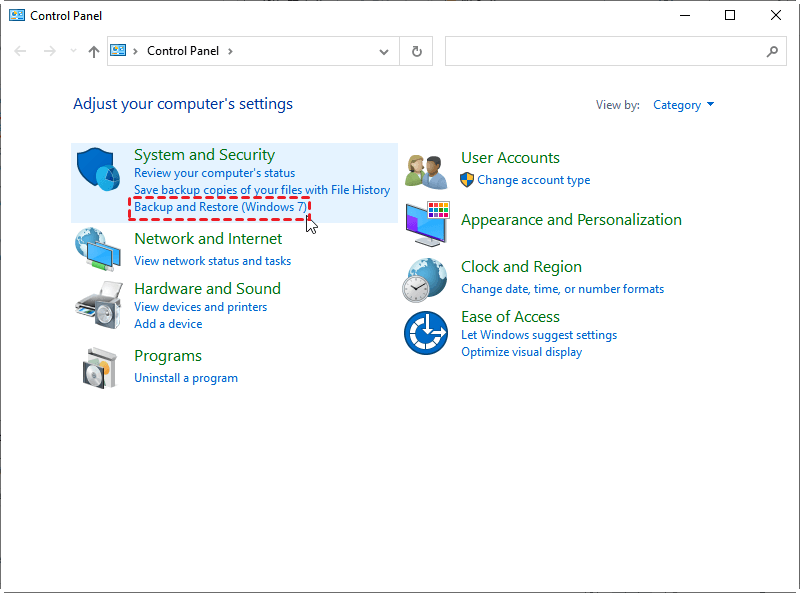
- Type Control Panel in the Search box, and click the first result to open Control Panel.

- Then, click Backup and Restore (Windows 7) in the Control Panel menu.
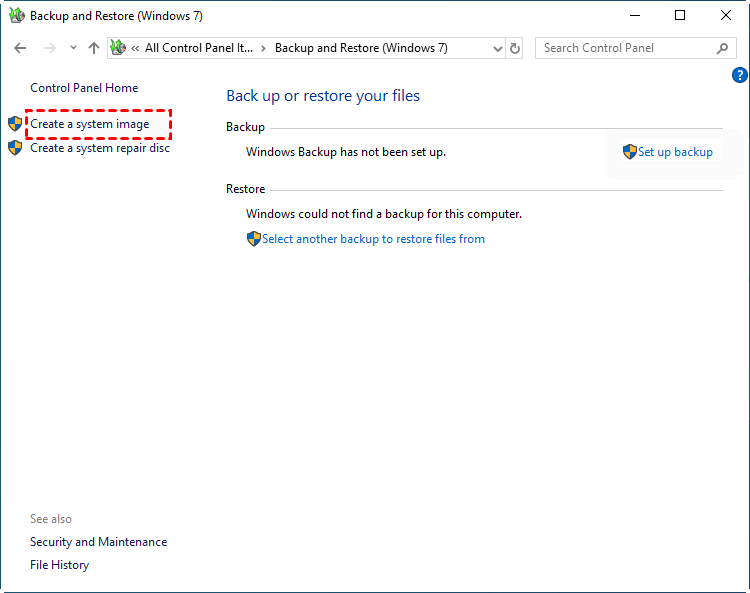
- Click Create a system image at the left panel. Then, it will start to scan your storage device and list all of them.
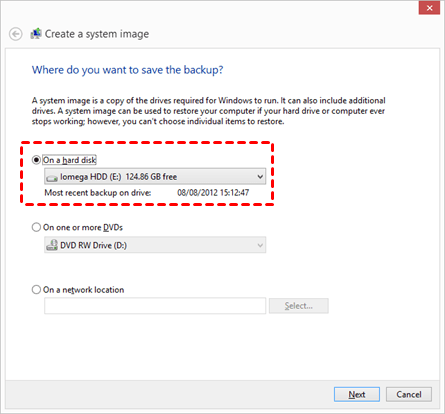
- Then you will be asked where to save the backup. Click On a hard disk and select the HDD from drop-down menu. Then, click Next.
- (Optional) You can select any additional hard drives to include them in the backup. The drives that are required for Windows will be included by default. You cannot include the drive that you are saving the backup to.
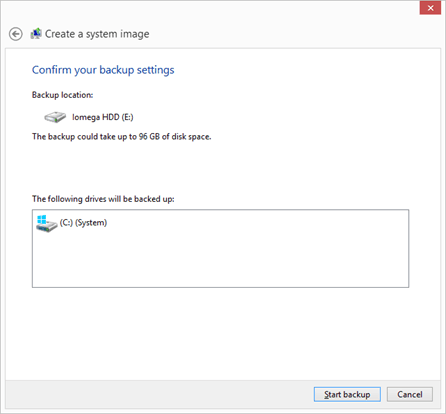
- Then confirm your backup settings. You can see which drive will be backed up and where the system image will be saved. Then click Start backup to begin the backup process.
After Backup has completed you can close the wizard or create a system repair disc. It is recommended you do so if you don’t have a physical copy of Windows 10 for reinstallation.
Method 2. Create a Restore Point via System Restore
System Restore utility is another restore point creator for Windows 10. You can enable it on Windows 10 and create a system restore point manually.
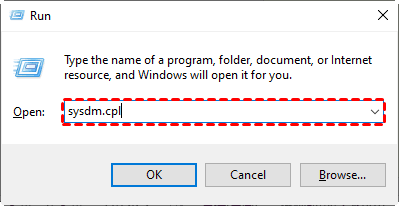
- Press Win + R to open Run dialog box. Type sysdm.cpl and press Enter.
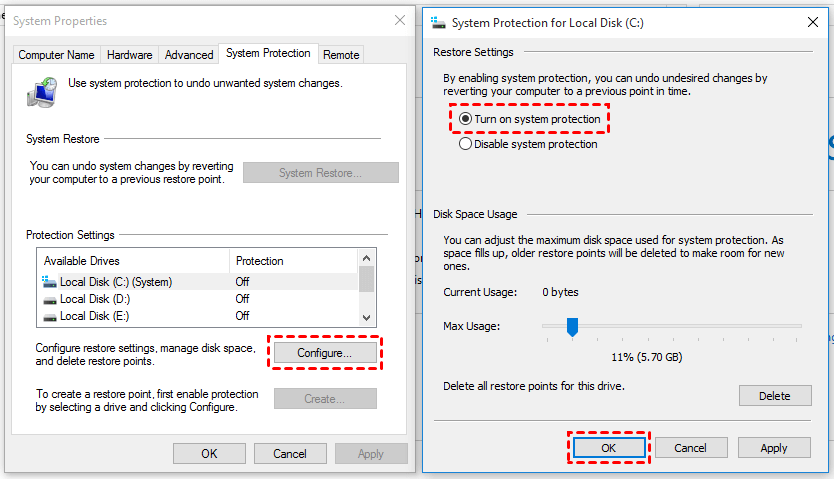
- Then you will enter the System Properties window. From there select System Protection tab.
- Click Configure -> enable Turn on system protection. You can use the slider to change the amount of space it uses (5% to 10% is usually sufficient). Then click OK to confirm.
- Now that you have turned on system protection, Windows 10 will automatically create a system restore point when you make system changes. If you want to manually create a restore point immediately, you can return to the System Properties window and click Create. Then you need to type a description of this backup task. Finally, click Create.

- It takes some time to create a system restore point. After the operation is completed, click the Close button to close the window.
Method 3. Automatic System Restore Point Creator for All Windows
Although there are 2 built-in restore point creators in Windows 10, many users report that they have encountered some problems with these 2 utilities. For instance, some of them can’t create restore point in Windows 10, or the system image backup failed, etc. Fortunately, there is another way to create a restore point on Windows 10.
AOMEI Backupper Standard is a powerful system restore point creator for all Windows. It allows you to perform system backup, disk backup, partition backup, file backup, system restore, selective file restore, etc. It has a clean and clear interface that is very easy to be understood. You can schedule backup at daily, weekly, monthly. What’s more, you can use it to create a bootable media to help you boot your computer successfully when you can’t access the computer.
To create system restore point to external hard drive automatically, you can follow the steps below:
Step 1. Connect the external hard drive to the computer and make sure it can be detected.
Step 2. Download AOMEI Backupper Standard free, install and launch it. You will see its main interface, click Backup and then select System Backup.

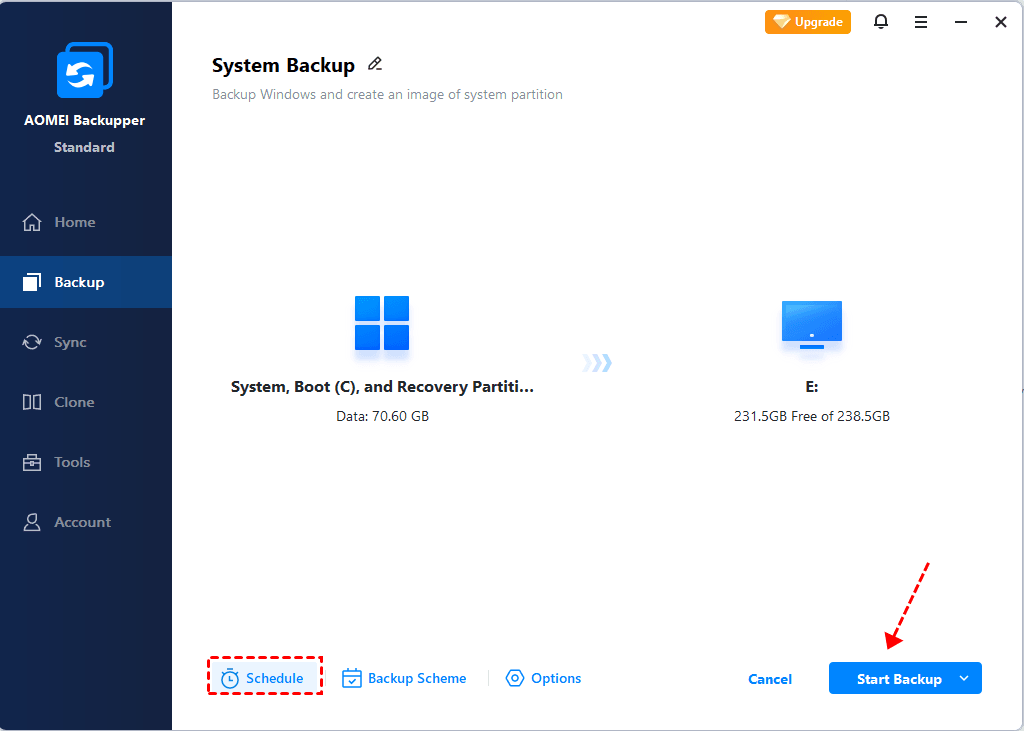
Step 3. The program will select the system and boot partitions by default as the source. You just need to choose a destination path to save the system backup.

Step 4. Then click Schedule at the lower left corner to set automatic backup of your system. You can choose Daily, Weekly and Monthly in the free version. If you upgrade to AOMEI Backupper Professional, you can enjoy another 2 options – Event triggers and USB plug in.

Extra Helpful Tips✍:
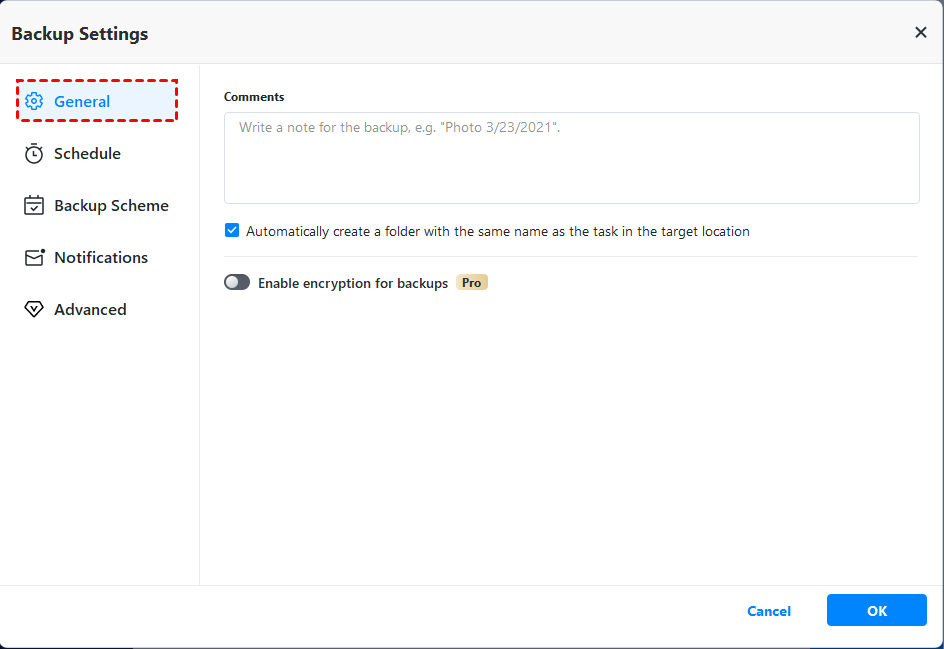
◕ Options: You can write a note for the backup here. And it also provides you with 3 compression levels that can compress a big system image to smaller one. After upgrading to the professional version, you can enable backup encryption to set a password to access the backup image.
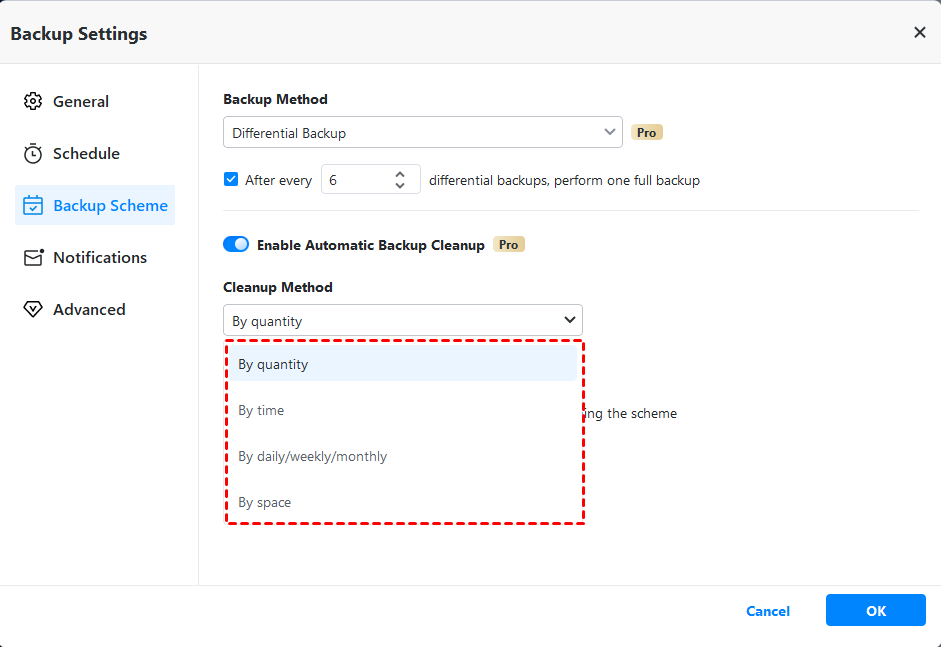
◕ Scheme: This feature is very useful when you create an automatic backup with AOMEI Backupper, it will delete old backups by the backup number or cycle you set. It's available on AOMEI Backupper Professional.
Step 5. Then, click Start Backup to create a restore point on Windows 10.
Wait for the backup to complete. When something unexpected happens to your computer, you just need to go to Restore tab to select the previously created system backup task/image to restore your computer to an earlier working state.
To Sum Up
This article introduces 3 restore point creators for Windows 10. The first is to use Backup and Restore to create a system image. The second is to use the System Restore utility to create a system restore point. The third is to use AOMEI Backupper to create a system backup.
By comparison, AOMEI Backupper is your best choice. It can provide all-round protection for your computer. You will not encounter problems such as System Restore being unable to create a restore point. You can even use it to restore system image to another PC. If you are Windows Server users, you can turn to AOMEI Backupper Server to help you create a restore point. Try it now to protect your computer.

