How to Backup Network Shared Files in Windows 10
Learn how to backup network shared files in Windows 10 with the best network backup software AOMEI Backupper.
By Lily Updated on December 21, 2023
Backing up network shared files is important
Computer users all know that there are many situations that would cause data loss, like software or hardware failures, human errors, laptop steal, or other unexpected disasters. Because of those bad situations, file backup is important for users, and most users always backup files on computer to keep the data safe.
Some users try to store files on network drive in case of hard drive failures. However, you have to face the problem that the network shared files are still at the risk of losing. Thus, it is necessary to backup network shared files in Windows 10/8/7.
Best network backup solutions for you
To keep the data safe, users always backup network shared files to local hard drive or external hard drive, etc. Here, you can get the best free network backup software AOMEI Backupper to help you.
- It allows you to backup all kinds of data, including system files, external hard drive files and network shared files, etc.
- You are able to save the backup image on a local hard drive, external hard drive, USB flash drive, NAS or cloud drive, etc.
- You can create daily/weekly/monthly backup to get continuous data protection.
Download AOMEI Backupper Standard and install it on your computer now!
Stepwise guide to backup network shared files in Windows 10
Here we take an example of backing up network files to a local hard drive.
Step 1. Launch AOMEI Backupper. Select File Backup under Backup tab.

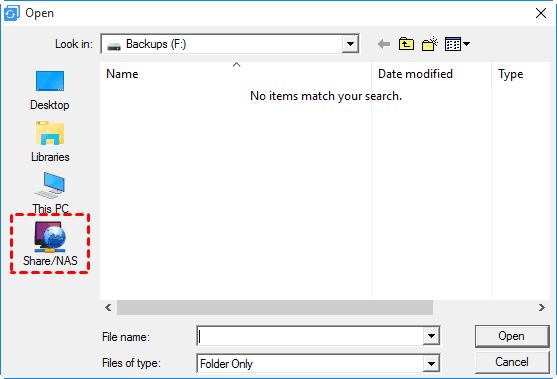
Step 2. Then, you will go to the File Backup window. Click Add File or Add Folder to select the files/folders on the network drive you want to backup. It will pop out a window. Select Share/NAS on the left side.

Step 3. Then, you will move to the Select Share/NAS Device window. Click Add Share or NAS Devices. In the pop-out window, type the network path of your share or NAS device. Click OK.
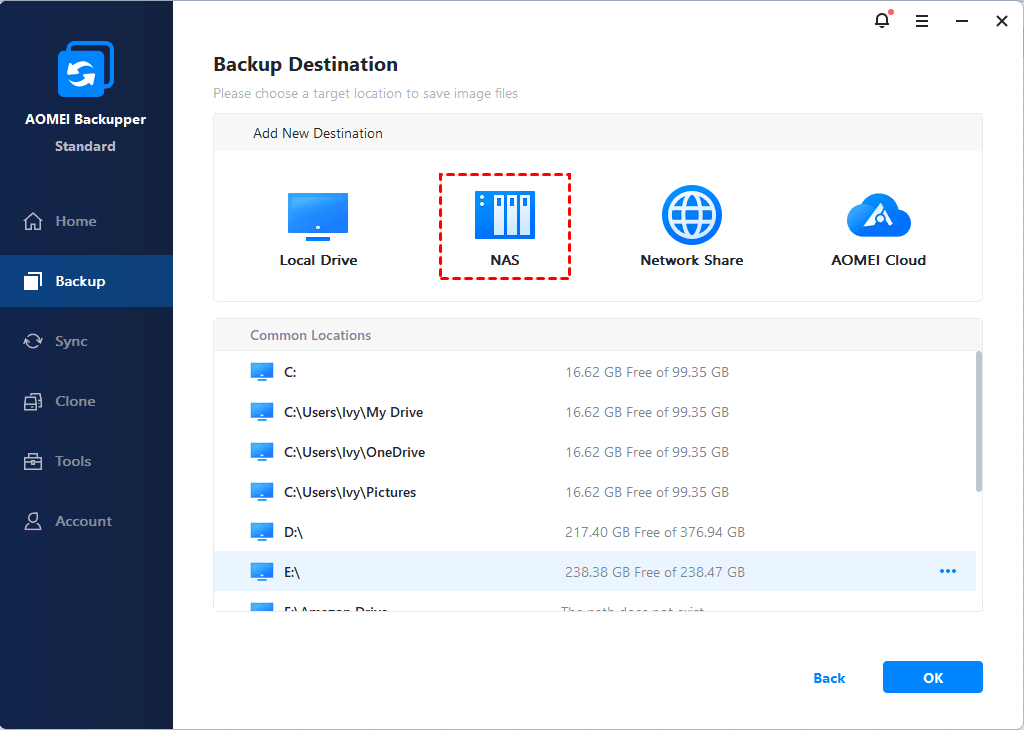
✎ Tip: Enter username and password if it is required.
Step 4. After selecting the shared folders to be backed up, you can select the destination where you would like to store the backup image. Here I choose local E:\ drive.
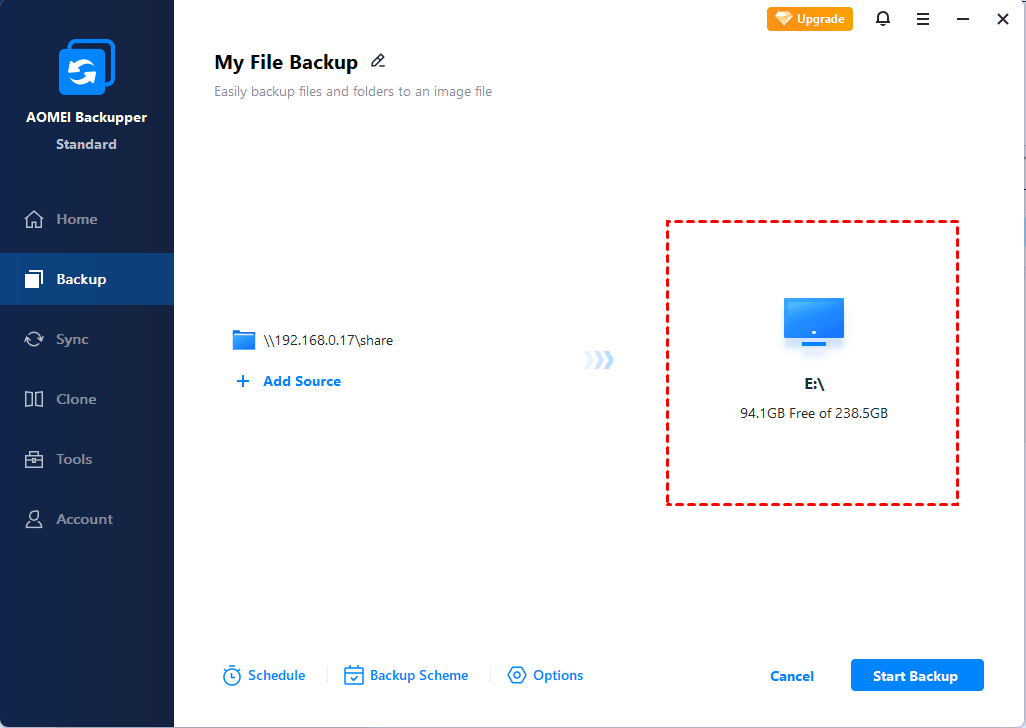
Step 5. Finally, click Start Backup to execute all operations.
✍ Useful Tips: Actually, you can set up more for your backup before clicking Start Backup.
>>> You can add a comment for you backup, or enable email notification in Options.
>>> AOMEI Backupper also allows you to set up an automatic file backup in Windows 10 with the Schedule Backup utility. You can choose from Daily, Weekly, or Monthly.
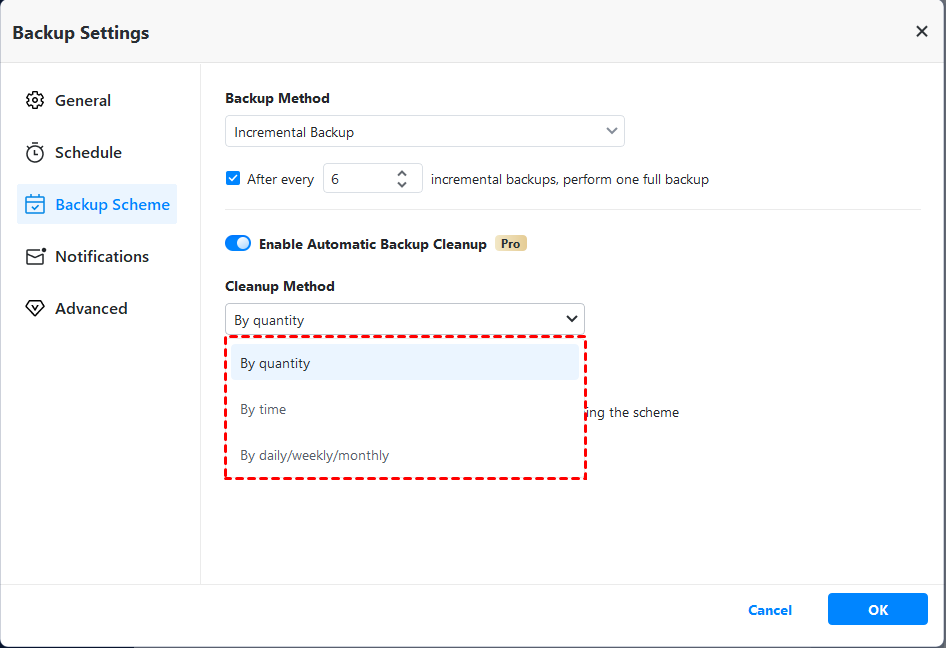
>>> You can choose backup methods in Backup Scheme. Differential backup is preferable to incremental backup because incremental backup requires all backups to be complete before a backup can be restored. You can also enable automatic backup cleanup to save disk space. You need to upgrade to AOMEI Backupper Professional to enjoy differential backup and auto backup deletion.
Conclusion
After reading this article, you may know how to bakup network shared files in Windows 10. Besides, you can use AOMEI Backupper to restore files from backup if you need. AOMEI has another program called AOMEI Cyber Backup which enables you to backup multiple computers over network on one central management console.

