How to Create ASUS Recovery Disk in Windows 10 | 2 Ways
ASUS recovery disk is very useful when you’re having problems with your computer. Learn how to create one in Windows 10 efficiently from this page.
By Lily Updated on August 20, 2024
Why do you need ASUS recovery disk?
ASUS makes a wide range of products such as desktops, laptops, netbooks, mobile phones, networking equipment, etc. Among all the products, ASUS laptops are the most popular for their attractive designs and powerful performance. Nevertheless, errors occur sometimes. Here is a frustrating scenario shared by one ASUS laptop user:
“Hi, I have an ASUS laptop - kv55v. A few days ago the Windows 10 auto updates (to creators update I think) resulted in me losing my keyboard and touchpad. Panic ensued...then googled...tried several suggestions. None worked.
Tried to go back to a restore point, but that failed because of a Microsoft bug. Panic again....but google is my friend so eventually found a way to execute the recovery. So got my laptop to a working state again. Only took 2 days.lol.”
ASUS recovery disk can help a lot in such scenario. It can not only restore your computer to a working state after Windows updates but also repair Windows 10/8/7 in case of system crashes. What’s more, it can be used under Windows Preinstallation Environment (Windows PE) when the computer fails to boot. Since it’s necessary to have ASUS recovery disk, how to create one easily and safely?
How to create ASUS recovery disk in Windows 10 efficiently
Here I’m going to show you two efficient solutions to create ASUS recovery USB in Windows 10:
Solution 1: create ASUS recovery disk via a specialized utility
To create ASUS recovery USB drive, you will need a specialized utility—AOMEI OneKey Recovery Professional. It’s the best system backup & recovery software which supports not only Windows PC operating systems (Windows 11, 10, 8, 7, Vista, XP) but also Windows Server operating systems (Windows Server 2003, 2008, 2011, 2012, 2016, 2019, 2022).
It enables you to create a recovery partition to save system image or backup system to external hard drives, USB flash drives, etc. It also allows you to restore system under Windows PE if there’s a boot failure. Now follow the steps below to create ASUS Windows 10 recovery disk via AOMEI OneKey Recovery:
Step 1. Connect a USB drive to your computer. Install and launch AOMEI OneKey Recovery.
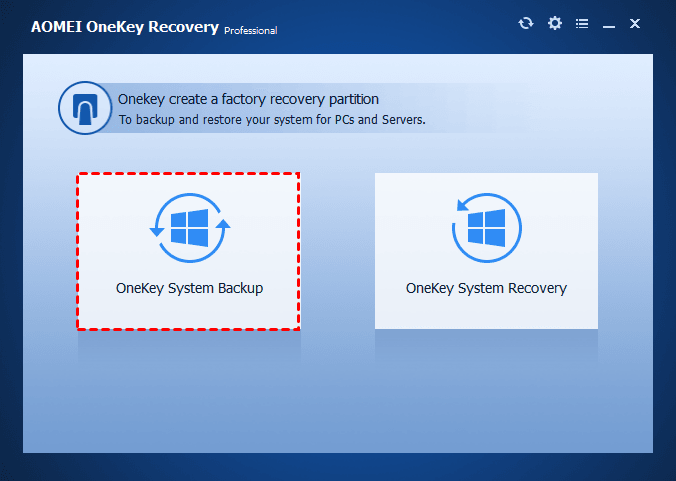
Step 2. Click “OneKey System Backup” on the main interface.
Step 3. Select “Backup system to other location” and click “Next”.
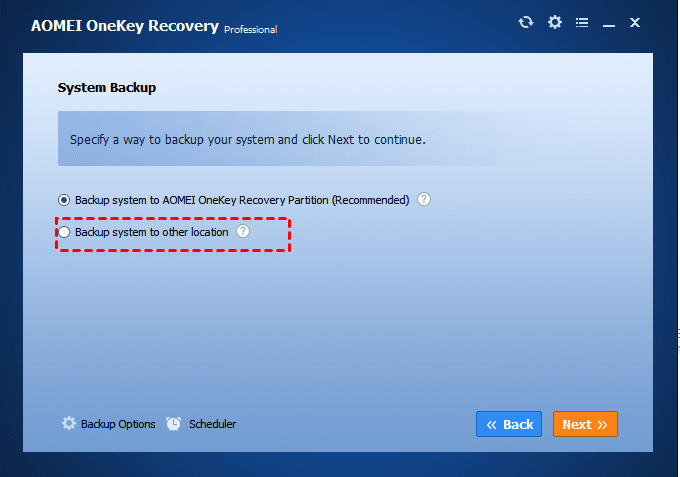
>> Backup Options: you can choose the compression level for the backup image file and encrypt the file.
>> Scheduler: you are able to backup your computer OS daily, weekly, or monthly as per your need.
Step 4. Click “Browse” to choose the USB drive as the destination path. The program will create AOMEI OneKey Recovery Partition automatically on an existing partition so as to help boot a crashed system.
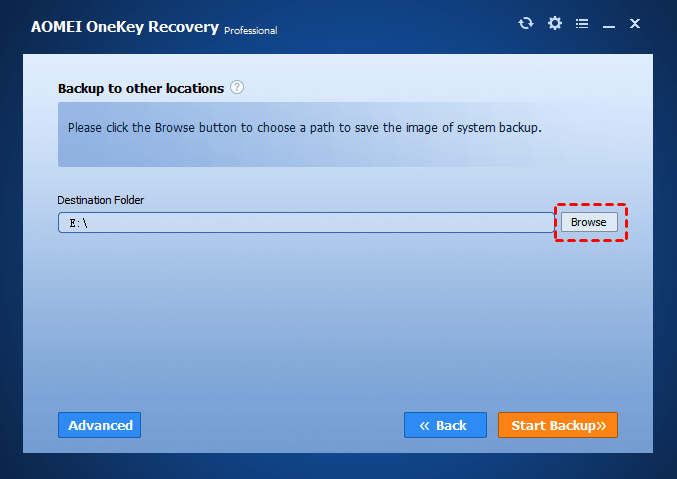
>> Advanced: you can change the location of AOMEI OneKey Recovery Partition and the partition will be hidden by default after creation.
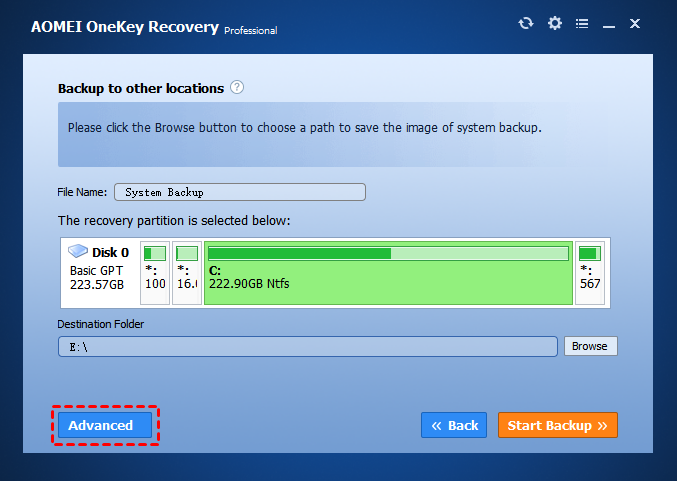
Step 5. Confirm the operation and click “Start Backup”. After the backup process is finished, safely disconnect the USB drive and keep it properly.
Tips:
To realize ASUS recovery in Windows 10 under Windows PE when the computer fails to boot, you should:
● For the traditional BIOS system, press F11 or A at startup to launch AOMEI OneKey Recovery under Windows PE.
● For EFI/UEFI based system, choose “AOMEI OneKey Recovery” in the Windows boot menu to launch it.
Solution 2: create ASUS recovery disk with Windows built-in tool
Windows 10 also provides users with the feature of creating recovery drives. Follow the instructions below to create ASUS recovery disk in Windows 10 with the built-in tool:
1. Connect a USB drive to your computer. Type “recovery drive” in the search box and select “Create a recovery drive” from the listed results.
2. In the pop-out window, check the option “Back up system files to the recovery drive” and hit “Next”.

3. Select the USB flash drive you have prepared, and click “Next” to continue.

Notes:
● The USB drive should be as large as the capacity shown in the prompt. Here it should be at least 8 GB.
● The USB drive will be overwritten during the process, so use the USB backup software to backup important data before creating ASUS recovery drive.
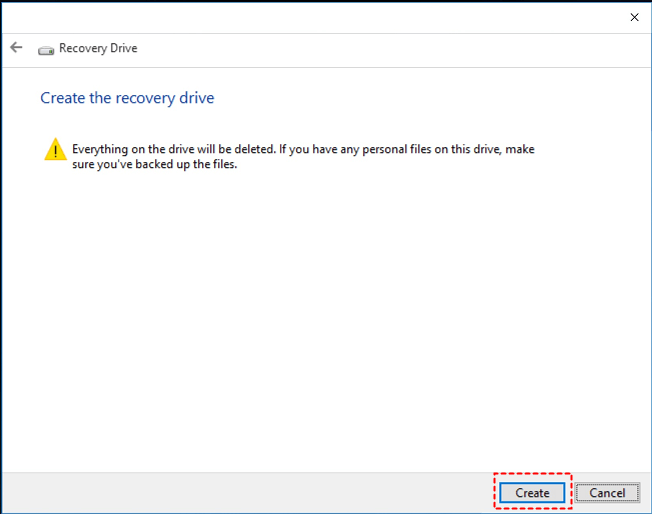
4. On the next screen, click “Create” to begin creating the recovery drive.
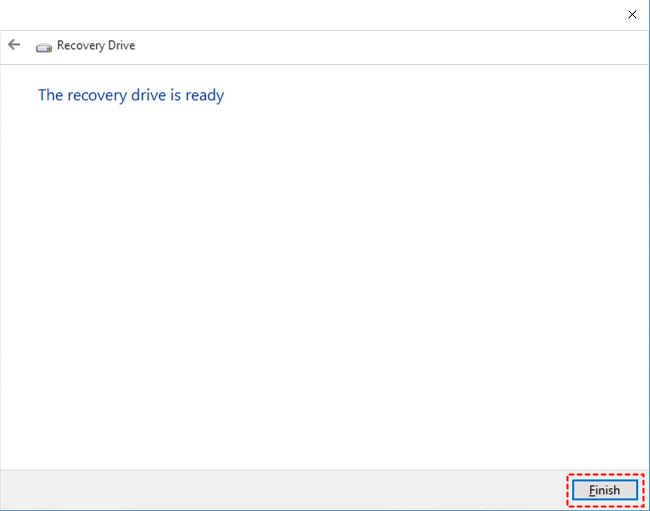
5. Click “Finish” when the recovery drive is ready. Safely disconnect the USB drive and keep it properly.
Summary
You have learned two efficient solutions to create ASUS recovery disk in Windows 10. AOMEI OneKey Recovery supports creating ASUS recovery disk in Windows 7 as well. Apart from doing OneKey system backup and recovery for ASUS laptops, you can also use AOMEI OneKey Recovery for Lenovo OneKey Recovery in Windows 10 and Acer Recovery Management in Windows 10.

