Solved | Your File History Drive Is Disconnected (5 Fixes)
Try the following 5 ways to fix “Your File History drive is disconnected” error, or try the best free alternative for File History - AOMEI Backupper to auto backup your files easily.
By Delia Updated on August 28, 2025
Annoying error: File History drive is disconnected
Keeping your important data backed up and updated is important. With File History, you can create automatic file backups in Windows 11/10/8 easily. But sometimes you may receive the error File History drive disconnected when a scheduled backup task is triggered. The message could be:
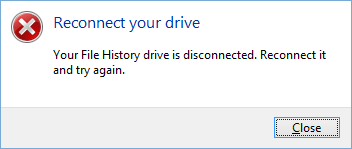
- Reconnect your drive. Your File History drive is disconnected. Reconnect it and try again.
- Reconnect your drive. Your File History drive was disconnected for too long. Reconnect it and then tap or click to keep saving copies of your files.
- Your files will be temporarily copied to your hard drive until you reconnect your File History drive...
File History saves file copies every hour by default, so it may be quite annoying if you do not fix it, not to mention the fact that your files are unprotected. In the following article, I will introduce how to fix the File History drive disconnected problem, and offer an better alternative for scheduled file backup.
👉 Why is File History drive disconnected in Windows 11/10/8
👉 How to fix File History drive disconnected (5 solutions)
👉 Backup files with the best free File History alternative
Why is File History drive disconnected in Windows 11/10/8
Following are some 4 possible reasons for the File History drive disconnected error:
-
Cause 1. Your external hard drive is indeed disconnected
You can reconnect the drive. Or if you do not want to backup your files anymore, just turn off File History.
-
Cause 2. The backup drive fails or the file system is corrupted
If you can still open and view the File History target drive in File Explorer, then this may be the case.
-
Cause 3. You have made some changes to your drive
If you've changed something after File History setup, then it is likely that File History doesn’t recognize this drive.
-
Cause 4. You don't have permission to access this drive
If you have also connected this drive to another computer for backup, another user may have restricted your permission to access this drive.
How to fix File History drive disconnected (5 solutions)
Here are 5 solutions to “Your File History drive is disconnected” in Windows 11, 10, 8. Now let's get started:
▪ Solution 1: Reconnect File History drive and restart backup
▪ Solution 2: Change your File History backup drive
▪ Solution 3: Check and fix hard drive errors
▪ Solution 4: Clean up File History configuration files
▪ Solution 5: Create a shared folder to save File History backup
One Step Ahead: Skip the Troubleshoot
If all these fixes won't work, or you don‘t want to try them one by one, you can use a free alternative to auto backup any folders you want to external/internal drive or even NAS, cloud drive. Details »
Solution 1: Reconnect File History drive and restart backup
If your external hard drive used for File History backup has been disconnected for too long, you will be asked to reconnect your drive. You need to manually reconnect the drive and then start the backup as the following:
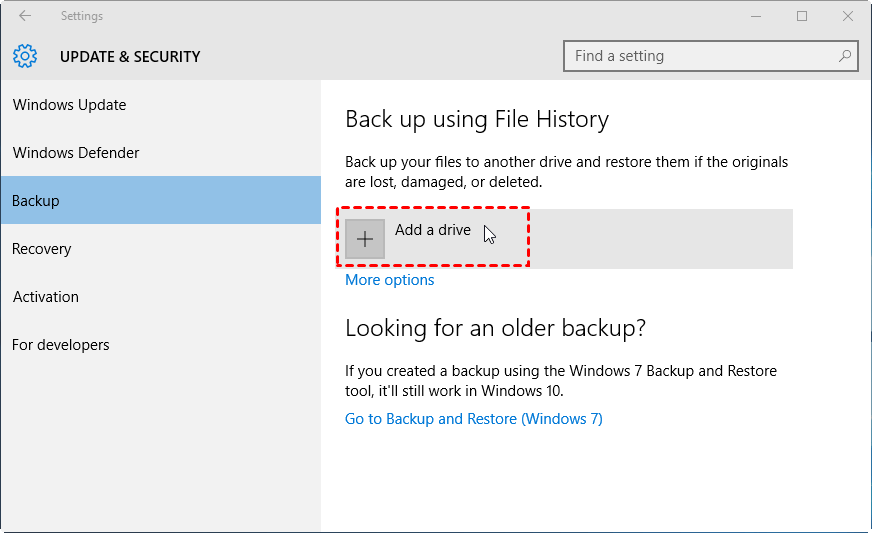
1. Navigate to Settings > Update &Security > Backup.
2. Reselect the external hard drive or network drive.
Solution 2: Change your File History backup drive
changing the File History backup drive is said to be effective for this problem. You can try this method with the following steps.
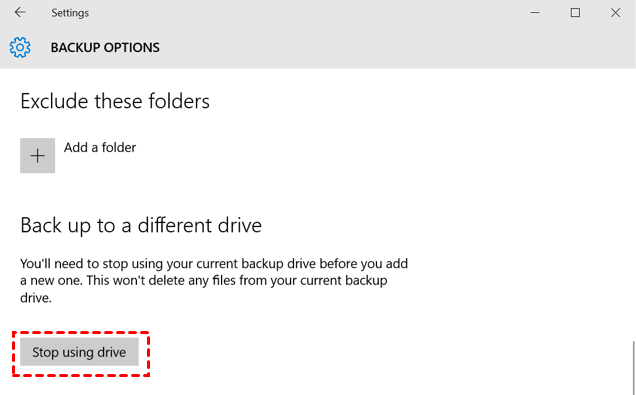
1. Open File History, under the Back up using File History section, click More options.
2. scroll down to the Back up to a different drive section, click the Stop using drive button.
3. Then, go back to File History and click Add a drive. All the available drives and network location will be listed here, select the drive you want to use.
4. Click More options to set File History settings and click Back up now at the top location.
Solution 3: Check and fix hard drive errors
If you doubt there might be some errors on your hard drive, then you can first check your hard drive for bad sectors.
1. In Windows 10, right-click on the Start menu and choose Command Prompt (Admin). In Windows 8/8.1, you can press Windows + R key and type in “CMD” in the Run window and press Enter.
2. In the Command Prompt window, type in chkdsk.exe /f H: and press Enter. You should replace the “H” with the drive letter of your backup disk.
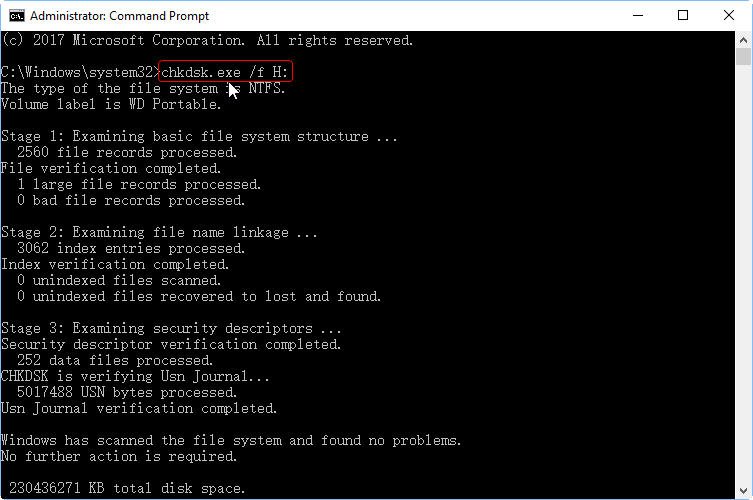
3. It will take some time to finish checking and fixing hard disk errors.
-
If the value of the bad sector is not 0, then the disk is probably damaged or inclines to fail. For your backup data’s security, you should clone the failing hard drive to a new one and use the cloned one as the backup drive.
-
If you see no bad sectors, then the problem is not with the backup disk. It might be the configuration files that cause this error. In this case, please refer to Solution 3.
Solution 4: Clean up File History configuration files
You still can try to delete the configuration files and then reconnect them if the above ways are not working for your situation.
★ Note: This method will delete all the File History backups, so it is recommended to create another backup of your files before trying this method.
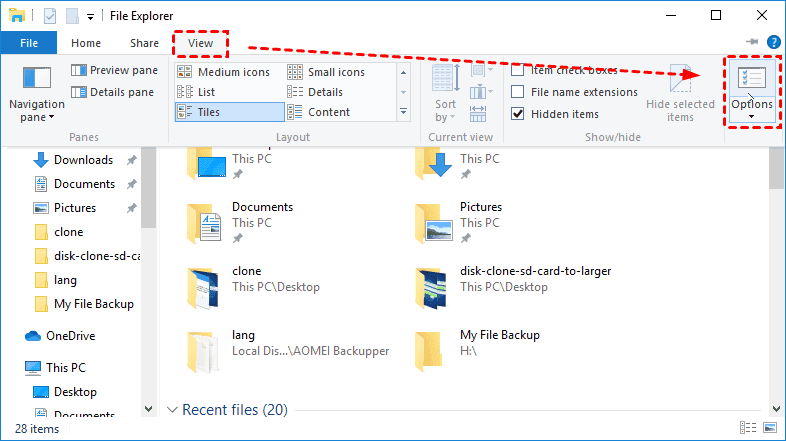
1. Make sure you are able to view hidden files. You can open File Explorer and go to the “View” tab on File Explorer’s ribbon. Then, do following things:
-
Check the Hidden items checkbox in the Show/hide section.
-
Click the Options button. In the Folder Options window, click the View tab and UNCHECK Hide protected operating system files (Recommended) under Advanced settings.
2. Navigate to the folder below and delete all the files in it:
C:\Users\[username]\AppData\Local\Microsoft\Windows\FileHistory\Configuration\
Tip:
You can also type “%localappdata%\Microsoft\Windows\FileHistory\Configuration” in a Run window to open this folder directly.
3. Go back to File History and connect the drive again.
Solution 5: Create a shared folder to save File History backup
If you only want a specific folder to save File History backup, you can create a shared folder on your external hard drive or internal drive and then use File History to back up files to this folder. Some users struggle to let File History backup to the internal drive, and this workaround definitely works. To do that, just follow these steps:
1. Create a new folder named File History Drive or whatever suits you.
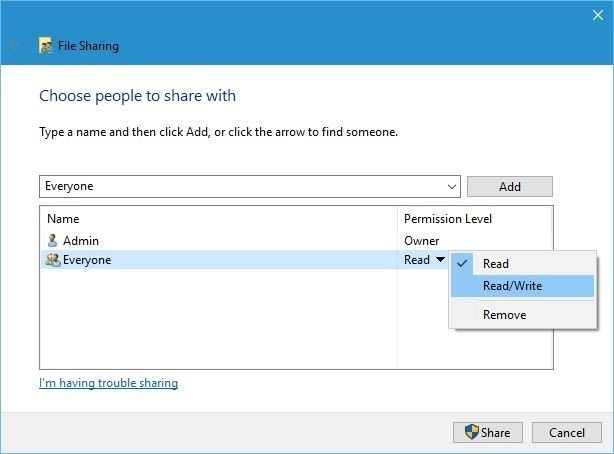
2. Right-click on the newly created folder and select Properties.
3. Click on the “Sharing” tab and select Share... to create a shared folder. You need to add users you want to share with and set the Read/Write permission.
4. Open File History. Click Add a drive > Show all network locations. If the drive you want isn’t listed there, then click/tap on Add a network location and navigate to the shared folder you just created.
Backup files with the best free File History alternative
Besides "Your File History is disconnected" error, you may be troubled by other problems, such as File History drive is full, File History Element not found, etc. To avoid these problems, you'd better use free file backup software as an alternative. Here I’d like to recommend AOMEI Backupper Standard. Below are some helpful features of it:
✔ It supports File Backup, System Backup, Partition Backup and Disk Backup.
✔ You can use the Schedule Backup feature to set the backup tasks to run daily, weekly, monthly, etc.
✔ You can choose to create a full backup or create incremental backup for only changed data.
✔ You can also try splitting, compression (Normal or High), or intelligent sector backup to save storage space.
Download, install and run this free File History alternative to automatically back up your files & folders.
How to backup files and folders with AOMEI Backupper:
1. Launch the main interface of AOMEI Backupper. Click “Backup” tab, and choose “File Backup”.

2. In the next screen, click "Select Source" > “Add File” or “Add Folder” to include specific files and folders in the backup.

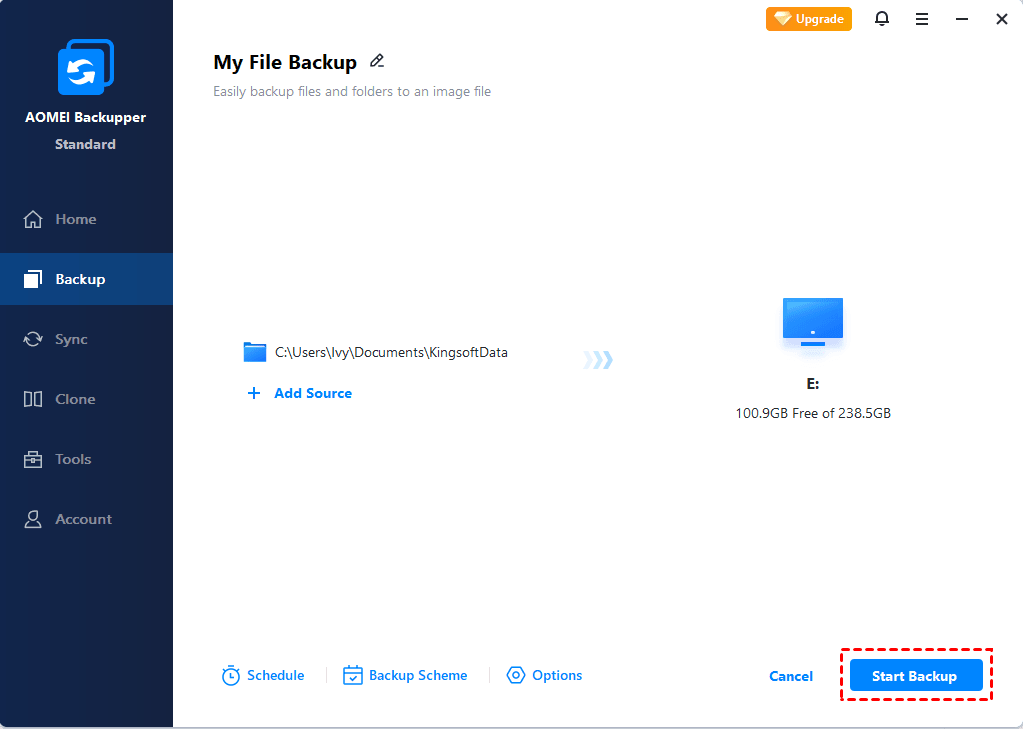
3. Choose a target location to save the backup image. Besides external hard drives, this tool allows you to backup to NAS device, network location, and local hard drives as well.

4. Click “Schedule” to set a frequency for this file backup task if needed. To backup only changes, click "Backup Scheme" and select "Incremental Backup" under the Backup Method section. After that, click “Start Backup” to start backing up your files.
✍Tips:
◾ You can enjoy more advanced features in the Professional edition, such as backup only changes with Differential Backup, Automatic Backup Cleanup, Dissimilar Hardware Restore.
◾ If you want a duplicate of your files instead of an image file, AOMEI Backupper also provides a “Sync” feature. You can even run real-time file sync (supported by AOMEI Backupper Professional) for continuous data protection.
▶ Learn more from the video tutorial:
Reward Tip: Backup Files to AOMEI Cloud
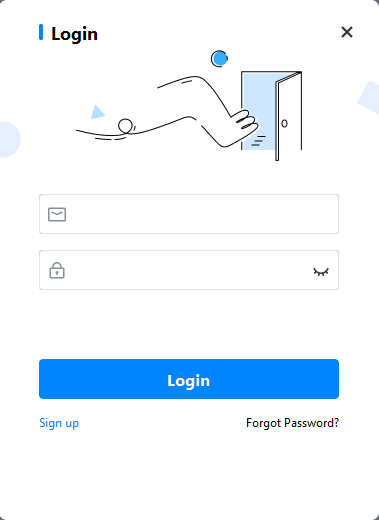
Nowadays, the trend of backing up files to cloud storage is becoming more and more popular. This is because backing up files to the cloud can effectively prevent the risks associated with physical damage and loss of hard drives. AOMEI offers its cloud for users - AOMEI Cloud. After signing up for an AOMEI account, you can use 1TB of storage space for free for 15 days.
Conclusion
If you constantly receive the error “Your File History drive is disconnected”, you can try the five solutions mentioned above to fix the error or use AOMEI Backupper as an alternative. You can choose backup solutions (file/system/disk/partition), set backup frequency (daily/weekly/monthly), or enable other useful features (eg, incremental backup).
Apart from the backup and sync functions, AOMEI Backupper is embedded with the clone feature. You may use it to clone Dell laptop hard drive for disk upgrade. Don’t hesitate to give it a try!

