Windows Server 2019 Robocopy: Setup and Easier Alternative
You can transfer files via Robocopy and here is the full guide. What’s more, another easier way is offered for users.
By Maggie Updated on October 16, 2023
User case: file server migration Robocopy
I have a file server with two disks each one 1 TB running on Windows Server 2012 and I want to migrate it to 2019.
I know that I should be using Robocopy cmd to retain the security permissions but if within the server I have some folders shared what will happen?
And please can u give me the exact Robocopy command to use?
- Question from Microsoft Community

Is Windows Sever compatible with Robocopy?
Robocopy (Robust File Copy) is a built-in command-line file copying tool for Windows operating systems. Without doing Robocopy download server 2019, it's available in Windows Server 2019 and offers advanced options and features for copying files and directories.
The main functions of Windows Server 2019 Robocopy can be summarized into below several points:
- Copy/transfer files between computers over a network.
- Copy or mirror directories anywhere the computer has access.
- Copy drives to another location.
👉 Common used options in Robocopy:
/s: Copies subdirectories. Note that this option excludes empty directories.
/e: Copies subdirectories. Note that this option includes empty directories.
/lev: Copies only the top N levels of the source directory tree.
/z: Copies files in restartable mode.
/b: Copies files in Backup mode.
/zb: Uses restartable mode. If access is denied, this option uses Backup mode.
/efsraw: Copies all encrypted files in EFS RAW mode.
/copyall: Copies all file information, including D (Data), A (Attributes), T (Time stamps), S (Security: NTFS access control list (ACL)), O (Owner information), U (Auditing information)
❤Note: For more Robocopy examples, please refer to Robocopy page.
Full guide: how to transfer files over network by Robocopy
Stage 1. On your old computer
Step 1. To move files from your old computer, open File Explorer and find the folder containing the files you want to move.
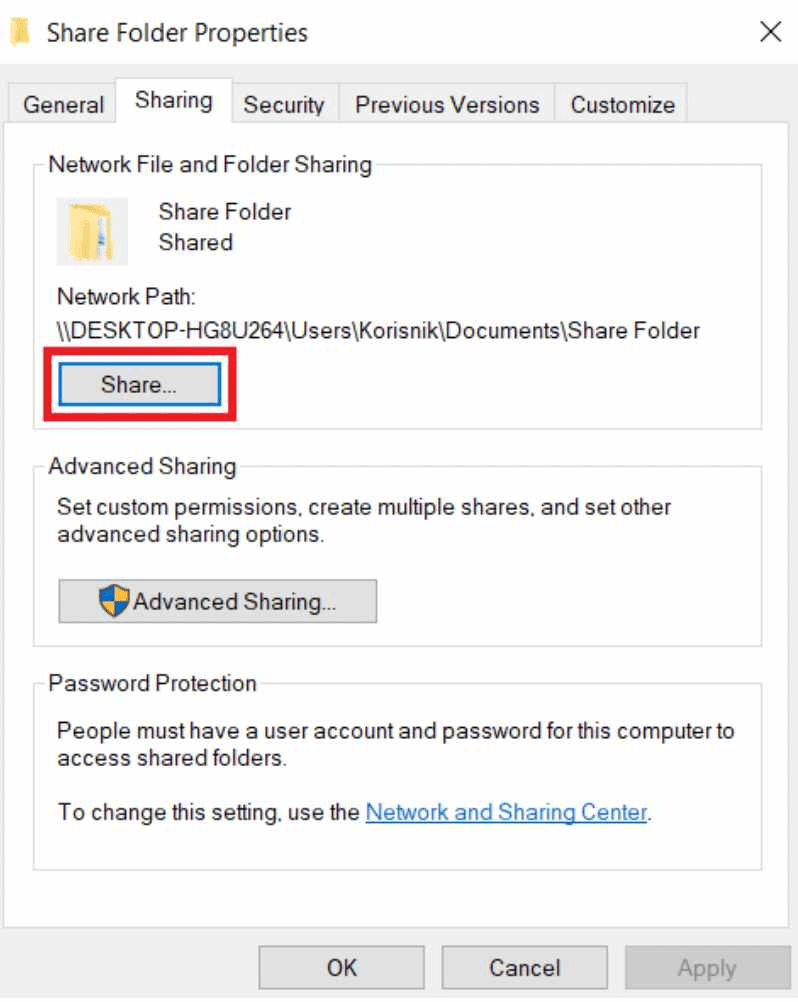
Step 2. Right-click the folder, and then choose Properties.

Step 3. Open the Sharing Folder Properties and click Share.
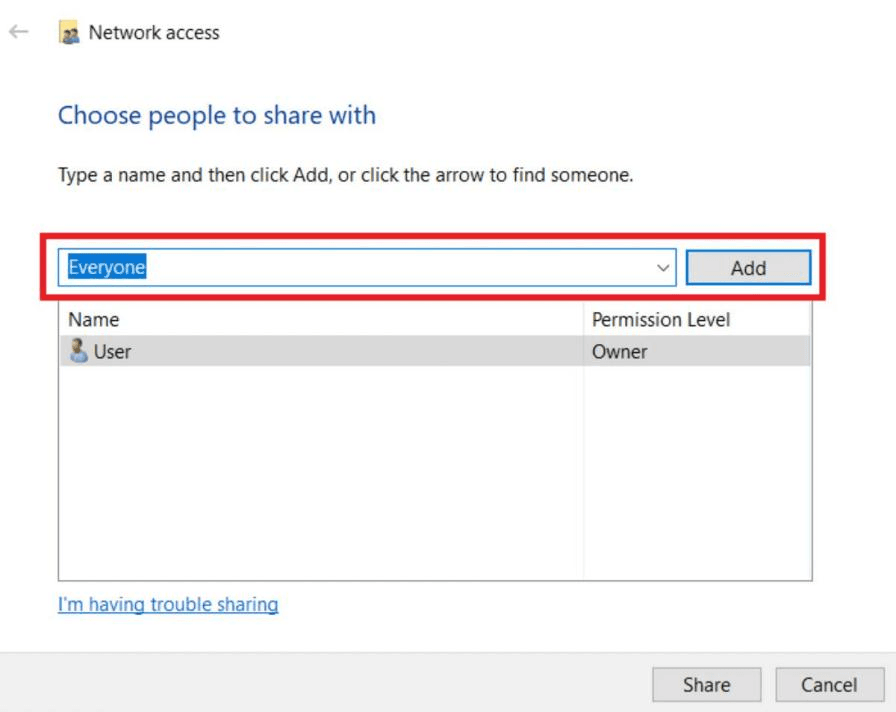
Step 4. On the Choose people to share with page, choose the specific users you want to share the folder with or select Everyone. Click on Add option.
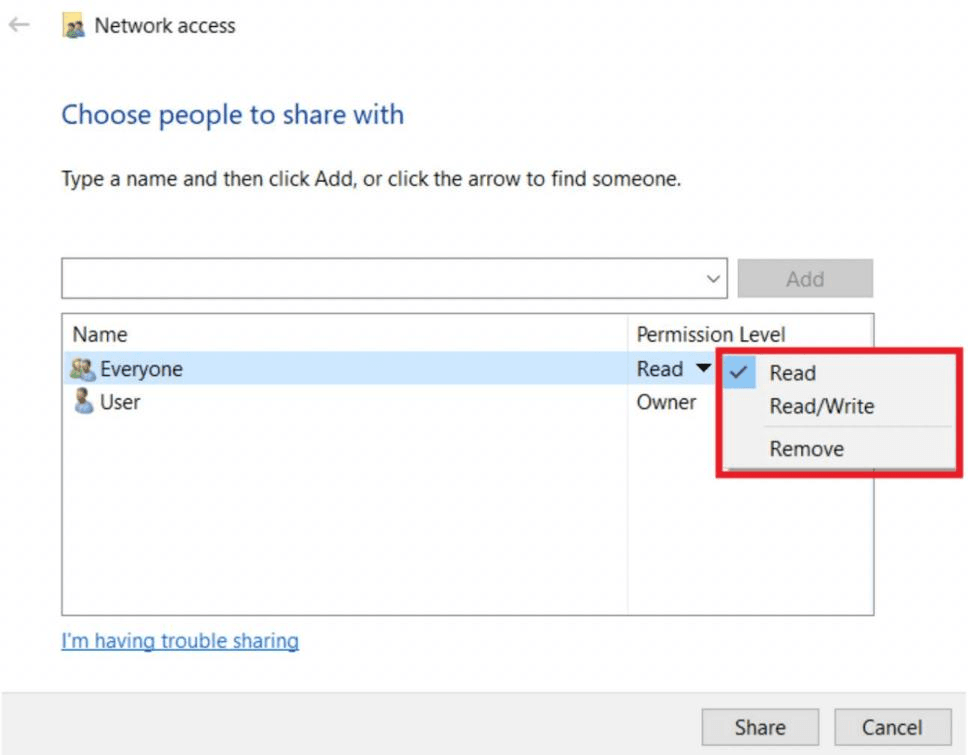
Step 5. In the right Permission level section, choose the type of permission you want other users to have.
- Read: users can view and open the sharing files.
- Read/Write: users are allowed to view, open, modify and delete the sharing files.
Step 6. Remember the network path for the folder that other users will use to access the shared files over the network. Afterward, click Done.
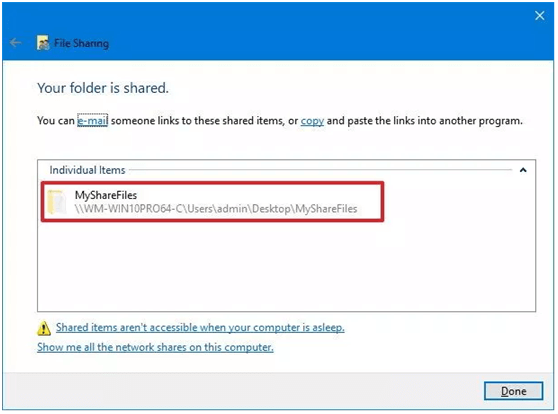
Step 7. Wait for the sharing progress to be completed. Then click Close.
✎Tip:
Make sure to remember the IP address of your source computer. If you're unsure of your IP address, you can find it in Settings > Network & Internet > Wi-Fi or Ethernet, where the necessary information is displayed.
Stage 2. On your target computer
After configuring the file share on the source computer, you can utilize the Robocopy command-line tool to copy files to the destination computer. To quick transfer files please follow the below instructions:
Step 1. Press the Windows key + X. From the list, choose Command Prompt (Admin), and then set as the Run as administrator.
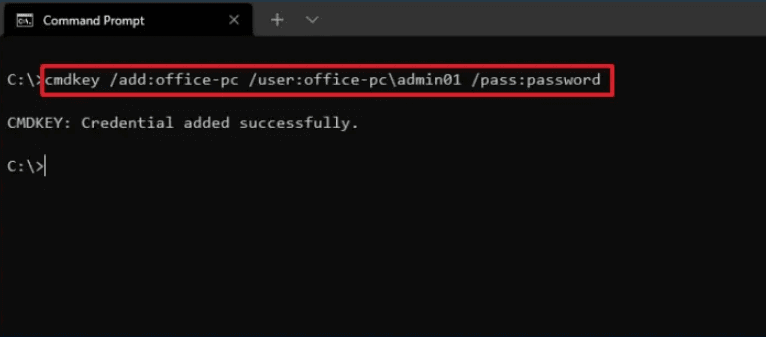
Step 2. Type the following command to add a network user and password to Windows Server, and then press Enter:
mdkey/add:COMPUTER-OR-DOMAIN/user:COMPUTER-OR-DOMAIN\USERNAME/pass:PASSWORD
In the command, replace COMPUTER-OR-DOMAIN with the target computer, IP address, or domain, COMPUTER-OR-DOMAIN\USERNAME with the target device and user name, and PASSWORD with the account password.
Step 3. Type the below Robocopy command to copy the file over the network and press Enter.
robocopy \\source-device-ip\path\to\sharefolder C:\destination-device\path\to\storefiles /E /Z /ZB /R:5 /W:5 /TBD /NP /V /MT:16 Copy code/compression
Here's an example:
robocopy\\10.1.4.181\Users\USER\OneDrive\Desktop\MyShareFiles C:\Users\USER\Documents /E /Z /ZB /R:5 /W:5 /TBD /NP /V /MT:16 /compress

✎Note: In the above command, make sure to change the source and destination paths using your configuration.
Easier alternative to sync files to Server
Now you have a clear mind to transfer files via Robocopy Windows Server 2019. However, some reported that they find its complex to implement complex command prompts when creating sync jobs and functions limited as well. If you are looking for an easier sync alternative, I would recommend AOMEI Backupper to you.
AOMEI Backupper Server is a comprehensive software equipped with features like backup and restore, clone, and sync. It’s Basic Sync, enabling you to sync folders to various destinations like external hard drives, NAS, and USB flash drives. Unlike creating image files, Basic Sync works similar to Windows' "copy" feature. After syncing, you can view the content anytime.
✤Flexible sync locations: it performs one-way sync between various locations. For example, you can sync a laptop and a desktop, sync files to external hard drive, or sync local folders to OneDrive/Google Drives, etc.
✤Automatic sync: its Schedule Sync feature helps you sync files regularly to save you from tedious work.
✤Background sync: it is able to copy open or running files. You don’t need to close other running applications to launch the sync process.
Now download AOMEI Backupper Server and follow the instructions below to transfer files to Windows Server automatically:
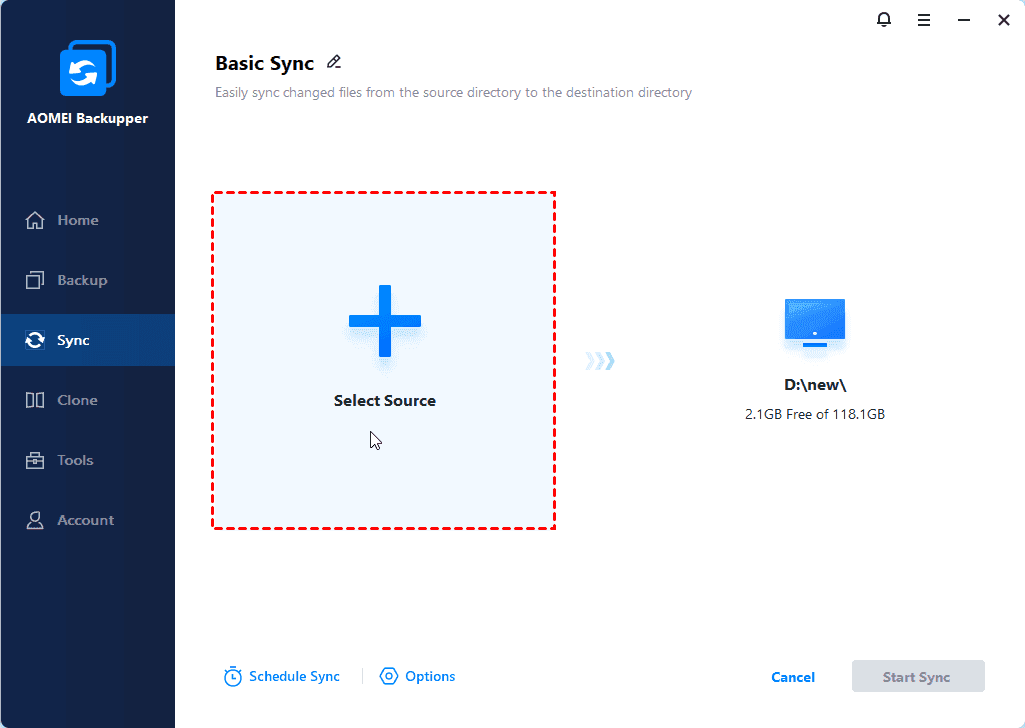
Step 1. Launch AOMEI Backupper and select Basic Sync under the Sync tab.

⚠️Note: You can also use other sync modes:
Real-Time Sync: It allows you to sync files and their changes immediately when detected. This is very useful if you need to modify your files frequently.
Mirror Sync: It ensures the destination directory mirrors the source directory, copying over any newly added or modified files. Any changes in the destination path will be overwritten or deleted to maintain synchronization.
Two-Way Sync: It will sync files and their changes in the source directory to the destination, and vice versa.
Step 2. You can modify the task name to differentiate it from other sync tasks. Click Add Folder to select the folder you want to sync. To add more folders, click the plus icon.
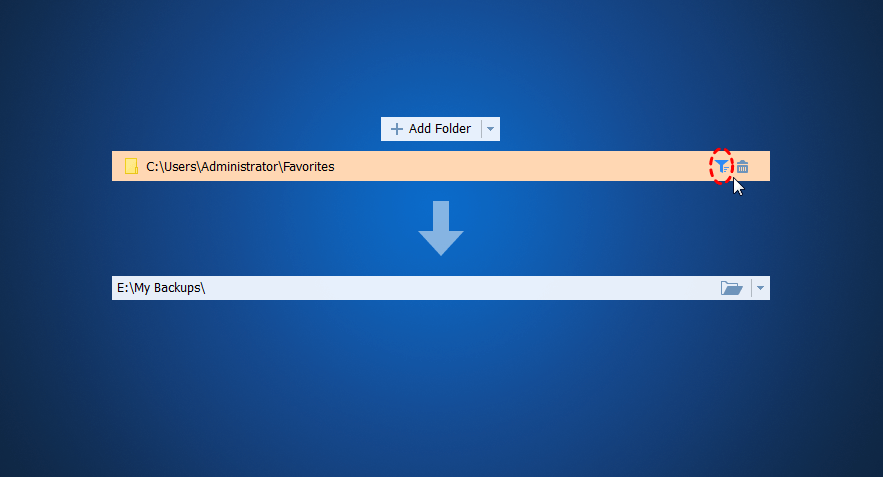
Tip: If you need to filter files after adding folders, click the funnel icon to open Filter Settings. Here, you can exclude or include specific file extensions you want to sync, optimizing sync time and storage space.
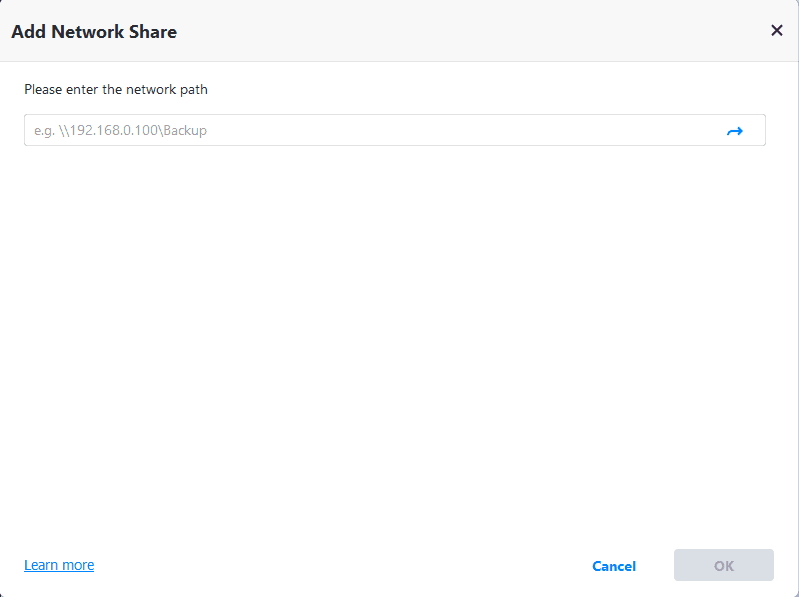
Step 3. Select Expand the drop-down menu of the second bar > select Add Share or NAS Devices. Then, type the target computer’s network path and select the shared folder you made before in the network location.
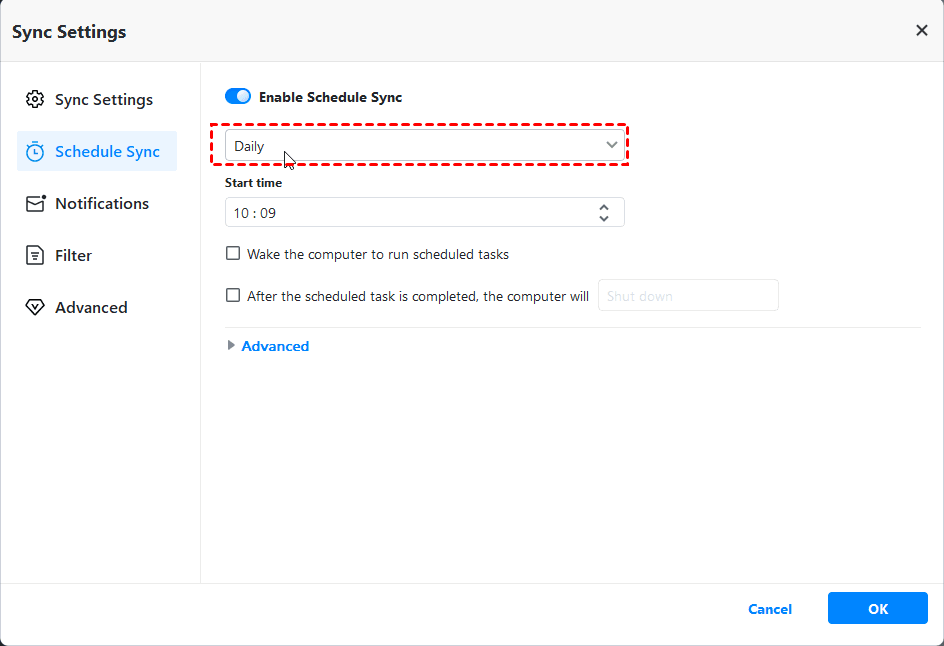
Step 4. (Optional) Click Schedule Sync to set a schedule for your sync task. You can select daily, weekly, monthly, event triggers or USB plug in based on your need.
Step 5. Finally, click Start Sync to begin the process.
🧡 Bonus tip:
►When you run the Basic Sync task again, the data added and changed in the source directory is synchronized to the target. If you need to delete files from the destination location when deleting them from the source folder, tick the Sync the deletions in the source directory to destination option under Options General.
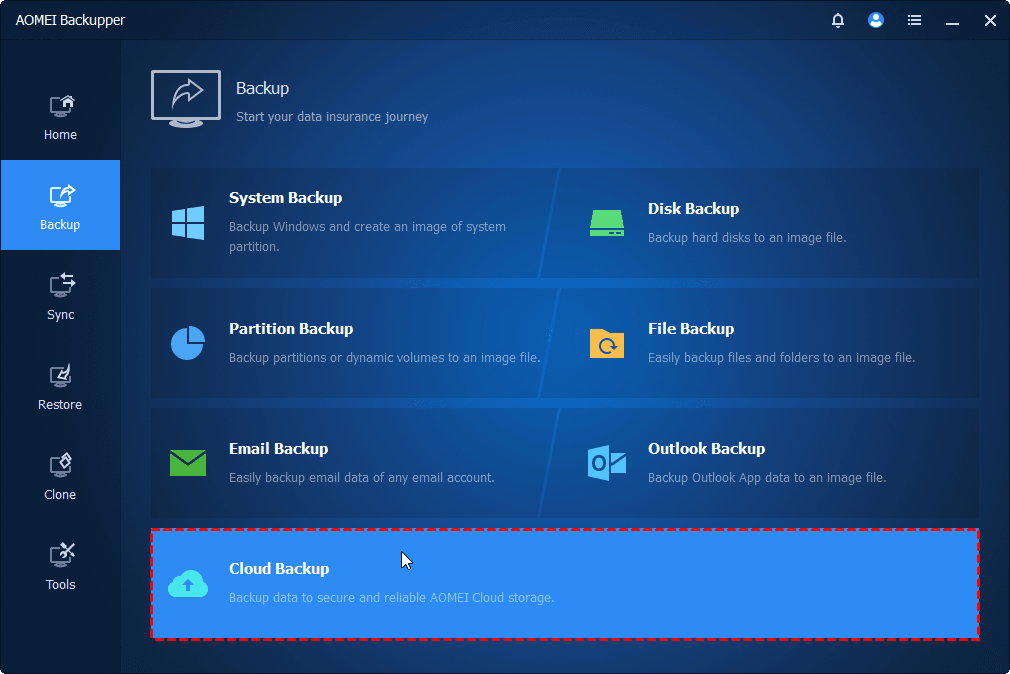
►Backup server files to AOMEI Cloud
As cloud storage is becoming more and more popular, AOMEI offers users its own cloud - AOMEI Cloud. After you sign up for an AOMEI account, you can use 1TB of storage for free within 15 days.
To sum up
This guide covers the full guide on Windows Server 2019 Robocopy for file copying and provides an overview of Robocopy. It also recommends AOMEI Backupper Server, one easier alternative to transfer files over network.
It is famous for its powerful functions and user-friendly interface and operations. It also allows users to automatically sync local folders to Google Drive with ease. Don’t hesitate to try it now!

