[Ultimate Guide] How to Run Sysprep in Windows Server 2022
Running Sysprep on Server 2022 is necessary to generalize the Windows image before deploying to multiple PCs. On this page, you will learn how to run Sysprep in Windows Server 2022 and the best free image deployment software.
By Jonna Updated on January 2, 2024
What is Sysprep in Server 2022?
Deploying a Windows Server 2022 usually involves creating a system image for Server 2022 and then deploying the image to other computers. So what does Sysprep do during the process?
Sysprep (System Preparation Tool) is a utility in Microsoft Windows operating systems that can be used to prepare a Windows installation for imaging and deploying to multiple devices. Since each Windows system, including Server 2022, includes security identifiers (SIDs) that must be unique from one computer to the next, cloning Microsoft Windows without first running Sysprep would be problematic.
Using Sysprep in Server 2022 helps you to generalize Windows by removing the security identifiers and other computer-specific information first before deploying a Windows installation to new PCs.
How to Generalize Windows Server 2022 using Sysprep
You can follow the detailed guide below to learn how to use Sysprep in Windows Server 2022 for computer-specific information (SID, GUID, etc.) removal and system image generalization.
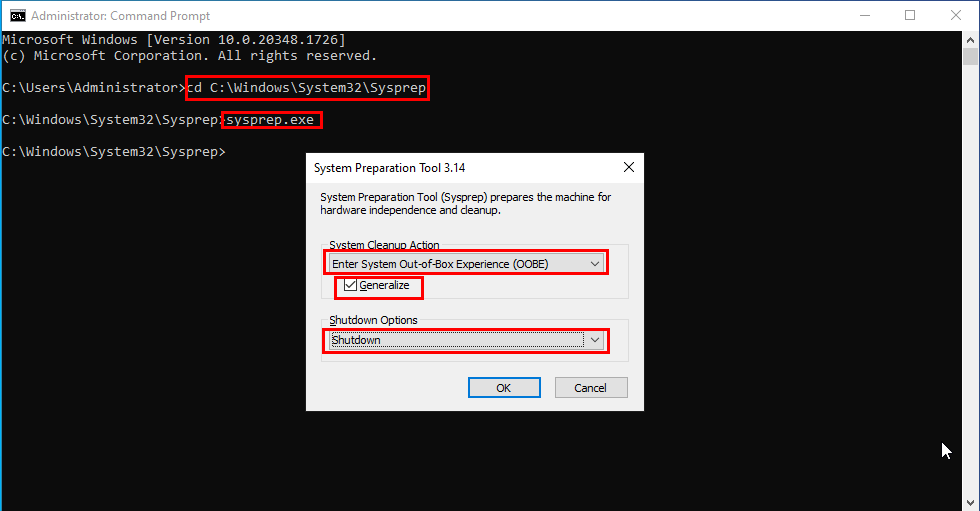
Step 1. Run the Command Prompt as an Administrator. Then, access the Sysprep tool and run it by typing the following commands one by one:
- cd C:\Windows\System32\Sysprep
- sysprep.exe
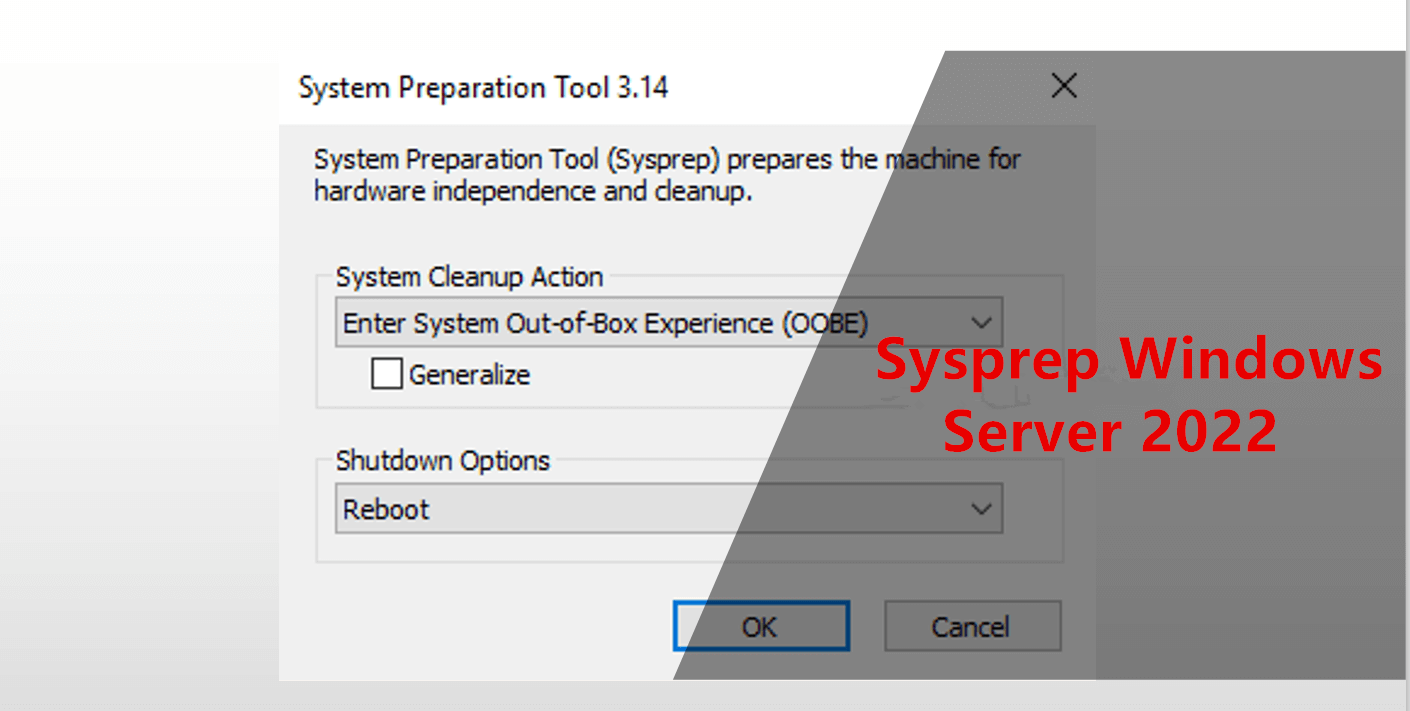
Step 2. On the fly-out System Preparation Tool window, choose Enter System Out-of-Box Experience (OOBE) and tick the box next to Generalize.
Step 3. Then, choose Shutdown in the Shutdown Options menu and click OK to begin the Sysprep process.
- Enter System Out-of-Box Experience (OOBE) means to prepare the server as if it is powered on for the first time.
- The Generalize option aims to remove SID information from the system image.
- The Shutdown option will shut down the server when Sysprep completes.
- You can also run Sysprep in command line mode by replacing the sysprep.exe command with sysprep /h.
Step 4. After generalizing a Windows Server 2022 machine using Sysprep, you can deploy the image to multiple computers with any available technique.
Frequently Asked Questions about Sysprep Server 2022
While generalizing Server 2022 using Sysprep, there may be a lot of questions that come into your mind. Here are some frequently asked questions that may be helpful to you.
#1. Is Sysprep still necessary?
Sysprep should be a part of the deployment process, so every new machine gets the system prepared after the image is applied. Without it, you may encounter issues with the proper functioning of certain applications.
#2. How many times can you Sysprep a server?
Sysprep can only be employed up to eight times for a specific Windows image. Sysprep can be employed up to eight times for a specific Windows image.
#3. What are the disadvantages of Sysprep?
Although it is simple to run Sysprep in Server 2022, it still has some advantages, like:
- Sysprep is only for generalizing system image, you still need a tool to capture and deploy the system image.
- Sysprep has a limit on the number of times a single Windows image can be used.
- There are times that Sysprep Generalize is not working, causing the server image deployment failure.
Best Software to Deploy Server 2022 to Multiple Computers
AOMEI Image Deploy(AID), the best image deployment software and network cloning software, offers you the easiest way to clone Windows image to multiple computers over network, including Windows Server 2022/2019/2016 (R2)/2012 (R2)/2011/2008 (R2)/2003 and Windows 11/10/8.1/8/7/Vista/XP.
There are two methods for image deployment using the free image deployment software - AOMEI Image Deploy:
▶Method 1: Download and use AOMEI Image Deploy and the server backup software - AOMEI Backupper Server. This method involves operating on two separate pieces of software.
▶Method 2: Opt for the all-in-one solution by using AOMEI Backupper Technician Plus. With this option, you can complete both system backup and image deployment without the need to download the above two separate pieces of software. This comprehensive solution also offers various powerful functions, including backup, restore, clone, bootable disk creation, etc., providing comprehensive protection for your computer.
- Note: The standalone version of AOMEI Image Deploy exclusively supports BIOS boot. However, the integrated AOMEI Image Deploy within AOMEI Backupper Technician Plus extends its support to both BIOS and UEFI boot options.
How to Deploy Server 2022 to Multiple Computers
Here we will show you how to deploy Windows Server 2022 to multiple computers using the AOMEI Backupper Server and free AOMEI Image Deploy.
Preparations before deployment:
- Ensure that the server computer and all client computers are in the same network segment.
- Confirm that all target computers support PXE boot.
- Maintain consistent disk sequence numbers for system installation on client computers. Remove additional disks, leaving only the destination disk for image deployment.
Step 1. Create a Windows Server bootable disk
Download, install and launch AOMEI Backupper Server, click Tools -> Create Bootable Media, select Bootable Disc Type as Windows PE and boot device as USB, CD/DVD, or ISO file, and click Next.

Step 2. Create a system backup without SID
Boot into WinPE from the bootable disk. Once AOMEI Backupper loads up, tap on Backup > System Backup to create a system image without SID (Generalize Windows Server 2022 with Sysprep beforehand). Specify a network-shared folder or NAS device to save the system image.

Step 3. Create a Windows PE or bootable ISO file
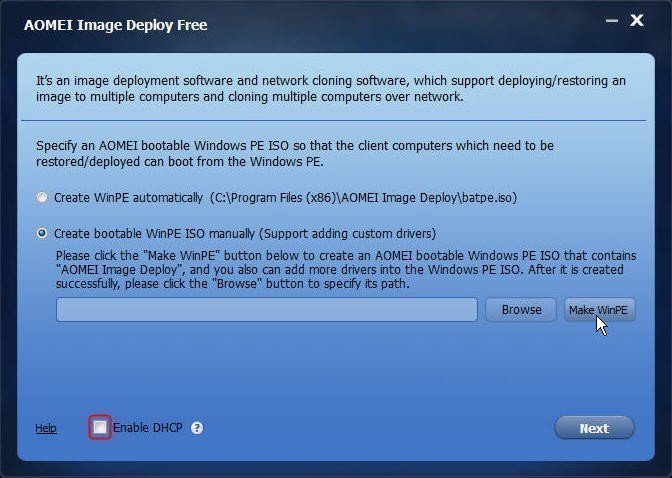
Download, install, and launch AOMEI Image Deploy free edition on the server computer within the same LAN. Click on Create WinPE automatically to create a bootable ISO file and tick Enable DHCP for network booting on client computers. Then, click Next.
- Notes:
- If there are incompatible drivers with client computers' hardware and the WinPE created automatically cannot start up the target computers, choose the "Create bootable WinPE ISO manually" option. This allows the addition of compatible drivers to WinPE.
- If a router with enabled DHCP is in use, and IP addresses are assigned for computers, it is advisable to tick "Enable DHCP" to ensure automatic network connection for client computers.
Step 4. Boot all the client computes from PXE or network boot
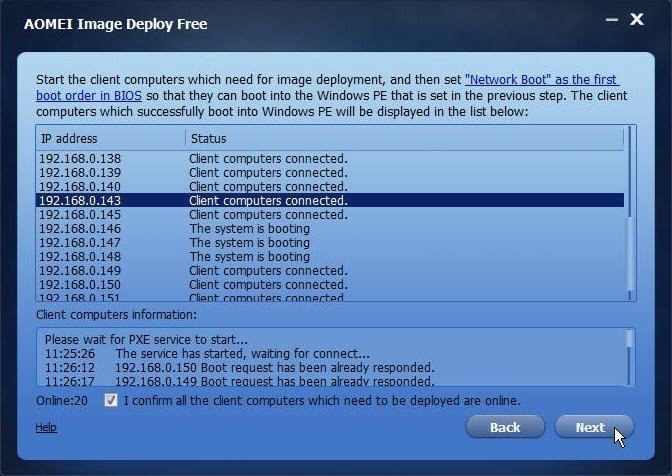
After AOMEI Image Deploy displays "The service has started, waiting for connect...", start all client computers, set PXE boot or network boot as the first boot option in the BIOS settings, and then boot from it. The client computers will display as follows.
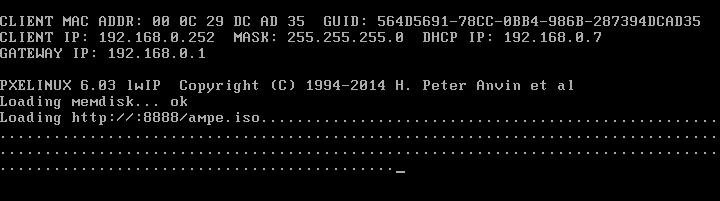
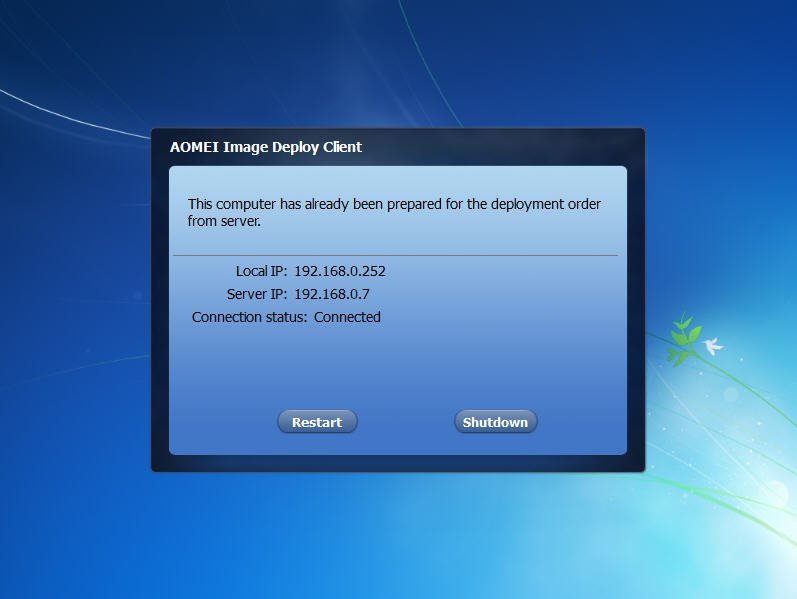
Simultaneously, on the server computer, you will see the IP address and Status for all connected client computers. Then, tick "I confirm all the client computers which need to be deployed are online" and click Next.
Step 5. Specify backup image and configure deployment settings
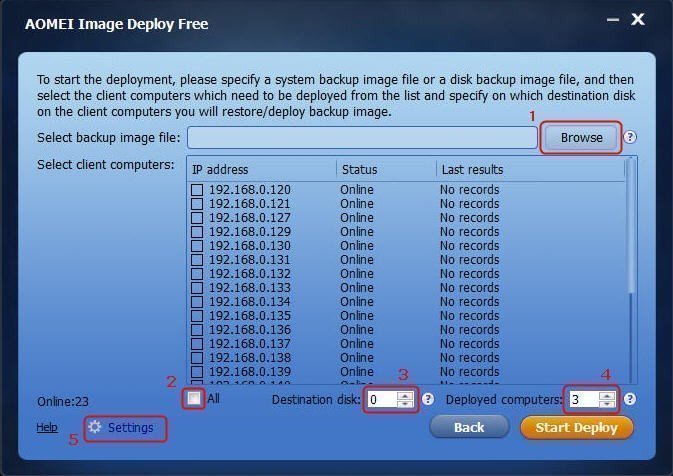
1. In AOMEI Image Deploy, click Browse > Add Share or NAS Devices to locate the backup image you want to deploy.
2. Tick All to select all the online client computers or choose specific client computers for image deployment.
3. Set the number of Destination disk and Deployed computers at a time. Please remember that all the destination disk numbers need to be the same. Typically, if there is only one disk on the client computers, the Destination disk number is 0.
4. Finally, click Start Deploy to deploy the system backup image to multiple computers. Then, you can view the image deployment progress of each client computer and choose to shut down or restart the client computers after OS deployment is completed.
- Note: If you don't want to set the name and IP address of client computers one by one after deployment, you could consider presetting them with the Settings option. Also, you can enable "Universal Restore" if the client computers have different hardware. The IP address preset and Universal Restore features are accessible on the AOMEI Image Deploy Technician.
Conclusion
That's all about how to run Sysprep in Server 2022 for generalizing a Windows installation before deploying to multiple devices. What’s more, there is a free image deployment tool that makes the system image deployment process easy and safe. It has two versions - Free or Technician edition. The biggest difference between them is that the free edition does not support deploying to unlimited servers and restoring system to computers with dissimilar hardware.
Or, you can directly try AOMEI Backupper Technician Plus, which is embedded with the AOMEI Image Deploy tool. What’s more, you can create a portable version of AOMEI Backupper with it, so that you can run the backup, restore, and clone operations on any computer.

