Windows Server 2019 DFS Replication | Setup and Alternative
DFS Replication is a role service that enables you to replicate folders between multiple servers. How to set up and what’s the alternative? Read then.
By Maggie Updated on May 22, 2023
✍Quick Navigations:
What is DFS Replication on Windows Server 2019?
DFS Replication stands for Distributed File System Replication, is a role service in Windows Server that enable Server users to effectively replicate folders across multiple servers and sites. DFS Replication is an efficient, multiple-master Replication engine that you can use to keep folders synchronized between servers across limited bandwidth network connections so that you can get access to the latest updated data at any time.
Notably, keeping data conformity, Windows Server 2019 DFS Replication takes advantage of incremental Replication technology and uses a compression algorithm known as remote differential compression, or called RDC, which detects changes to the date in a file and enables DFS Replication to replicate only the changed file or file blocks instead of the entire file, giving it an advantage in terms of bandwidth utilization and data transfer speed.
However, DFS Windows Server 2019 is not set up by default. You need to add and configure it manually. How to setup DFS Replication Server 2019? The next section will give you answers.
How to install and configure DFS Replication Server 2019
Now we know DFS Replication Windows Server 2019 is efficient but not set up by default. Before performing file duplication and synchronization, you need to install and configure it beforehand.
Part 1. Install DFS Replication
Step 1. Open Server Manager and click Role on the left panel. Then tag on Add Roles on the right panel. Don’t forget to click Next.
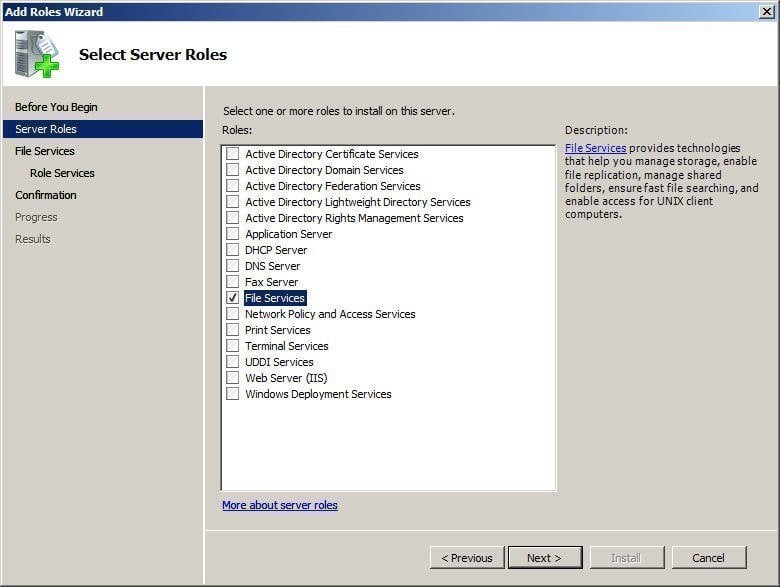
Step 2. Tick File Services in the Select Service Roles page and click Next.
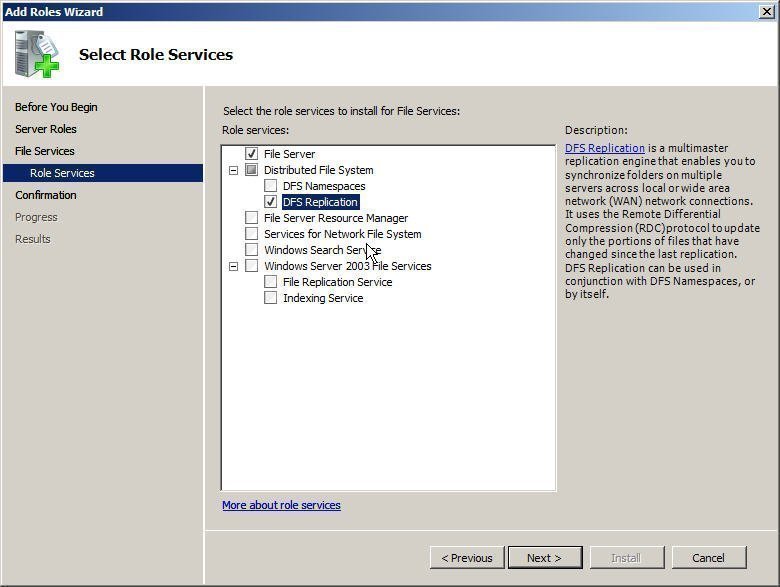
Step 3. Select DFS Replication under the Role Service and click Next.
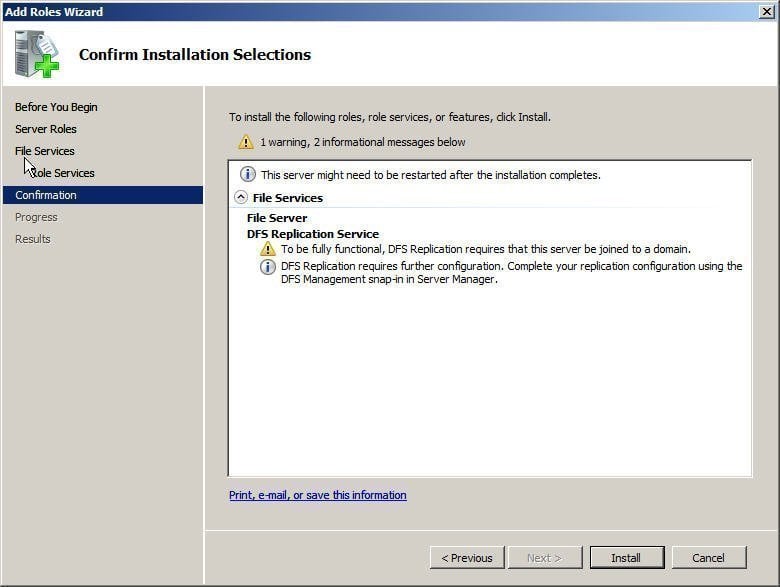
Step 4. Confirm your settings and click Install to ensure all the features you chose.
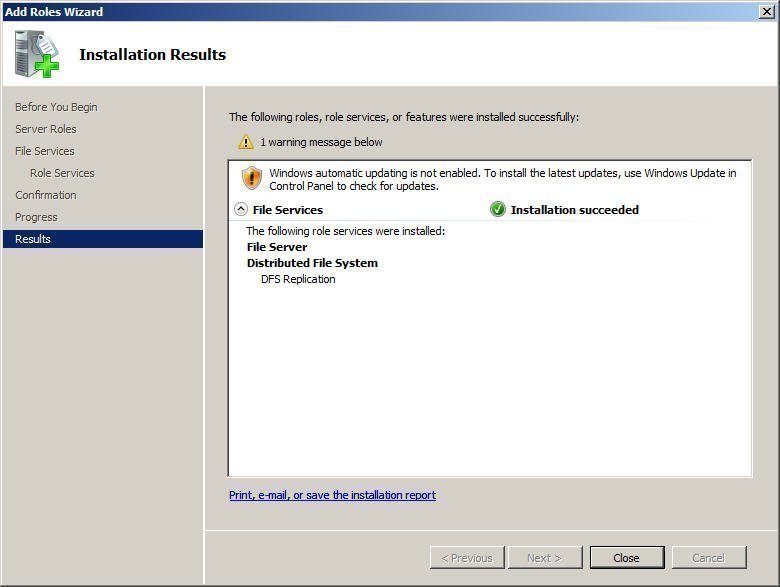
Step 5. The installation is going on for a while. Click Close when the words “Installation succeeded” are displayed.
Part 2. Configure DFS Replication
After installing DFS Replication, you need to set the configuration before it can run smoothly.
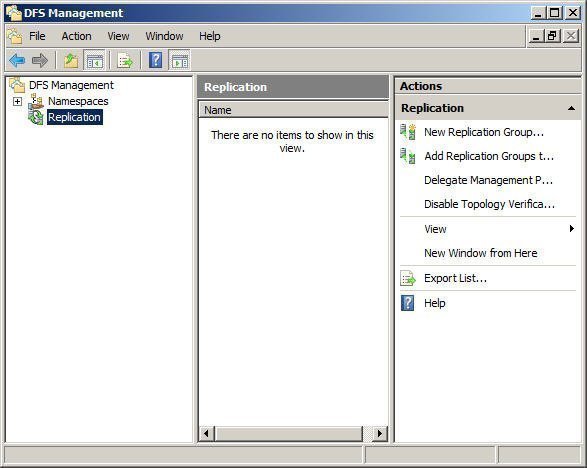
Step 1. Open Administrative tools and then select DFS management subsequently.
Step 2. Right-click Replication and choose New Replication Group… in the DFS Management console.
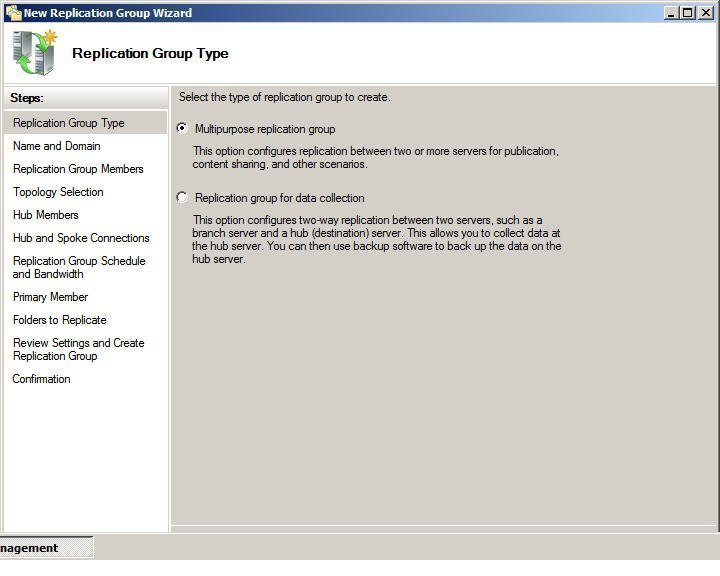
Step 3. Choose Replication Group type.
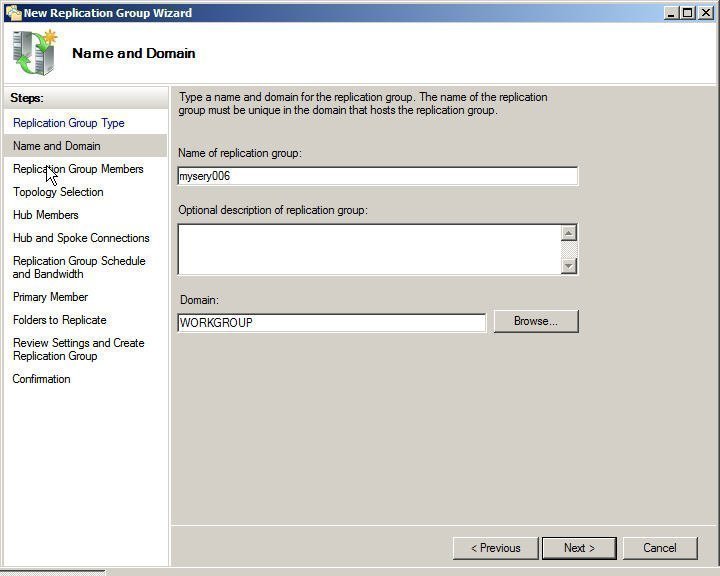
Step 4. Set name and domain for Replication group.
Step 5. Click Add and look up the Servers in ACTIVE Directory, then select the servers you want to share files or folders and hit Next.
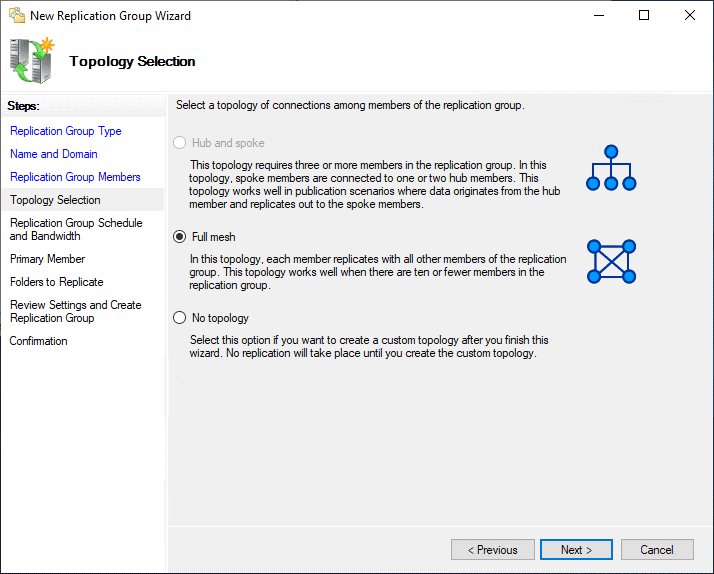
Step 6. On the Topology Selection console, select the Full mesh topology and click Next.
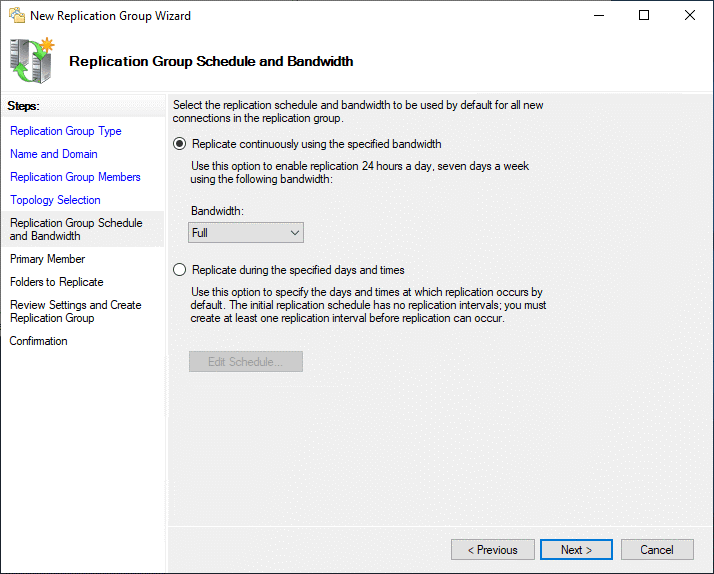
Step 7. Choose Full bandwidth to keep the files in sync all the time.
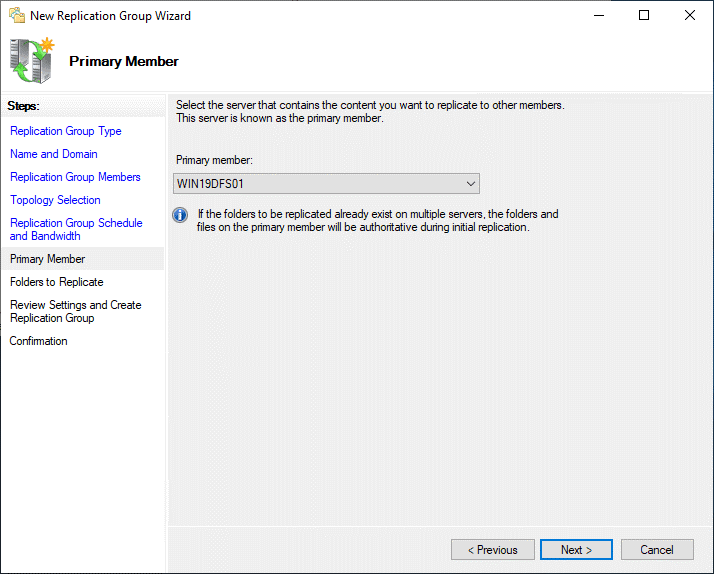
Step 8. Set a primary member on which we have stored the data initially. Click on Next.
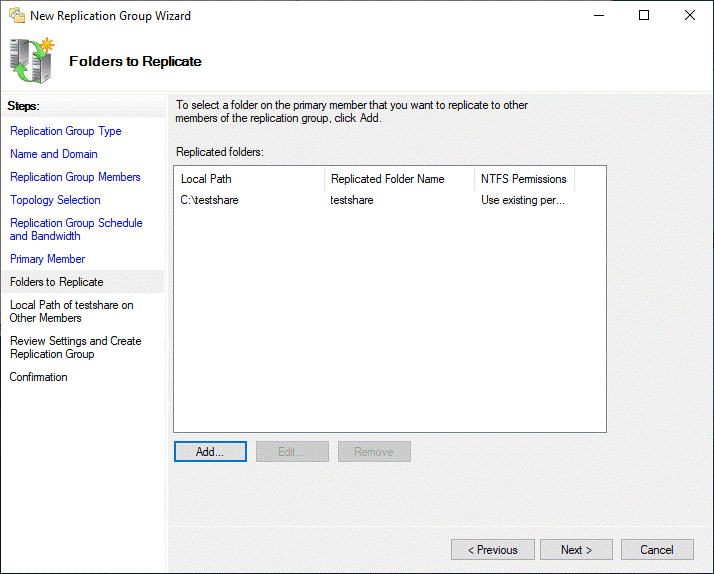
Step 9. And then choose files or folders you want to sync. Click Add… button to add these folders.
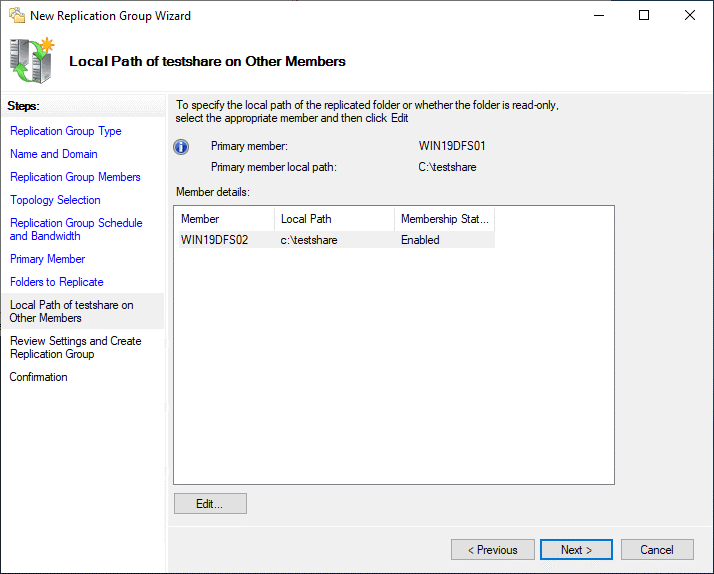
Step 10. Choose the local path on the Replication members where the replicated folder will be replicated.
Step 11. Review all of your settings and click Create to start the initial Replication.
Job done. DFS Server 2019 has been set up successfully now.
The best replacement for DFS Replication----AOMEI Backupper
DFS Replication helps you sync files between Windows Servers. However, its disadvantages are obvious. For example, it only supports NTFS file system which means you cannot sync files with other file systems like FAT or ReFS. Fortunately, there is professional and comprehensive third-party software like AOMEI Backupper Server to help you synchronize everything on Windows Server 2019 effortlessly.
✔It offers 4 sync solutions: Basic Sync, Real-time Sync, Mirror Sync, and Two-Way Sync. You can choose any of them to sync your computer and sync USB with Google Drive easily.
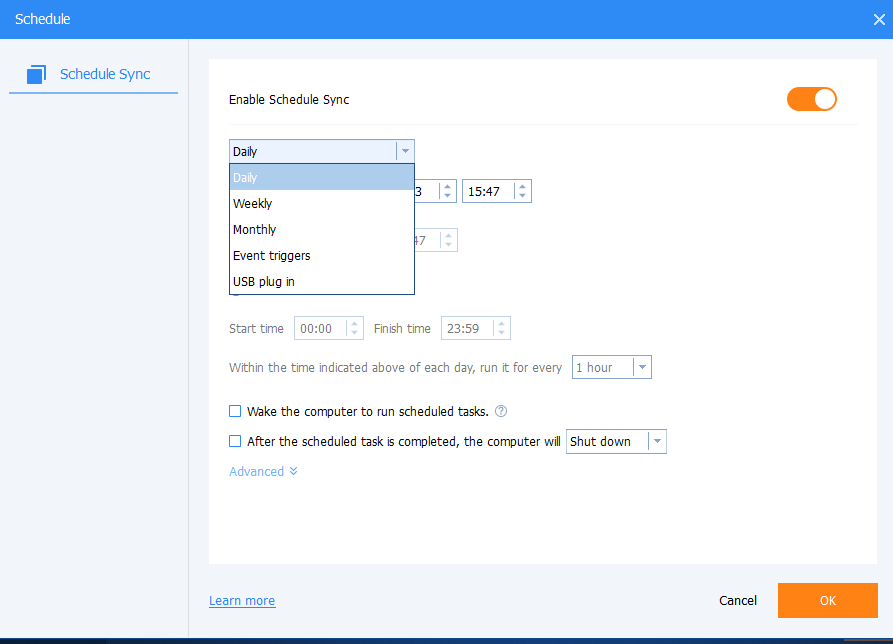
✔Schedule Sync: You can customize your sync needs, and then it will automatically perform data sync in daily/weekly/monthly/event trigger/USB plug-in mode.
✔For compatibility: it can run smoothly on all file systems, such as NTFS, FAT32, FAT, ReFS, etc. And all the Windows systems, including Windows Server 2003, 2008, 2011, 2012, 2016, 2019, 2022, SBS (including the R2 version), and Windows 11/10/8/7/XP/Vista.
Now download AOMEI Backupper and try to sync your Server device.
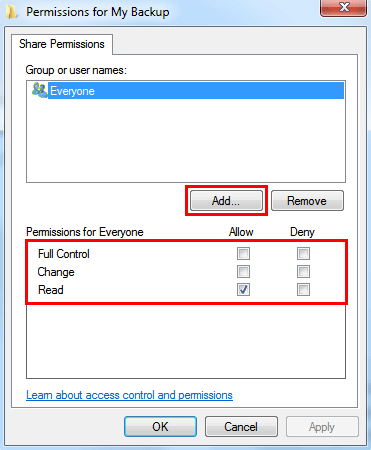
Step 1. Create a shared folder as a middle-man and set up permission between Windows Servers.
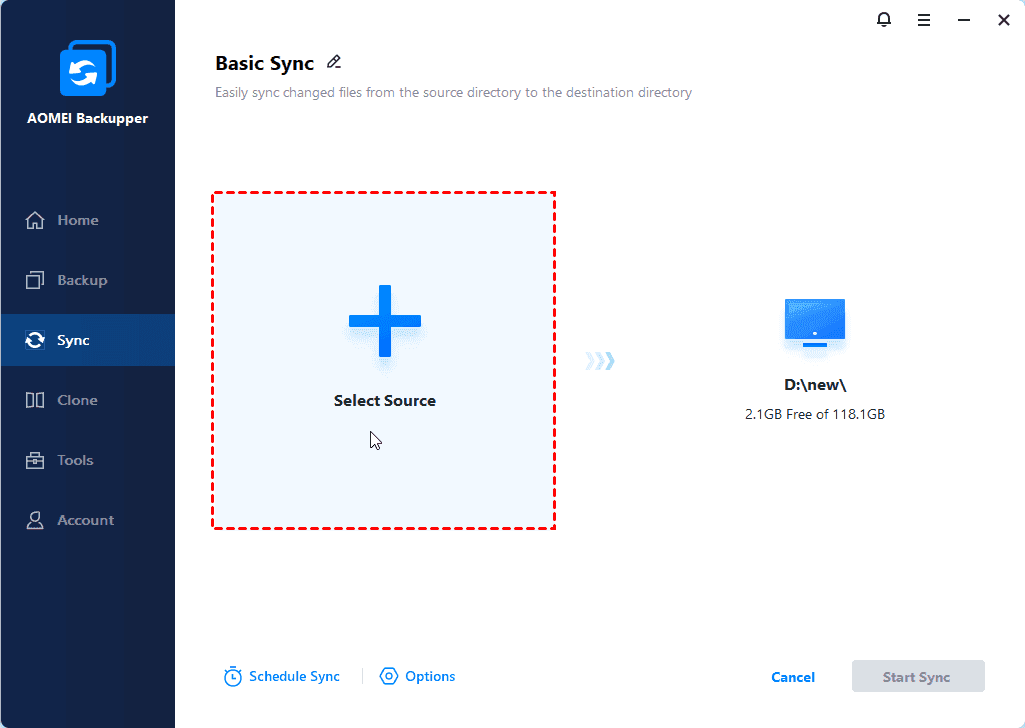
Step 2. Launch AOMEI Backupper and select Basic Sync after choose Sync tab on the left page.

Step 3. Click Add Folders to select files you want to sync.
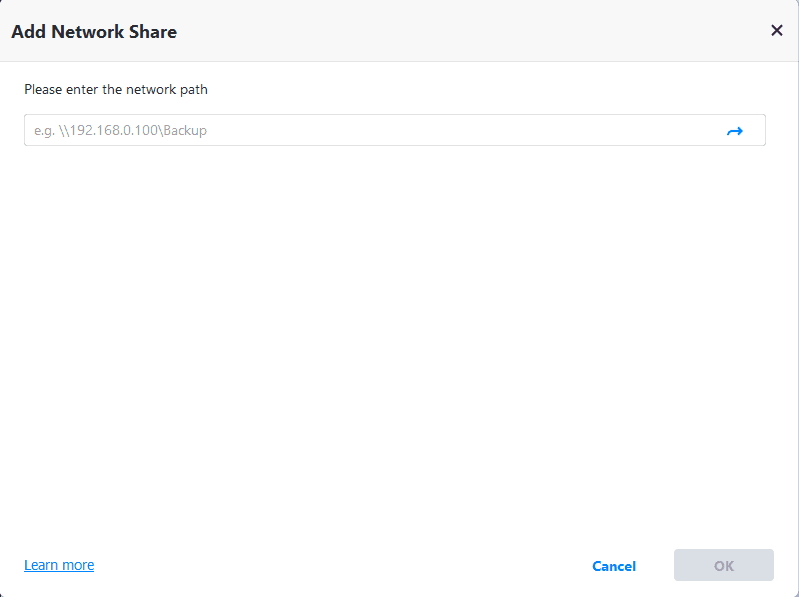
Step 4. Expand the drop-down menu of the second bar and select Add Share or NAS Devices.
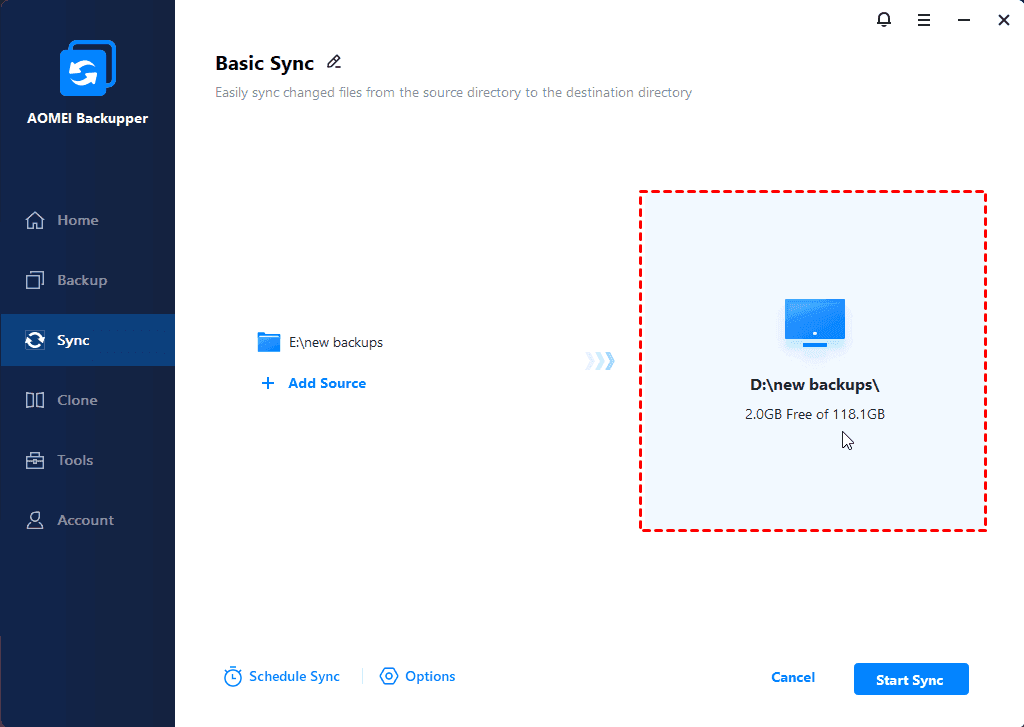
And then type network path and select the shared folder you make before in network location.
Step 5. You can also set automatic sync by clicking Schedule Sync tab. After customizing your need, click Start Sync to finish this sync task.
Conclusion
Windows Server 2019 DFS Replication is a role service that enables you to replicate folders between multiple servers. It’s a built-in tool of Windows Server but you need to install and configure it carefully. Now we offered an easier and more powerful software----AOMEI Backupper to replace it all around. This software not only offers remarkable sync functions but also is the top backup and best external hard drive cloning software in the data protection software lists.

