Save Outlook 365 Emails to Hard Drive (Top 2 Ways)
You can learn two top ways to save Outlook 365 emails to hard drive, including exporting manually and using a professional backup software to backup.
By Miya Updated on August 31, 2023
Why Need to Save Outlook 365 Emails to Hard Drive?
An increasing number of users are opting to save Outlook 365 emails to hard drive due to its effectiveness in safeguarding email data. This method proves invaluable in scenarios where computer crashes or accidental email deletion could lead to irreversible data loss. There are several compelling reasons why individuals choose to store email backups on an external hard drive:
- Saves space on your computer's internal hard drive: By utilizing an external hard drive, you can free up valuable space on your computer's primary storage, ensuring optimal performance and avoiding clutter.
- Provides protection against data loss: Backing up emails to an external hard drive offers a robust shield against potential data loss resulting from software crashes or virus attacks. It acts as an additional layer of security, assuring the preservation of your important communications.
- Enables convenient offline access: Storing emails on an external hard drive grants the convenience of offline viewing. Whether you're traveling, experiencing internet connectivity issues, or simply prefer offline access, having your emails readily available on an external hard drive ensures uninterrupted accessibility.
- Affordability and user-friendliness: External hard drives are relatively inexpensive and easy to use. They offer a cost-effective solution for preserving email data, with simple plug-and-play functionality that requires minimal technical expertise.
How to Save Outlook 365 Emails to Hard Drive with Top 2 Ways
Once you grasp the underlying rationale, proceed with reading the article to explore two methods for backing up Outlook emails to an external hard drive. The initial approach involves utilizing the Import/Export Wizard, while the second, more straightforward method entails employing the professional Outlook backup software, AOMEI Backupper Professional, which streamlines the process for you.
Both methods are accompanied by comprehensive graphical tutorials, ensuring clear and detailed instructions to save Outlook emails to hard drive effortlessly.
Way 1. Manual Approach to Save Outlook 365 Emails to Hard Drive
The Import/Export Wizard, an inherent functionality within Outlook, enables the exporting and preservation of Outlook 365 emails in the form of PST files. This tool provides the flexibility to export either all Outlook items or specifically chosen items, catering to individual preferences and requirements.
To initiate the backup process for your Outlook 365 emails using the Import/Export Wizard, adhere to the following steps:
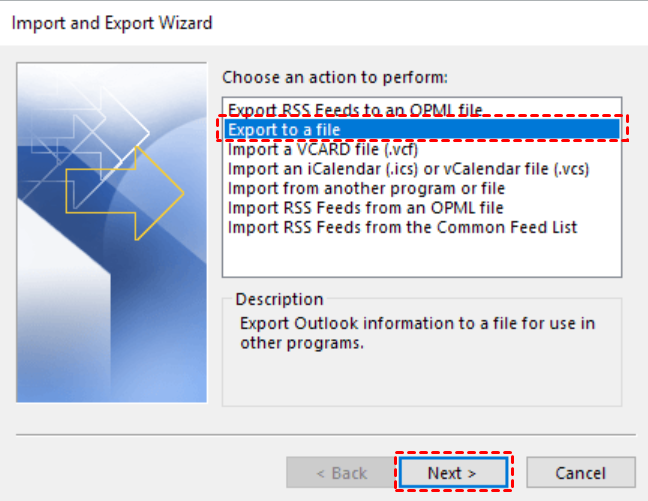
Step 1. Launch Microsoft Outlook and navigate to File > Open & Export > Import/Export.

Step 2. Within the Import and Export Wizard window, select Export to a file and proceed by clicking on the Next button.
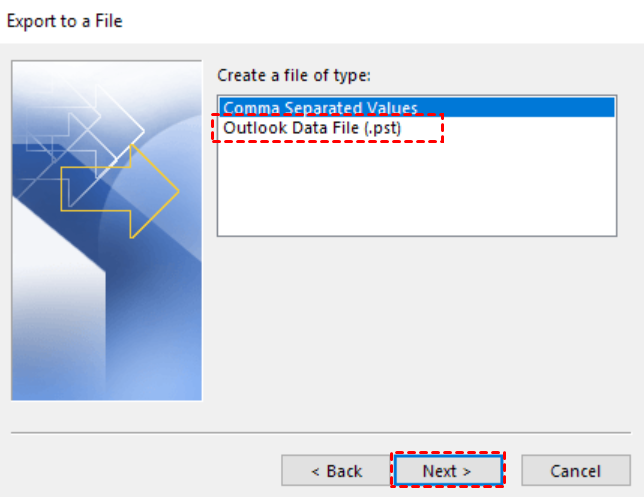
Step 3. Opt for Outlook Data File (.pst) and click on Next to proceed.
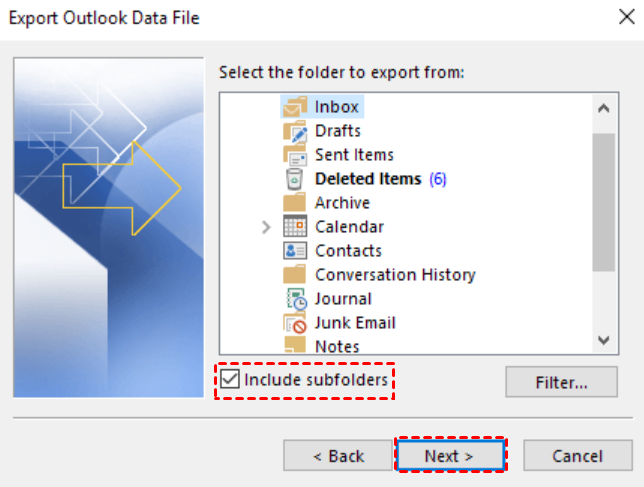
Step 4. Choose the specific emails you wish to back up and proceed by clicking on Next.
Step 5. Click on Browse to designate the connected external drive as the destination storage, and subsequently, click on Finish.
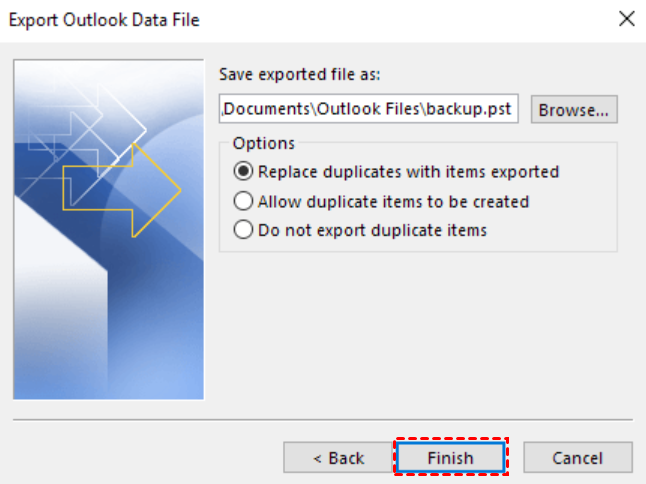
By following the aforementioned instructions, you will effectively back up your Outlook 365 emails to the external hard drive. Once the backup process is complete, ensure to disconnect the external hard drive and store it securely in a safe location for future reference.
✦Limitations:
Complexity: This method can be challenging to understand and execute compared to the automated alternative.
PST format restriction: The exported data will be in PST format, limiting access to your saved emails within the Outlook application only.
Dependency on Internet connection: You can only view emails when you have an active Internet connection, which may restrict accessibility in certain scenarios.
Lengthy process: The manual method involves configuration and additional steps, making it a time-consuming process.
These drawbacks hinder the efficiency and performance of this method, which may not provide a seamless experience for users.
Way 2. Auto Save Outlook 365 Emails to Hard Drive
Instead of relying on Outlook's built-in tools for backing up Outlook 365 to an external hard drive, you have the option to choose a simpler method. One such approach is utilizing professional Outlook backup software- AOMEI Backupper Professional, which saves Outlook emails to hard drive automatically. It offers various advantages, including:
♪Versatile data backup: AOMEI Backupper Professional grants you the ability to back up not only emails but also attachments, calendars, contacts, and other desired data from Outlook to an external hard drive.
♪Multiple target locations: In addition to external hard drives, the software supports backing up Outlook 365 to various destinations such as backup Outlook emails to USB drives, internal and external disks, NAS devices, network locations, SD cards, and cloud services.
♪Scheduled backups: You can create automated backup tasks for Outlook based on your preferences. The software allows you to set up daily, weekly, monthly, event triggers or USB plug in scheduled backup routines.
To begin the process of backing up Outlook 365 using this professional software, simply download and install AOMEI Backupper Professional, and then follow the graphical tutorial provided below. If you are a Windows Server user, you can opt for the AOMEI Backupper Server edition for your specific requirements.
Step 1. Launch Outlook and ensure that you are logged in with the account that contains the messages you wish to back up.
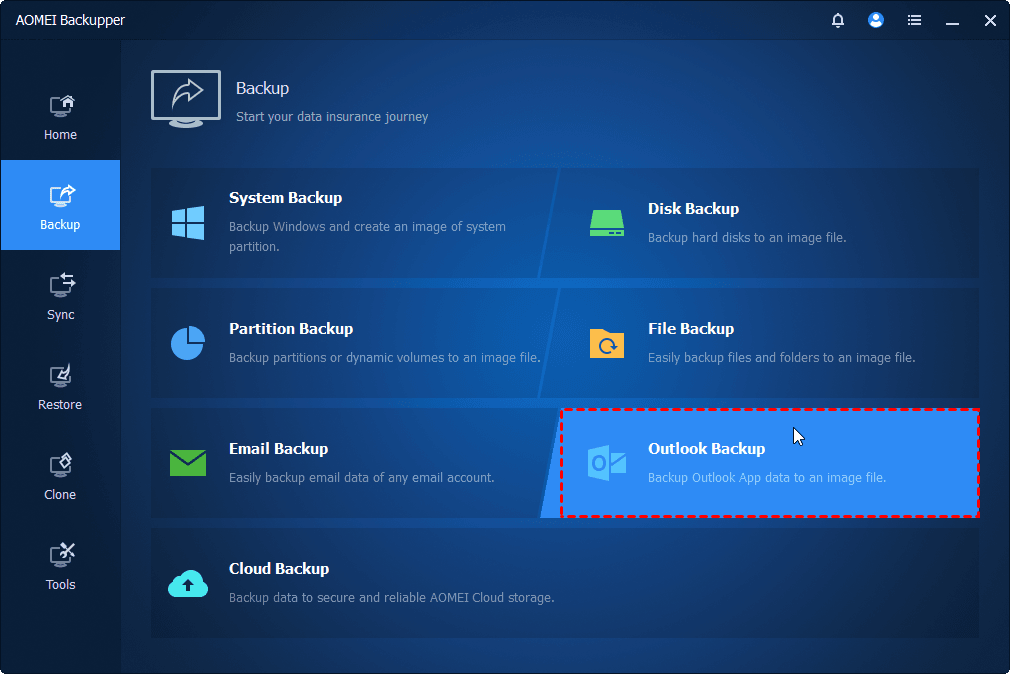
Step 2. Open AOMEI Backupper Professional and navigate to the Backup tab. From there, select Outlook Backup to proceed with the backup process.
Step 3. Select Add Outlook data and choose the account that contains the email messages you wish to back up. Once done, click OK to proceed.
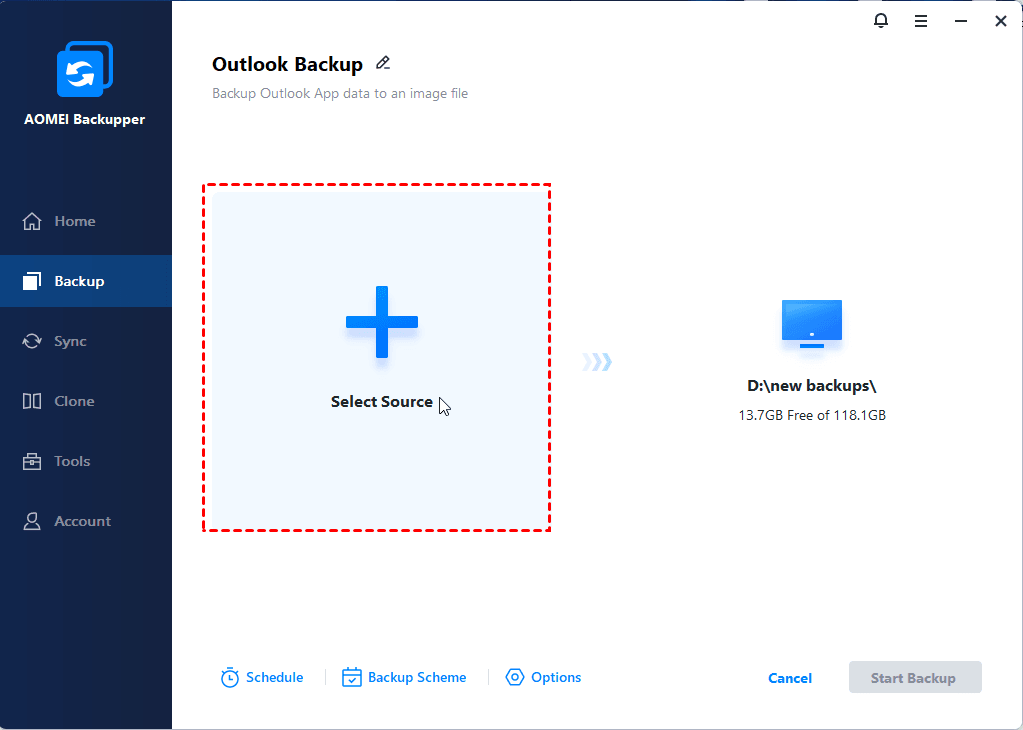
Step 4. Click on the second box to choose a destination, such as a local path, network or NAS location, or a cloud drive, where you want to store your Outlook 365 emails.
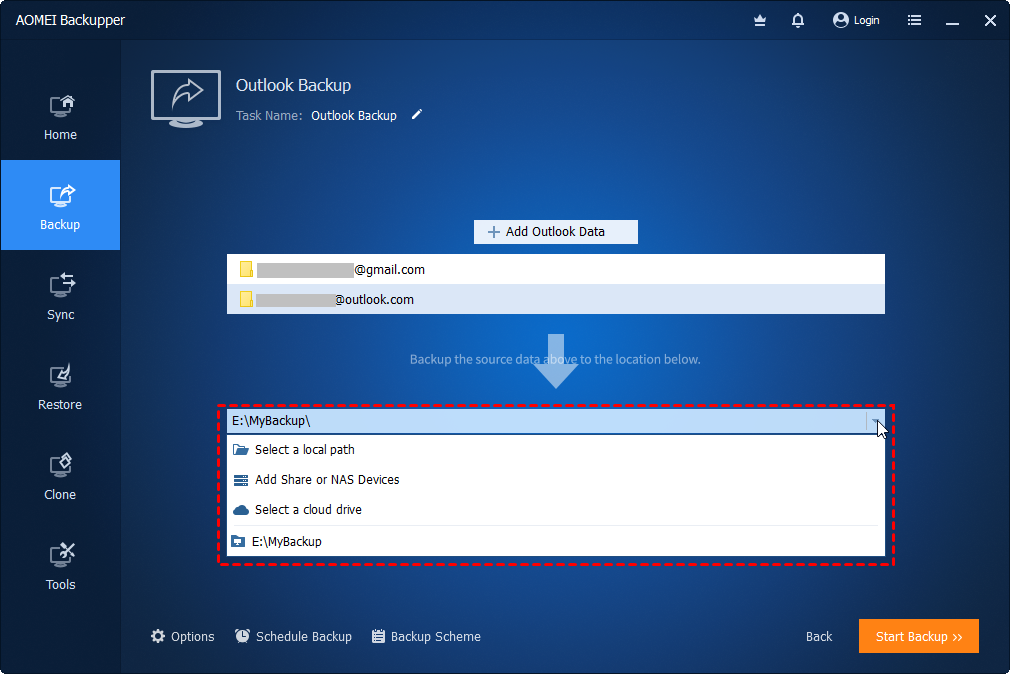
Step 5. Activate the desired backup schedule by enabling options such as Daily, Weekly, Monthly, Event triggers, or USB plug in. Once configured, click on Start Backup to initiate the automatic backup of Outlook 365 emails.

Note:
Backup Scheme: To address the issue of a full backup disk, you can activate automatic backup cleanup methods within the Backup Scheme. This feature allows for the regular deletion of older backup images, ensuring efficient disk utilization.
Summary
This article presents the reasons behind the growing trend of users opting to save Outlook 365 emails to hard drive, along with two effective methods for accomplishing this task. You have the choice of utilizing the built-in function within Outlook or employing professional Outlook backup software like AOMEI Backupper Professional. The latter option is notably easier, as this software automatically backs up Outlook 365 emails based on your specified settings.
Furthermore, with this software, you can also back up attachments, calendars, contacts, and any other data you wish to preserve from Outlook. It offers the flexibility to back up Outlook to multiple locations, allowing you to select different backup methods according to your specific requirements. To explore additional features and ensure comprehensive data security, you can download this software and delve into its functionality.

