
USB Recovery CMD: How to Recover Formatted Files from USB Using CMD?
How to recover formatted files from USB using CMD? This post offers you several efficient ways to recover data from USB.
By Penny / Updated on April 2, 2024
Is it possible to recover data from USB using CMD?
USB was created to standardize the connection peripherals to personal computers, both for communication and power supply. Therefore, the USB is widely used in people’s lives to save data. But have you suffered data loss like the following case?
My files saved on USB are formatted. I know CMD can solve many troubleshooting issues. Can CMD address this problem? If the answer is “Yes”. Thanks for your help in advance.
That’s the truth. CMD makes it possible to recover formatted files from USB. However, it would be an irritating thing for you to resemble command lines. So let’s have a closer look at explicit instructions for USB Recovery CMD.
How to recover formatted files from USB using CMD?
How to recover formatted files from USB using CMD? Windows File Recovery is the first thing that comes to the mind of computer-savvy people. Besides this tool, there’s another efficient software that can recover formatted files within clicks. Please read on.
Recover formatted files with Windows File Recovery
Released in 2020, Windows File Recovery is a command-line utility from the Microsoft Store. Please pay attention that Windows File Recovery only can work with Windows 10 version 2004 and later. Given that there’s no graphical user interface, you have to resemble different command lines for all sorts of file systems and modes.
Although this software lacks GUI (graphical user interface), it has no impact on its functionality. This tool enables you to recover files from USB using CMD with the most suitable mode (Regular, Extensive, Segment, or Signature) below.
|
Parameter / switch |
Description |
Supported mode(s) |
|
/regular |
Regular mode, the standard recovery option for non-corrupted NTFS drives |
Regular |
|
/extensive |
Extensive mode, a thorough recovery option suitable for all file systems |
Extensive |
|
/segment |
Segment mode, recovery option for NTFS drives using file record segments |
Segment |
|
/signature |
Signature mode, recovery option for all file system types using file headers |
Signature |
You can adjust this basic format command winfr source-drive: destination-drive: [/mode] [/switches] based on your need, then input your desired command lines in the command prompt window.
- Notes:✎...
- Please stop using your computer as soon as possible. Because any use of the computer might lead to overwriting the free space on your computer.
- The source drive and destination drive must be different. The former drive contains your needed files before formatting, the latter drive is used to save recovered files.
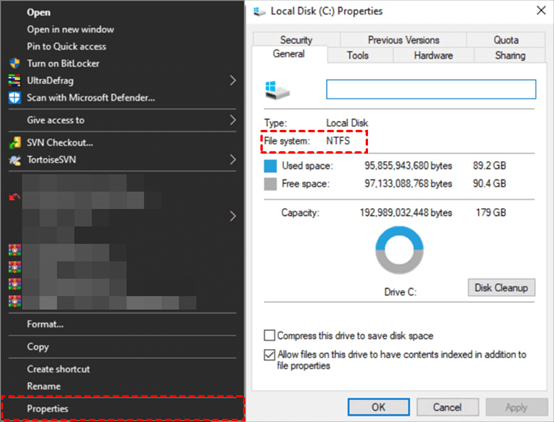
- Check your file systems with these clicks: Click “This PC”, and right-click on the source drive including your files before disk formatting, then click “Properties”.
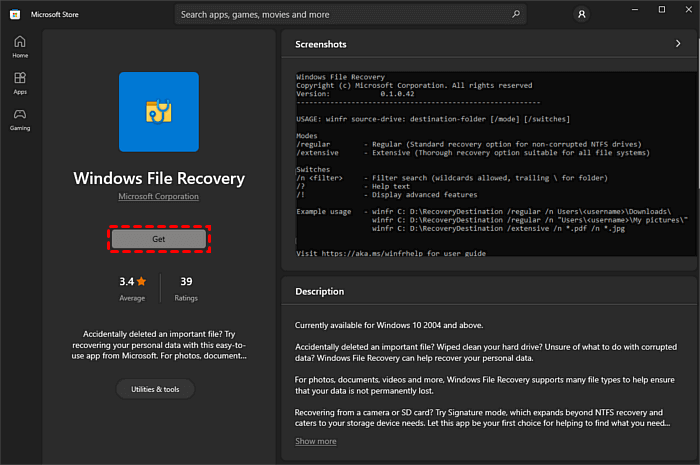
Step 1. Click the “Get” button to download after selecting Windows File Recovery from the Microsoft Store. Then install it on your computer.
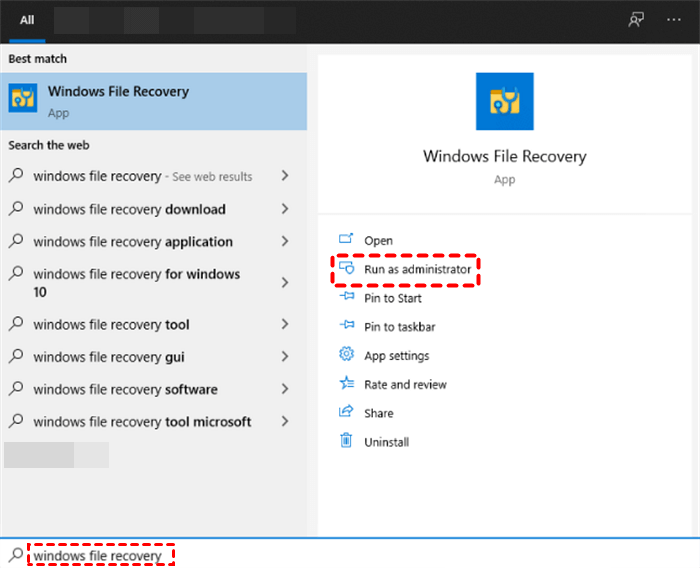
Step 2. Input “Windows File Recovery” in the search box, and click “Run as administrator” to run it.
Step 3. If you’ve checked your file systems, you can select a mode with the following guideline.
Step 4. Adjust and resemble your command lines using some switches below.
|
Switches |
Meaning |
Supported mode(s) |
|
/n |
Filter the scan range: scans for a specific file with its file name/path/type, etc. |
All |
|
/y: |
Recover specific extension groups. |
Signature |
|
/k |
Recovers system files. |
NTFS Segment |
|
/u |
Recovers undeleted files, for example, from the Recycle Bin. |
NTFS Segment |
For example: If you’re going to recover formatted Word files from the C drive to the E drive, you can enter winfr C: E: /r /n *.docx to salvage them.
Step 5. Press “y” to continue, and wait patiently. Then your recovered files will be saved on the E drive. You can also press "Ctrl + C" to stop this process.
An easier way to recover formatted files from USB
Windows File Recovery might be tough for you to recover deleted files from USB using CMD without a graphical user interface. Maybe you can try WinfrGUI (Windows File Recovery GUI) released in 2021. It made it possible for you to recover formatted data from USB because WinfrGUI has enjoyed all the functions of this command-line software.
With a graphical user interface, it’s a more user-friendly application for computer novices to salvage data from USB. You can recover your formatted files within three steps. Please note that WinfrGUI is only compatible with Windows 10/11.
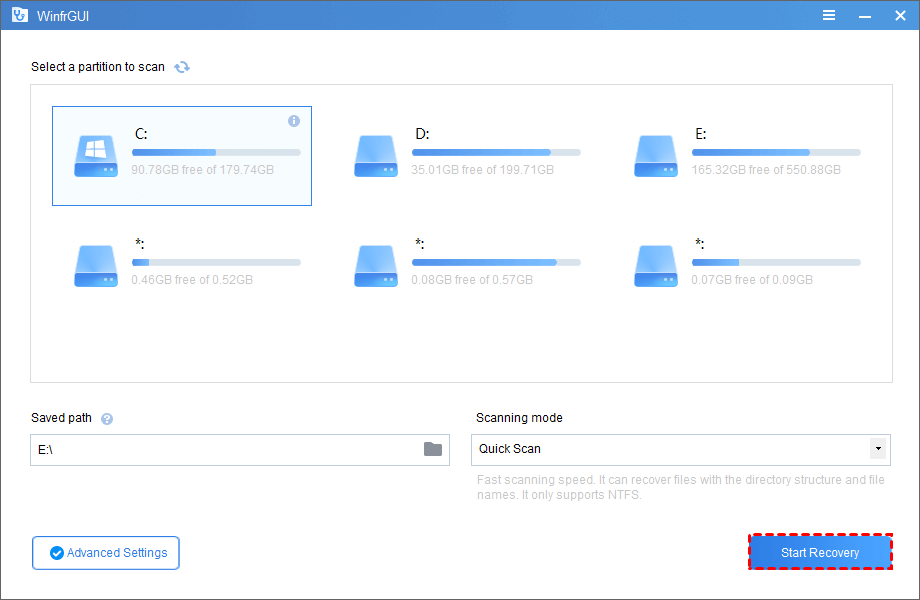
Step 1. Download and install WinfrGUI on your computer. Then locate the partition including your desired files before disk formatting. Scan it, and select another destination folder or partition to save your recovered files.
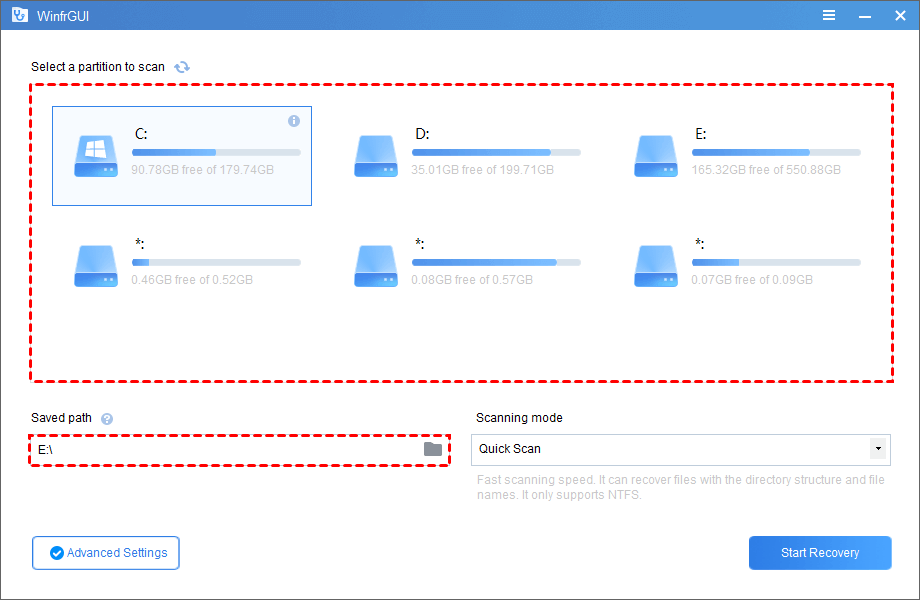
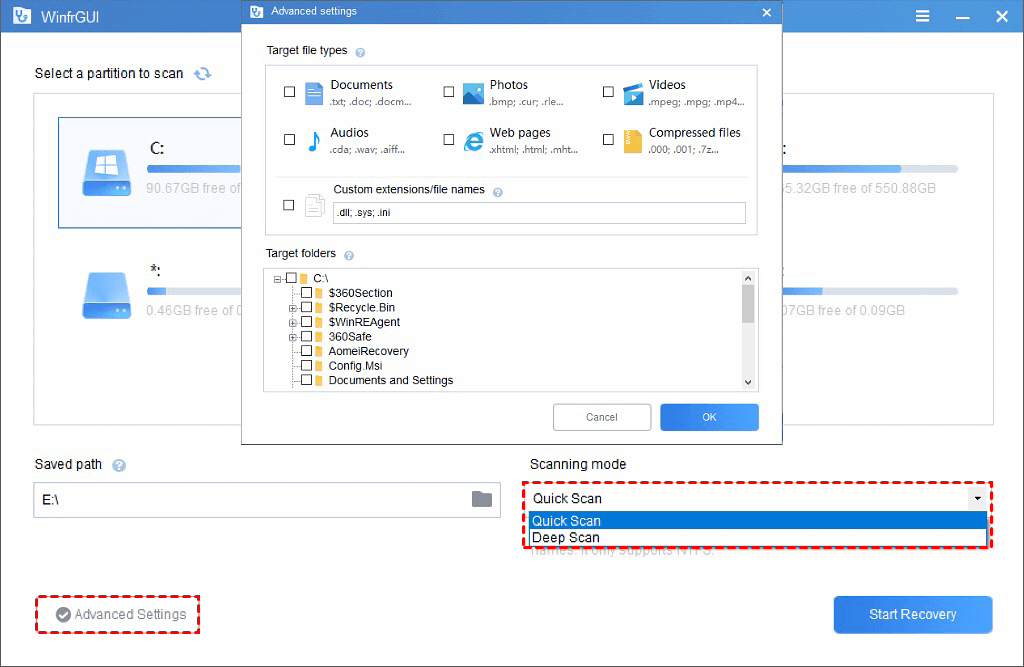
Step 2. Select Quick Scan or Deep Scan first. Then select your desired file types after clicking “Advanced Settings”.
Step 3. Click “Start Recovery”. After that, you can open your destination place to check your recovered files.
The most efficient way to recover formatted files from USB
Are you bothered by formatted files? MyRecover is good at handling the disk formatting for a higher data recovery rate. And it is more powerful and more user-friendly than WinfrGUI.
One of the most attractive features of MyRecover is that can keep its original format for the deleted and lost data. That means you can get your formatted files from USB without changing the format.
There's no denying that the compatible operating system of WinfrGUI could put Windows 7/8 or Windows Server at a disadvantage. In this case, why not seek help from MyRecover? It is compatible with all the OS mentioned above.
- Recover the deleted/lost files from SSD/HDD/USB.
- Recover 200+ types of data: Word, PPT, Excel, Photos, Videos, Audios, Emails, Webpages, and Compressed files.
- Quick Scan and Deep Scan will detect all the deleted and lost files.
- Apply to comprehensive data loss scenarios in Windows.
- Easy-to-follow steps and a clear user interface guide everyone to operate it.
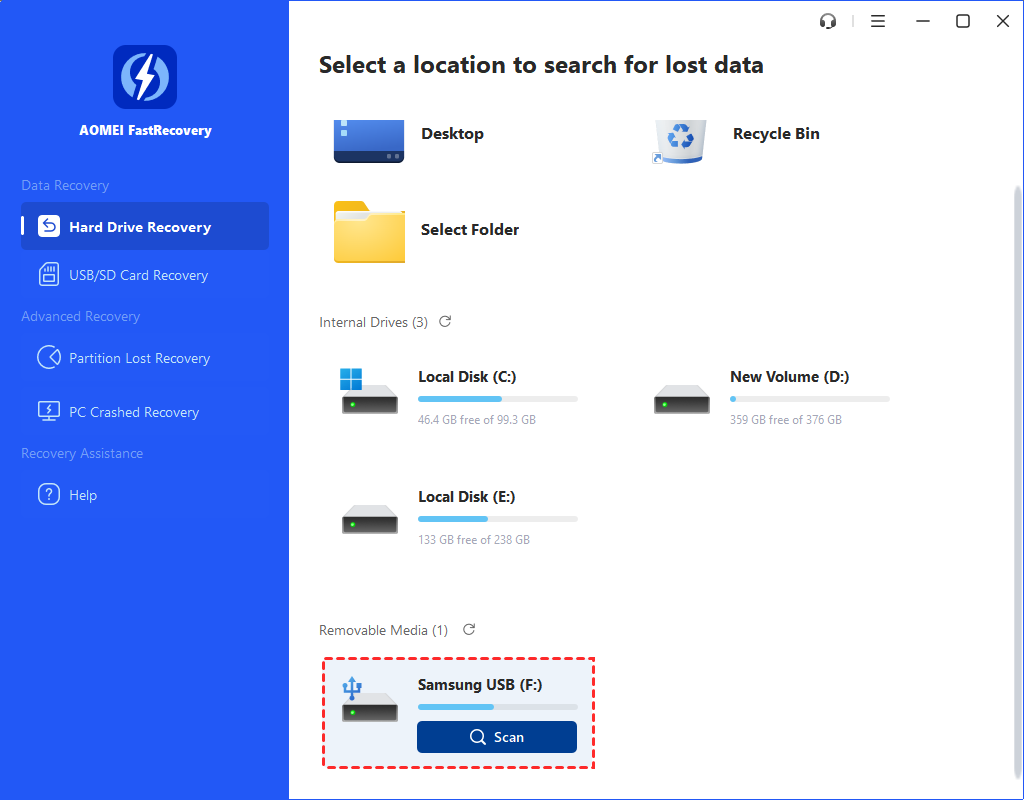
Step 1. Install and launch MyRecover on your PC. Then connect your USB to the computer.
Step 2. After loading the disk, hover the mouse over the drive saved deleted files before, and click Scan to scan.
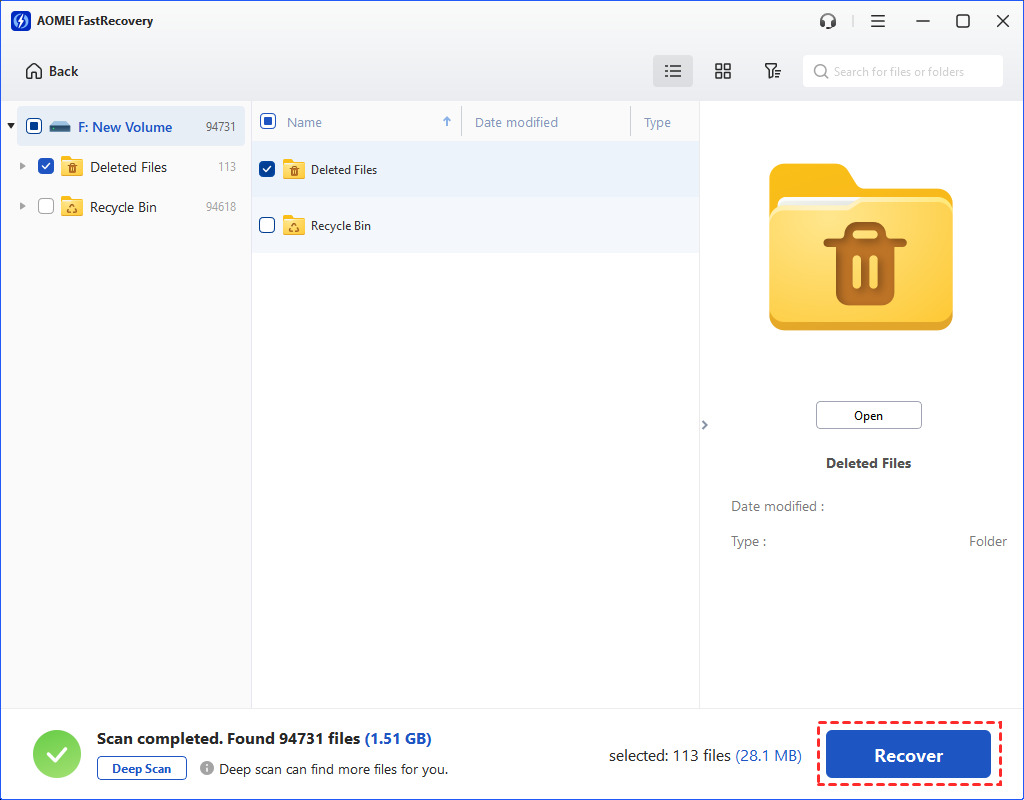
Step 3. The software will run Quick Scan and Deep Scan automatically to search all the deleted files and other lost files saved on your USB.
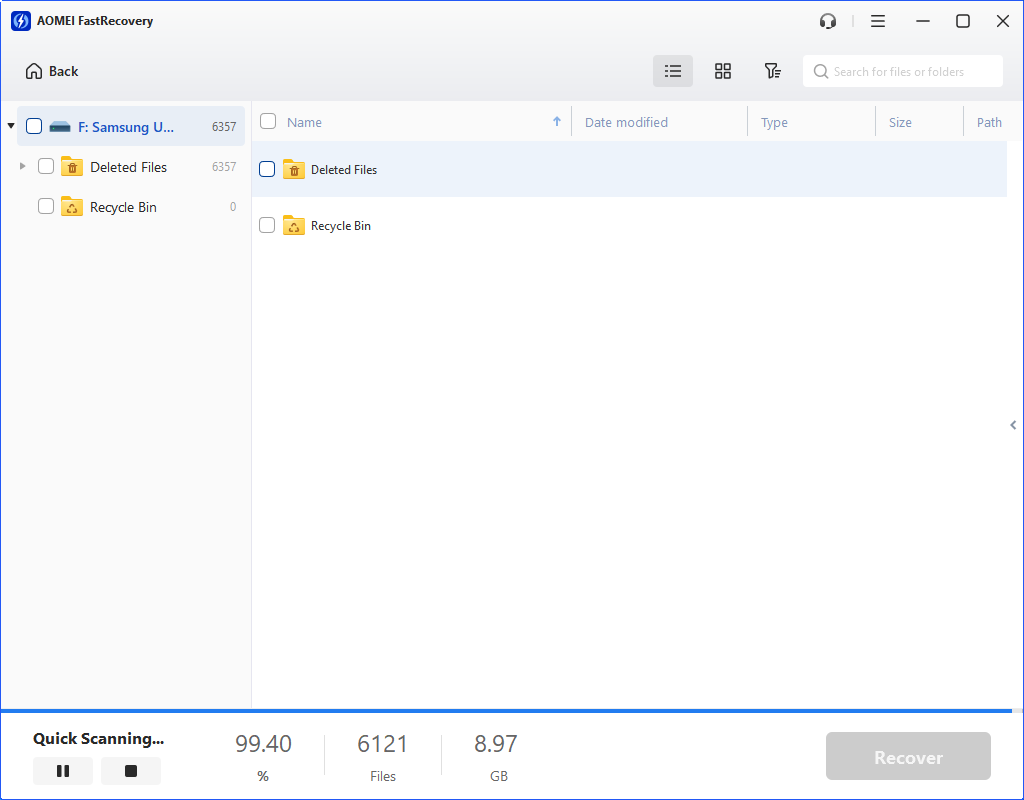
Step 4. Confirm the scanning results and click "Recover x files". Then save your recovered files in a new location.
Wrapping up
If you’ve realized your files were formatted, you’re supposed to stop adding new data to your PC. Then ask professional and trustable data recovery tools for help to restore your data quickly. In this case, Windows Data Recovery for Windows is the most recommended software for you.