
Stepwise Tutorial: How to Get Your Deleted Pictures Back on Windows
This post mainly gives four options to how to get your deleted pictures back. No matter your pictures are temporarily or permanently deleted, you can get them back using one of the following methods.
By Ellie / Updated on April 2, 2024
How can I recover my deleted photos on my Windows computer?
“I was recently attempting to erase unnecessary pictures from my Windows PC. I thought using Shift + Delete will save my time and effort. But then something unexpected happens to me. I deleted some of my most important pictures by accident. Is there a way to recover deleted photos from my Windows computer? Thank you.”
How to get your deleted pictures back on Windows [four methods]
Sometimes, we may delete some important pictures by accident. But don’t worry, there will always be a way how to get your recently deleted pictures back. According to different situations, we provide you with multiple options.
If you delete your pictures, they will most likely be put in your Recycle Bin, and you can quickly get them back using Undo feature or recover pictures from the Recycle Bin. See Method 1 and Method 2. But if you permanently delete your pictures, like we mentioned above, using Shift + Delete, please go to Method 3 and Method 4.
Method 1. Recover deleted pictures immediately using Undo feature
If your pictures are not permanently erased, the Windows Undo feature allows you to undo operations such as photo deletion. Simply hold down Ctrl + Z at the same time, or right-click the blank spot and select Undo Delete. The erased photos will appear on your computer after that.
Method 2. Restore pictures from the Recycle Bin
If your pictures are not deleted permanently, you can also get them back from the Recycle Bin.
Step 1. Double click Recycle Bin on your desktop to open it.
Step 2. Locate the photo (or photos) you have just deleted.
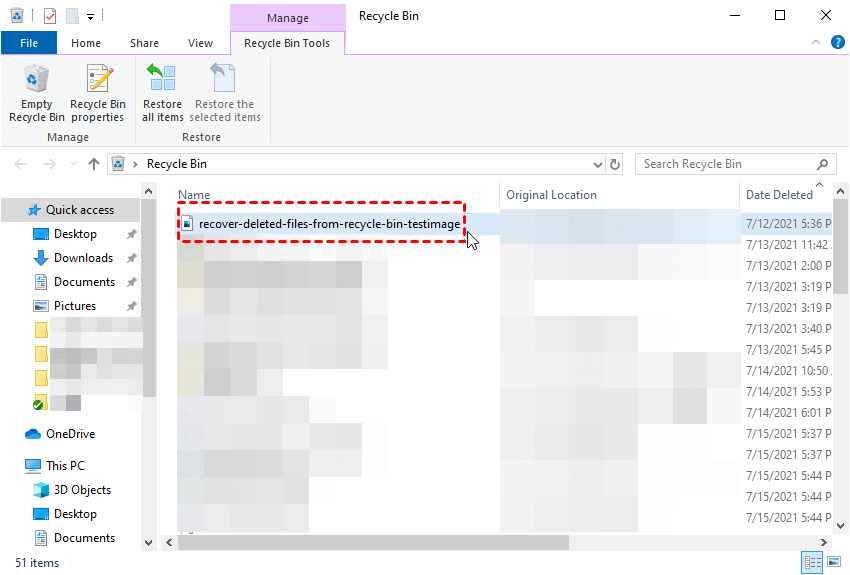
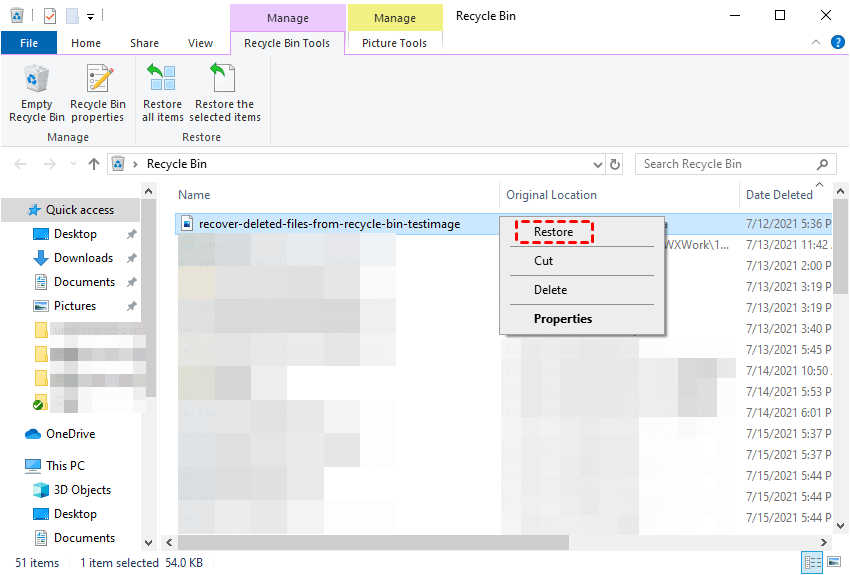
Step 3. Right-click the file, then click Restore. Then your photo will come back to the location where it was before being deleted.
Method 3. Recover deleted photos using the Backup and Restore utility
Backup and Restore is Windows’s built-in backup and recovery program that can assist you in recovering deleted pictures. However, you must manually set it up in advance to allow your Windows computer back up your files. You could go on to the next choice if you haven’t already done so.
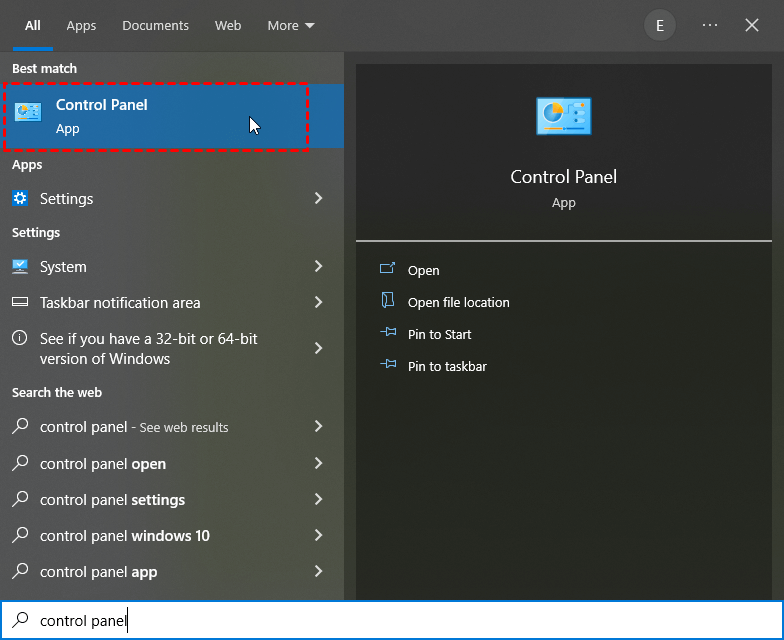
Step 1. Press the Win + S on the keyboard and type Control Panel, then press Enter.
Step 2. Select System and Security first and then choose Backup and Restore (Windows 7). Click on Restore my files and follow the wizard to recover permanently deleted pictures. (You can also choose Restore all users’ files to get all deleted files back.)

Step 3. Search for your deleted photos by using the Browse for files or Browse for folders option. You cannot see individual files when browsing for folders.
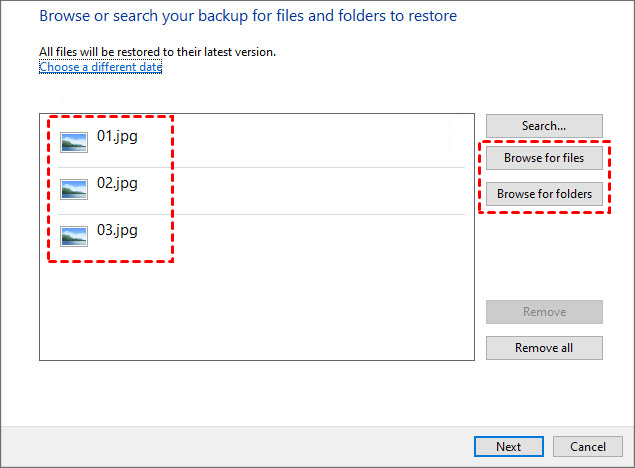
Step 4. Select your pictures and click Restore to recover them.
Method 4. Get permanently deleted pictures back without backup by photo recovery software
There will be situations where you haven’t set up Windows Backup on your computer. At this time, you can choose a professional photo recovery tool to help you get back all your permanently deleted pictures without backup, for example, MyRecover.
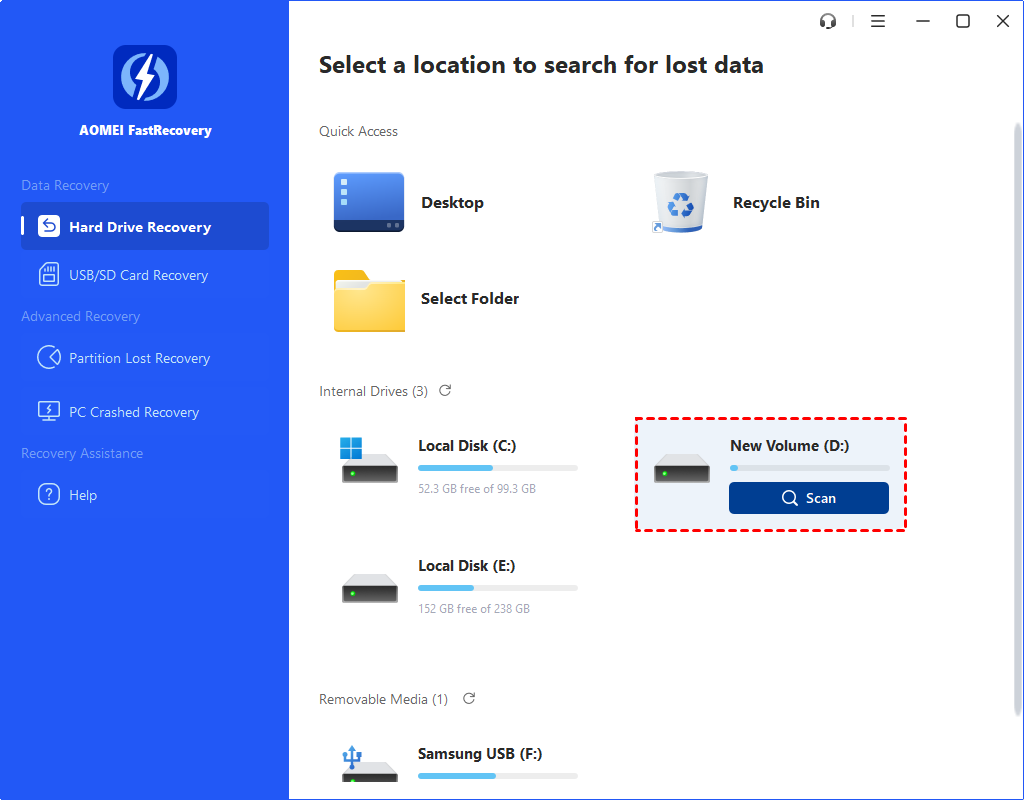
Step 1. Download, install and launch MyRecover on your computer.
Step 2. Select a location where the deleted pictures were saved before. Hover the mouse over the drive and click Scan to scan.
Step 3. Then the scanning process will start automatically. You don’t need to wait for the process to complete if you find the data you want to recover. Here choose Deleted Files.

Step 4. Choose the photos that you want to recover. Click Recover xx files and choose a destination path to save the restored photos.

Bonus Tips: How to get your deleted pictures back on iPhone
Finally, we would like to provide a way how to get your deleted pictures back on iPhone in case you’ve accidentally deleted your iPhone photos. You are advised to use AOMEI Data Recovery for iOS, one of the best data recovery tools for mobile devices. It scans the iPhone storage and then recovers permanently deleted photos on iPhone without a backup.
Key features of AOMEI Data Recovery for iOS:
- It can recover more than ten different types of iPhone data, including photos, videos, contacts, notes, and WeChat history.
- You can preview and pick the iOS data you want to recover.
- It offers a simple user interface with simple operating instructions.
- It works with iOS 10 and later on iPhone, iPad, and iPod Touch.
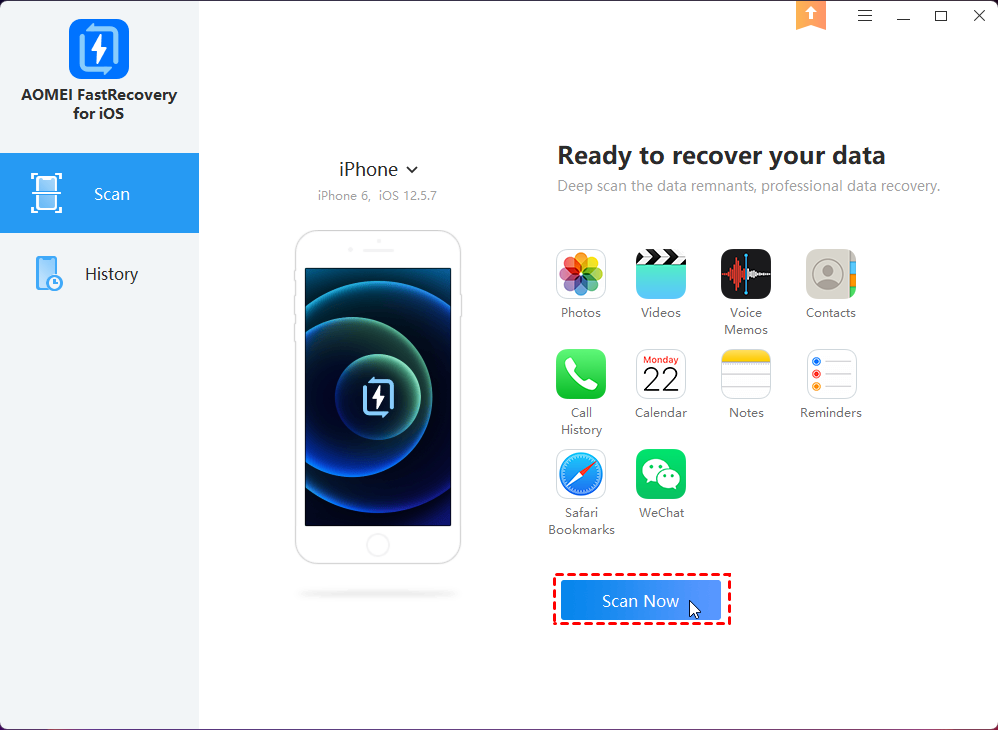
Step 1. Download, install and open AOMEI Data Recovery for iOS on your computer. It’s advised to use an original lightning cable to connect your iPhone to the computer.

Step 2. Tap Trust this computer on your iPhone. AOMEI Data Recovery for iOS will detect your iPhone automatically. Click Scan Now on the software to start the scanning process. Wait patiently.
Step 3. On the left side, all of your iPhone data will be listed. Select the deleted photographs and videos you want to recover by clicking Photos, and then click Recover to save them to your computer.

Conclusion
This post mainly introduces how to get your deleted pictures back on a Windows computer. If you have deleted your pictures, then you can try to use the Undo feature to get them back immediately or restore them from the Recycle Bin. But if you have deleted them permanently, for example, using Shift + Delete, you can try to restore them using the Backup and Restore utility or a third-party photo recovery tool MyRecover. Choose the suitable method according to your own situation.
Besides, to protect the safety of your pictures, you are advised to use AOMEI Backupper to backup your computer in advance in order to avoid unexpected situations.